Pellets
The most common bullets with the most diverse threats.
There are 3 types of pellet turrets: ordinary turrets, bullet spinners, and pellet wall.
- hank: Extremely simple energy (nope)
Tiers and Patterns - Pellet Fixed


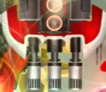
- Tier 0 (Figure 1): Bullets will not be fired immediately. After a period of waiting, 3 consecutive bullets without gaps will be fired.
-
- It looks like a Tier 1 dart but it's even weaker than tier 1.
- Tier 1 (Figure 1): Immediately fire 5 consecutive bullets forward without gaps.
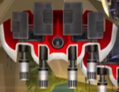
- Tier 2 (Figure 2): Immediately fires a horizontal row of 5 bullets forward. Because it is not facing exactly forward, gaps may appear after very long flights.
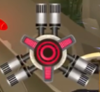
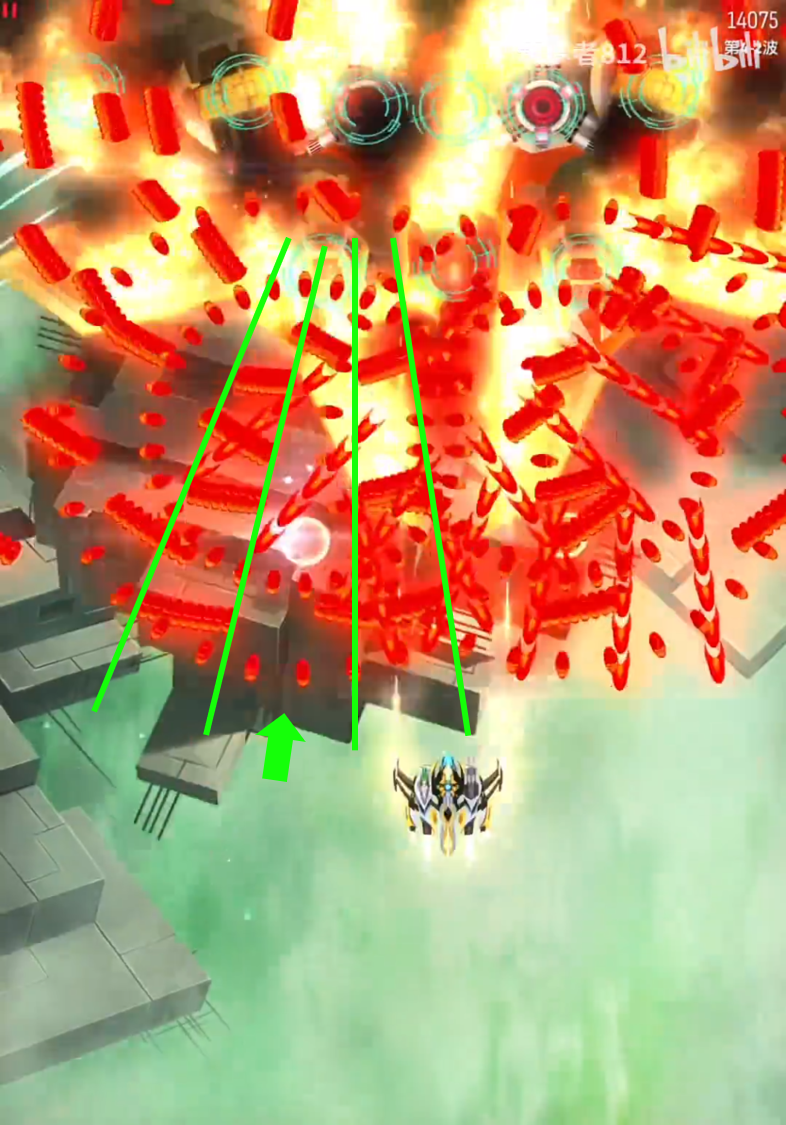
- Tier 3 (Figure 3): After a period of waiting, fire 3 rounds of fan-shaped bullets, divided into 7 lines.
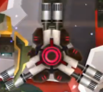
- Tier 4 (Figure 4): After a period of waiting, fire 5 rounds of fan-shaped bullets without gaps, divided into 9 lines.
Tiers and Patterns - Pellet Spinner

- Tier 1 (Figure 1): After a period of charging, multiple rounds of bullets are fired in all directions at a density of 20 bullets per round.
- Tier 2 (Figure 2): After a period of charging, multiple rounds of bullets are fired in all directions at a density of 35 bullets per round.
- Tier 3 (Figure 3): After a period of charging, multiple rounds of bullets are fired in all directions at a density of 50 bullets per round.
- Tier 4 (Figure 4): After a period of charging, multiple rounds of bullets are fired in all directions at a density of 72 bullets per round. Unlike the first three Tiers, it spirals and fires bullets continuously in all directions.
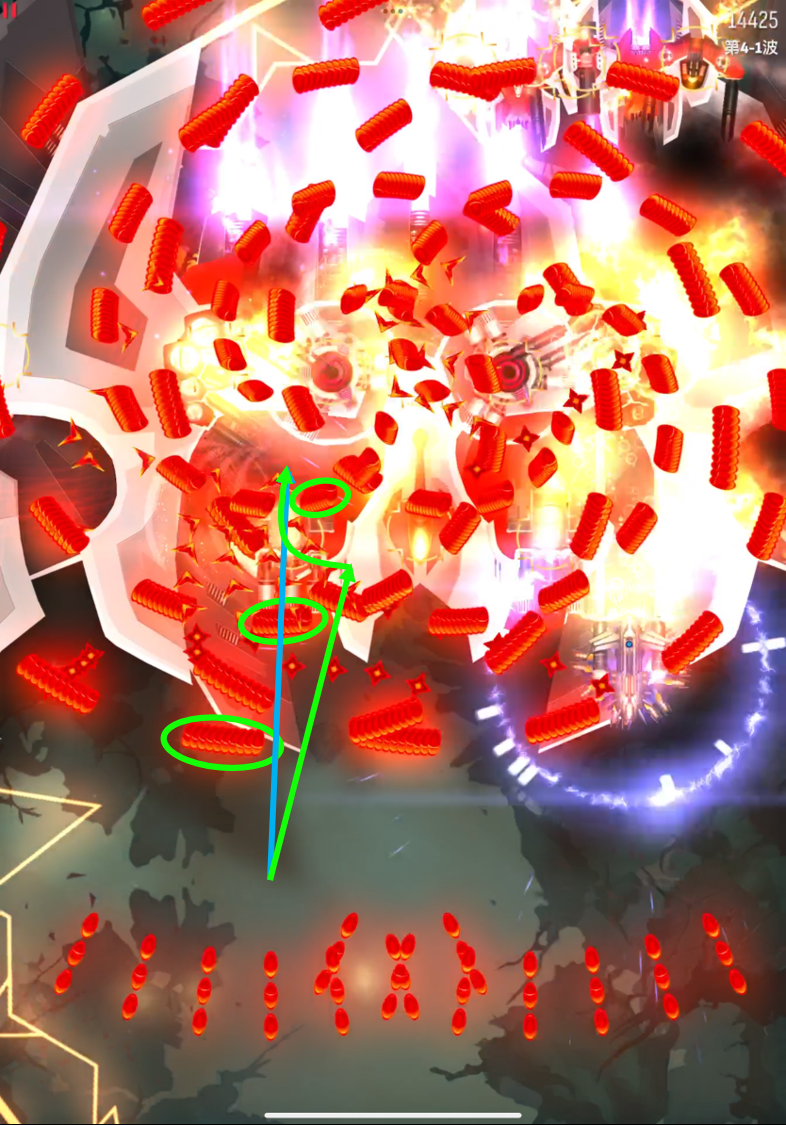
A good way to deal with the pellet spinners is inside graze. It is an efficient way to obtain energy while avoiding dodging a large number of dense bullets. When the bullet is fired, there is a certain distance between it and the muzzle, so we can cleverly use this dead space to graze the bullet. The specific position requires more practice to find. The key point is to find a delicate balance between the turret and the bullet.
Tiers and Patterns - Pellet Wall
- Tier 0 (Figure 1): After a short period of charging, build a wall consisting of 5 bullets at a time, and stack 10 groups of walls in a spiral.
- Tier 1 (Figure 1): After a short period of charging, stack 2 walls consisting of 5 bullets at a time, and stack 16 groups of walls in a spiral.
- Tier 2 (Figure 2): After a short period of charging, stack 3 walls consisting of 9~12 bullets each time, and stack 10 groups of walls in a spiral.
- Tier 3 (Figure 3): After a short period of charging, stack 4 walls consisting of 16 bullets each time, and stack 10 groups of walls in a spiral.
- Tier 4 (Figure 4): After a short period of charging, stack 5 walls consisting of 40 bullets each time, and stack 6 groups of walls in a spiral.
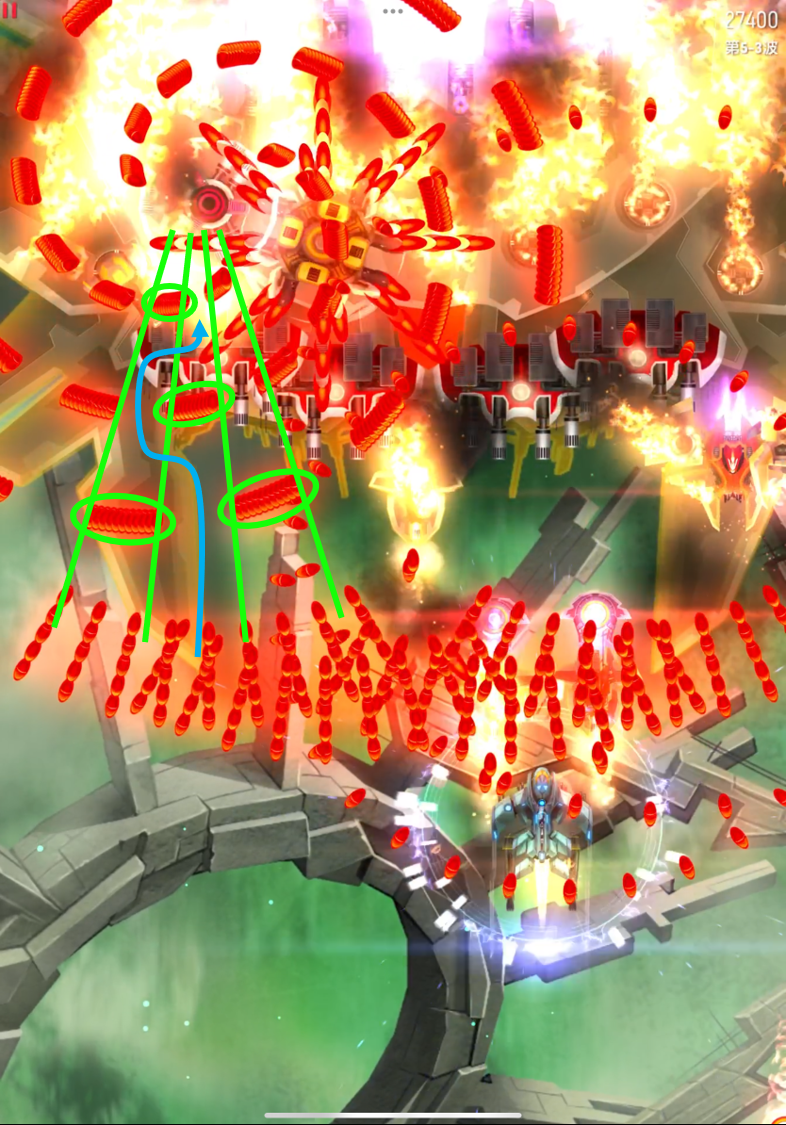
Pellet Wall is another form of spinner. The biggest difference between it and ordinary spinner is that the bullets are pushed towards you in a horizontal row at the same time. It can easily corner you when handled incorrectly or mixed with other bullets. If you don't have sufficient bullet-clearing skills, it's best to prioritize popping one or more Pellet Wall to avoid being stuck in a corner.
Corresponding to the threat is its huge gain. A row of bullets from the wall is a easy target to graze. Usually you just need to aim at one side of a wall and pull quickly to the other side to graze a lot of energy. Usually we choose from left to right because the walls are stacked counterclockwise. But you should also be careful not to neglect dodging bullets. The farther away you are, the wider the wall is, so it is best to graze and move very close to the wall. At this time, the gap between the walls is very large (especially for Tier 3 and 4 Pellet Wall) . When you are too far away, the bullets can easily line up and block the entire space in front of you.
A rarely known feature
Maybe you have noticed that the T2 pellet wall is a bit different from other tiers, it is labelled as “9~12” bullets. In fact, it is not just the number of bullets that is different, but the shape of the wall is also different.
First, T1 and T3 pellet walls have some perfect features. Most of the time, the walls' patterns are regular, and the position of each wall is the same. This means that you can easily avoid the walls by standing in the gap between the walls, rather than wandering in between the maze. As shown in the figure below, the walls are clearly divided into two parts, and the threat level is relatively low.
But the T2 pellet wall is different, the difference of the bullet numbers may lead to a big change of the wall's pattern.
- If the wall has 9 bullets, it will form a beautiful interval structure, and you can clearly see the channel in between the wall.
- If the wall has 10 bullets, the wall will shift a bit at the second round, you need to twist a bit to avoid it.
- If the wall has 11 bullets, there are already interlaced patterns for walls, you have to dodge one wall to survive.
- If the wall has 12 bullets, the walls are completely interlaced, which means it's really hard to dodge.

In general, the vultures will be equipped with 2 same spinners. If it's a wall, make sure that you can pop one first, because the interlaced walls will easily block you.