Centurion
One man guards the pass, and ten thousand cannot open it.
Author: Candy, Flyingfish812
Introduction
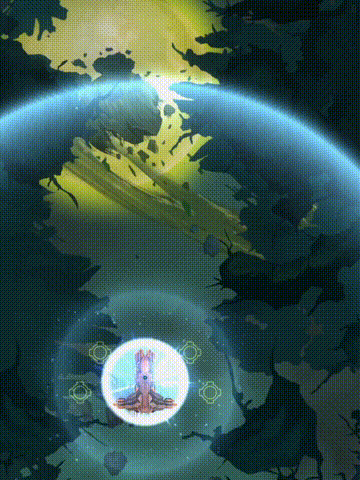
Centurion is a unique presence in the game, as it is one of the few ships with two exclusive APEX skills. The Tungsten Warhead, which enhances its speedrun potential, is a transformative APEX skill. Its armor-piercing specialized skill, combined with a shield capable of reflecting lasers, allows it to excel in Armored pure laser missions. Therefore, this guide will focus on the strategy for this type of mission. In other missions with denser bullet patterns, its advantages are not as prominent. If you obtain the Tungsten Warhead APEX, it is recommended to use it only in armor-laser missions. The challenge lies in the use of its main cannon and Goliath Missiles. If you master these, the Centurion can outperform most other ships.
There was once a rumor among players: the Centurion envied the main weapon of Sonah. The Centurion's main weapon has a certain operational difficulty, which somewhat limits its upper potential, but this does not overshadow the excellent performance of the Tungsten Warhead.
This guide does not differentiate between basic and advanced content.
Main Weapon
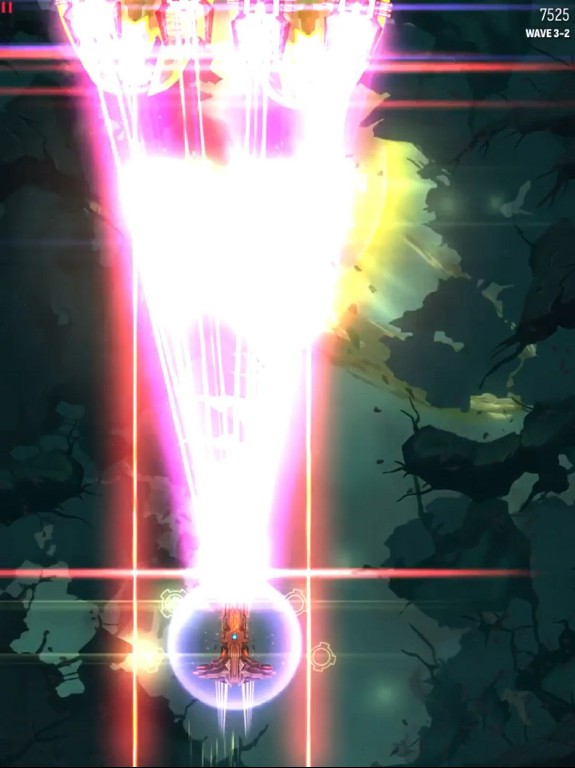
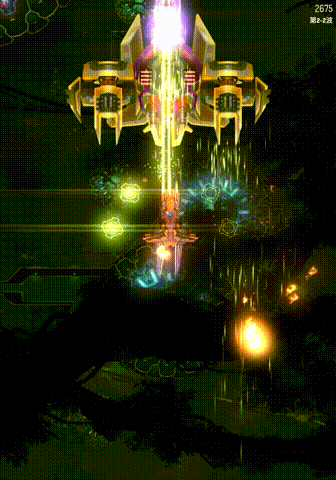
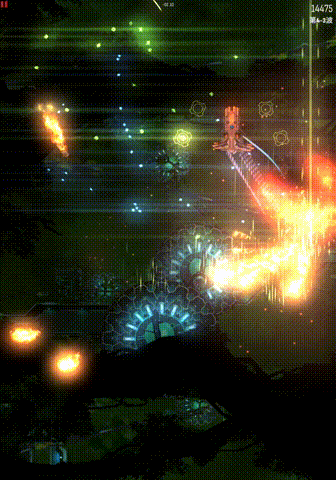
The Centurion's main weapon, the Rift Laser, can attack forward at a rate of six lasers per second. These six lasers form a complete attack cycle and are not affected by releasing the control. The difficulty in operating it lies in the fact that each laser has a corresponding delay. When each laser is fired, it does not move with the ship but remains fixed in place, causing continuous damage. The consequence of this mechanism is that if the invader moves away, the laser will miss.
Since Centurion's Tungsten Warhead skill is effective only in armored missions, the main weapon needs to aim at the core of armored invaders as much as possible to avoid damage reduction and cause critical hits to increase damage.
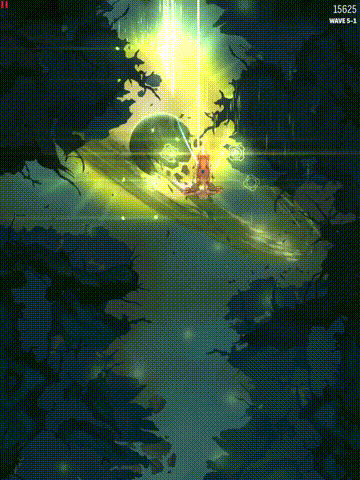
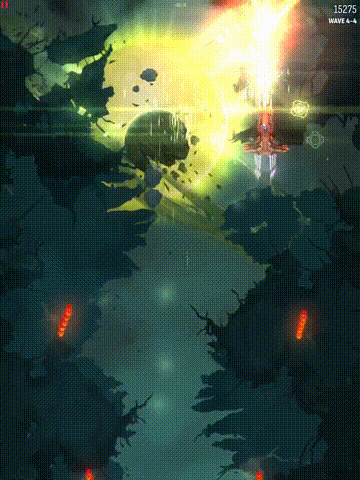
There is a small technique for controlling the main cannon: making good use of charging zen to stop the main weapon, allowing the main cannon to launch a complete attack as soon as the invader is ready. As shown in the figure, you can release control before a wave starts to achieve this effect. Of course, if you are in 1-1, you can choose to place your finger on the screen later to control the ship.
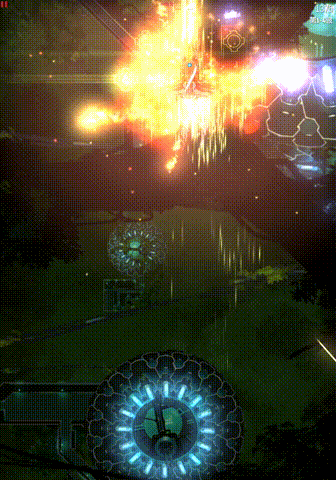
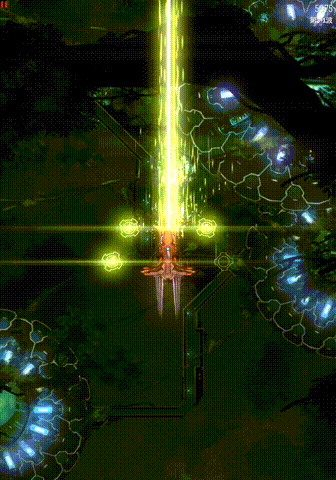
Laser Reflection
The details of shield reflection are already thoroughly described in the Phoenix Cookbook, and they follow the same rules. Therefore, we won't repeat the entire content here, but will highlight a few key points:
- When reflecting tracking lasers, place the ship at the bottom of the screen to aim more lasers at the core;
- When reflecting MIRVs, try to cover as many MIRV explosion points as possible.
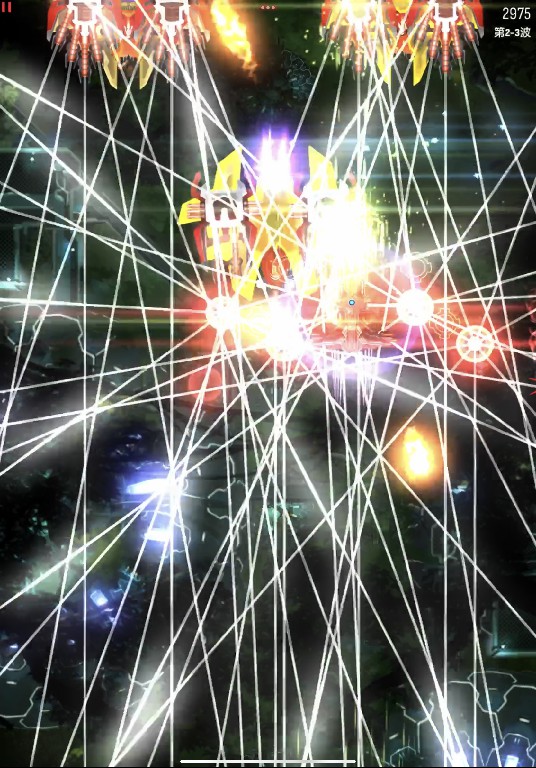
- If the invader releases extra MIRV balls, consider leaving them for reflection in the next wave.
- In the case of two consecutive MIRV waves, using the shield to reflect in both waves is not a bad idea.
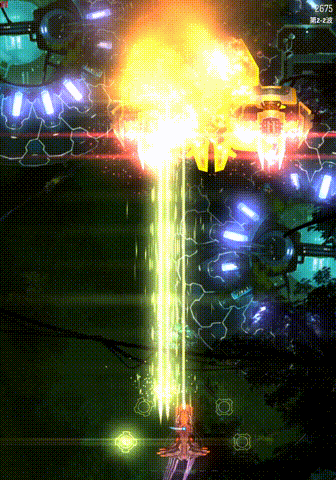
Goliath Missile
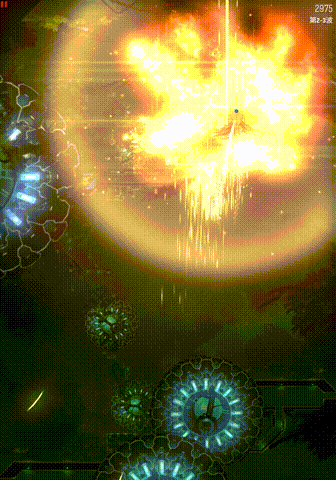
The Tungsten Warhead Goliath Missile is the essence of the Centurion's speedrun strategy. Depending on the mission type, its usage ranges from passive defense to active offense, largely based on how you use the Goliath Missiles and your familiarity with the mission's settings.
Before we begin, let's review the data on the Goliath Missile: one Goliath Missile can cause 10 impact damage and 24 area damage. With the Tungsten Warhead ignoring armor damage reduction, the 24 points of damage mean it can exactly eliminate an armored Raven, no more, no less. This is the key to the transformative nature of this APEX.
In Centurion speedruns, familiarity with the mission is crucial. Most of the time, the number of missiles available in laser missions does not vary significantly, meaning you can pre-calculate how many missiles to use in each wave to maximize efficiency.
Let's review the HP of each armored invader: Sparrow 5, Raven 24, Heron 56, Eagle 99. From this, we can summarize some general rules:
-
A Raven can be eliminated with one shot, so covering as many Ravens as possible is important for sustainability.
-
A Heron invader requires one missile hitting the body (10+24) or two AOE damages (24+24), followed by some main shots.
-
A single Eagle needs 1-2 missiles hitting the body, the exact number depending on the configuration.
-
When two Eagles appear side by side, you can either use one missile on each or use an extra missile on one of them.
-
When multiple Eagles appear together, try to cover all Eagles with the missiles.
Like the Vorpal Lance, the usage of Goliath Missiles depends entirely on the player's experience, with no specific paradigm to follow. The guides here are intended to help you get started quickly. If you find more effective offensive strategies, you should adjust according to the specific mission configuration.
A lesser-known fact is that the Tungsten Warhead Goliath Missile is very effective at popping turrets. This skill is especially useful for dealing with troublesome turrets that do not provide reflection benefits. One use case is popping the turret in the middle of a Eagle. The operation is similar to a barrel technique, where you quickly rush to the turret's position on the invader and use a Goliath Missile to pop the turret.
Generally, Goliath Missiles need to be used in conjunction with shield reflection. Sometimes we need to quickly break through an invader with the Goliath Missiles, and other times we need to use shield reflection. Next, let's look at a few scenario analyses.
-
3 Ravens in triangle formation
The most classic use of Goliath Missiles typically appears in the first or second wave. Generally, when you encounter such a formation, you should not hesitate to launch a missile up close. The reason is that the main weapon's output per second is sufficient to eliminate a Raven. Therefore, the entire process, without using missiles, would take at least three seconds under normal circumstances. Additionally, the benefit of using shield reflection to reflect lasers is far less than the main weapon's output. The efficiency of instantly using a Goliath Missile to explode the invaders versus spending three seconds on a small wave of invaders is clear.
-
2 Ravens and a Heron in triangle formation
In this scenario, one of the Ravens in the previous formation is replaced with a Heron. The strategy remains the same: ensure that the missile's explosion range covers the Raven. However, there is a crucial detail to note: if the Heron is in the front, a direct missile hit might not reach the invaders at back. In this case, you need to target the back side of the Heron to ensure the explosion affects the invaders behind it.
-
Formations with lots of Ravens and Herons
This formation occurs more frequently in act 3. Generally, the targets of the Goliath Missiles should be the Herons, and you should try to include as many Ravens as possible. In armored missions, wasting the missile's impact damage on Ravens that can be dealt with by AOE damage is usually inefficient.
Additionally, in this type of formation, you generally won't have the chance to use more than three missiles consecutively. If you use three, it is usually a shameful waste. The typical use for these two missiles is: one aimed at the center, and the other targeting the side invaders near the center to ensure the area damage covers more invaders.
When the invader group becomes denser, two Herons usually need to share one missile.
-
A wave including 4 Ravens in a row
One exception to the "avoid directly attacking Ravens with Goliath Missiles" rule is this scenario: a horizontal row of four Ravens can be perfectly taken out with a single Goliath Missile. When you encounter this formation, do not hesitate; aim the missile directly at the center of the horizontal row. If you hesitate, the Ravens might spread out, causing some to be missed.
-
A row of invaders with a Eagle in the middle
The usual strategy is to use two missiles at Eagle, which can be handled in two ways depending on whether the side invaders are primarily Raven or Heron.
If the side invaders are primarily Ravens, the strategy is to use one missile on each wing of the Eagle, utilizing the area damage to eliminate all side invaders:
This approach remains the same if the Eagle is replaced with two Herons.
If the side invaders are primarily Herons, you should use two missiles in the center. The area damage from these missiles will be enough to affect the Herons on both sides. The benefit of this approach is that it allows the side invaders to have area damage twice, thus killing them more quickly.
-
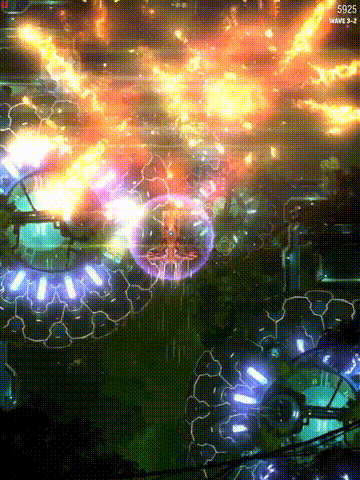
2 Eagles in a row with lots of smaller invaders
This formation is much more troublesome. In fact, quickly eliminating two Eagles requires at least three missiles, and with additional small invaders, the cost is even higher. Clearly, this is not the time to use missiles to take everything down; it requires a combination of missiles and shield reflection. Specifically, the role of the missiles is to clear out the small invaders to prevent the lasers from disappearing after being eliminated by laser reflection. The actual reflection strategy depends on the invader configuration: if it's tracking lasers, reflect them at the bottom; if it's MIRVs, reflect them within the MIRVs.
One exceptional situation to note: if you find a Heron (or a similar target) between the two Eagles, you can opt to use three missiles. The logic is that the missile aimed at the middle can apply area damage to attack the Eagles, thus causing the Eagles to receive a total of three instances of area damage, which is quite substantial.
-
Vultures or bosses
The strategy to this configuration is quite subjective. For high-health invaders, when there are no MIRVs or a significant amount of tracking laser reflections, it usually requires spending some time to deal with them. However, the main idea remains to fully utilize the advantage of area damage, distributing as much damage as possible to the higher health, larger invaders.
Off-topics
Throughout various specialist missions featuring the Centurion, pure laser levels are rare. You might think these techniques are not being used at all. Perhaps so, especially the laser reflection techniques. Half of the essence of Centurion speedrunning lies in laser reflection, and the other half is the use of the Tungsten Warhead Goliath Missiles. Excluding the laser reflection part, the editor hopes players will focus on developing the fundamentals of Goliath Missile usage during practice. When you one day use the Centurion in non-laser missions, this will greatly benefit you.
For some tips on Goliath Missiles (such as pre-firing and precise targeting), you can refer to the Mistral Cookbook. When facing bullet-dense missions, these techniques will significantly improve your performance.
Conclusion
The Centurion's speedrunning involves a certain luck. While mastering basic strategies, you also need to review videos of each mission and practice to find the methods that work best for you. The key to achieving high scores is to fully utilize the advantage of area damage and avoid wasting the main cannon on targeting small invaders.