Phoenix
The ship on the front cover. Defense is offense, and vice versa.
Author: Flyingfish812
Introduction
As the most well-known ship in the game, Phoenix performs exceptionally well in all aspects. The defense combo of Bullet EMP (BEMP) and Personal Shield (PS) provides corresponding defensive measures against both bullets and lasers. In terms of offense, the main weapon continuously fires forward, offering stable damage output. In laser missions, PS laser reflection serves as assistance, and the Delta Apex imbues BEMP with an additional AoE damage of 10, diversifying its offensive capabilities. In summary, Phoenix is capable of dealing high damage as well as surviving the worst-case scenario, making it a versatile choice.
The essential speed-running techniques of Phoenix are not as complex as that of the other ships, but you still have to focus on details in speedruns. Typically, Phoenix excels in speed-running in Shielded laser spam missions. Such missions feature huge amounts of laser MIRVs, thus, making effective use of PS laser reflection alleviates the hassle, and makes life a lot easier. Therefore, if you manage to learn a few tricks from this guide, your gaming experience will be greatly improved.
The guide is not divided into basic and advanced sections. Additionally, since Phoenix heavily relies on Destructive Wave BEMP for speed, all contents are based on Delta Phoenix.
Main Weapon
Phoenix’s main weapon fires forward continuously, plus, it is capable of dealing a small amount of burst damage through pre-firing at the beginning of each wave. The pre-firing technique can be used repeatedly throughout a mission. Whether you are a beginner or an experienced player, be sure to fully utilize this important technique to relieve pressure from invaders.
The execution of this technique is quite straightforward, however, whether you use it or not may result in a time gap of almost one second. Therefore, it is recommended that you familiarize yourself with the invader compositions of the mission in advance, and pre-fire at the appropriate positions (left, center or right).
Keys for Pre-firing
Pre-firing must be done at the bottom of the screen. Before a wave begins, you need to position yourself at the bottom of the screen so that as soon as the invaders are in place, you can dash upward to unleash a small burst of damage. Generally, by this time, the invaders' shields have already been broken, allowing other skills (including Destructive Wave and PS laser reflection) to deal damage directly to their hulls.
For example, this technique can be used in Act 1 full of Sparrows:

Pre-firing instantly eliminates a column of Sparrows formed in a square formation. Typically, the pre-fired shots are sufficient to kill two Sparrows completely. Therefore, as soon as the invaders arrive, you can shift to the other side immediately to eliminate the remaining Sparrows. This greatly saves your number of actions.
This skill is widely used. From Sparrows and Ravens,
to Rocs.

Pre-firing can be utilized in all situations. Sometimes, this technique can even make a decisive difference, which will be explained later.
Destructive Wave
As one of the most powerful Apex upgrades of BEMP (the other being Bullet Detonator), Destructive Wave plays an extremely powerful role in Phoenix's speedrun. The key points of its use are fairly straightforward. Thus, it needs to be fully utilized throughout the game.
The maximum damage of Destructive Wave is 10, meaning it is capable of wiping out a swarm of Sparrows straightaway. However, note that it does not deal 2.5 times damage against shields. Therefore, unless there are specific requirements, you should first break the invaders' shields before using Destructive Wave to maximize the output efficiency of the combination of the main weapon and Aura.
Break Shields First
The benefit of prioritizing the use of the main weapon to break shields is that it fully utilizes its SB affinity which deals 2.5 times damage to shields. Therefore, even though invaders may have shields equivalent to 75% of their hull HP, breaking them is just a matter of a few shots for the main weapon. Thus, the first thing to note when using Destructive Wave is to break shields before using the Aura.
Generally, in a Raven infested wave, your first task is to break the invaders’ shields one by one. However, this leads to a problem: sequentially breaking shields consumes a significant amount of player actions. Even if you painstakingly break the shields of all invaders and finally have the opportunity to release Destructive Wave, almost all invaders will be left with low health afterward. At this point, the invaders' laser charge resets, and you have no energy left, meaning you have to repeat the process to finish off the remaining invaders. This excessive number of actions is highly detrimental to speedrun.
You've probably realized the solution: when you start to break shields at the beginning of a wave, simply use the main weapon to damage invaders so that their remaining health are low enough for a single Destructive Wave to kill. Yes, this is the second key point of using Destructive Wave: lower invaders' health to the kill threshold as much as possible before releasing it to finish them off all at once.
Let me demonstrate with an example. There are 5 Ravens in this wave. So, before using Destructive Wave, our goal is to lower the health of all Ravens as much as possible, then eliminate them all with one Destructive Wave:
Obviously, implementing the second point is very challenging because you need to have a rough idea of how much output time is required to lower the health to the desired level, which falls into the realm of muscle memory. Therefore, a plan B is, if you are unsure whether the health has been lowered enough, you can skip those invaders grouped together. Because even if you have to follow up with additional shots, you won’t have to reposition yourself too much to aim your main weapon which means less DPS loss.
Sparrow's Dilemma
Whether to use the main weapon or Destructive Wave to eliminate the Sparrows is a problem to consider when energy is insufficient. The answer varies from person to person.
For example, suppose both 1-3 and 1-4 have one Raven with four Sparrows. You don’t have sufficient energy for two consecutive Destructive Waves to eliminate all Sparrows. Therefore, you may opt to conserve energy by focusing main fire on the Raven first to absorb more energy before finishing off the Sparrows, or rely solely on the main weapon to clear the first wave and then freely use Destructive Wave in the second wave.

By the way, in most cases, the latter solution is more efficient because the former one requires a high level of precision in energy control, making it easy for you to make mistakes. When using the latter solution, you can fully utilize the pre-fire technique we mentioned earlier to prioritize eliminating the two Sparrows first, then focus on dealing with the remaining invaders.
Grazing
It's not to say that focusing on defense means you don't need to graze bullets. If the bullets are very dense and slow-moving, you can absolutely graze for abundant energy and convert them into your own damage output. This is a key point that players often overlook while playing.
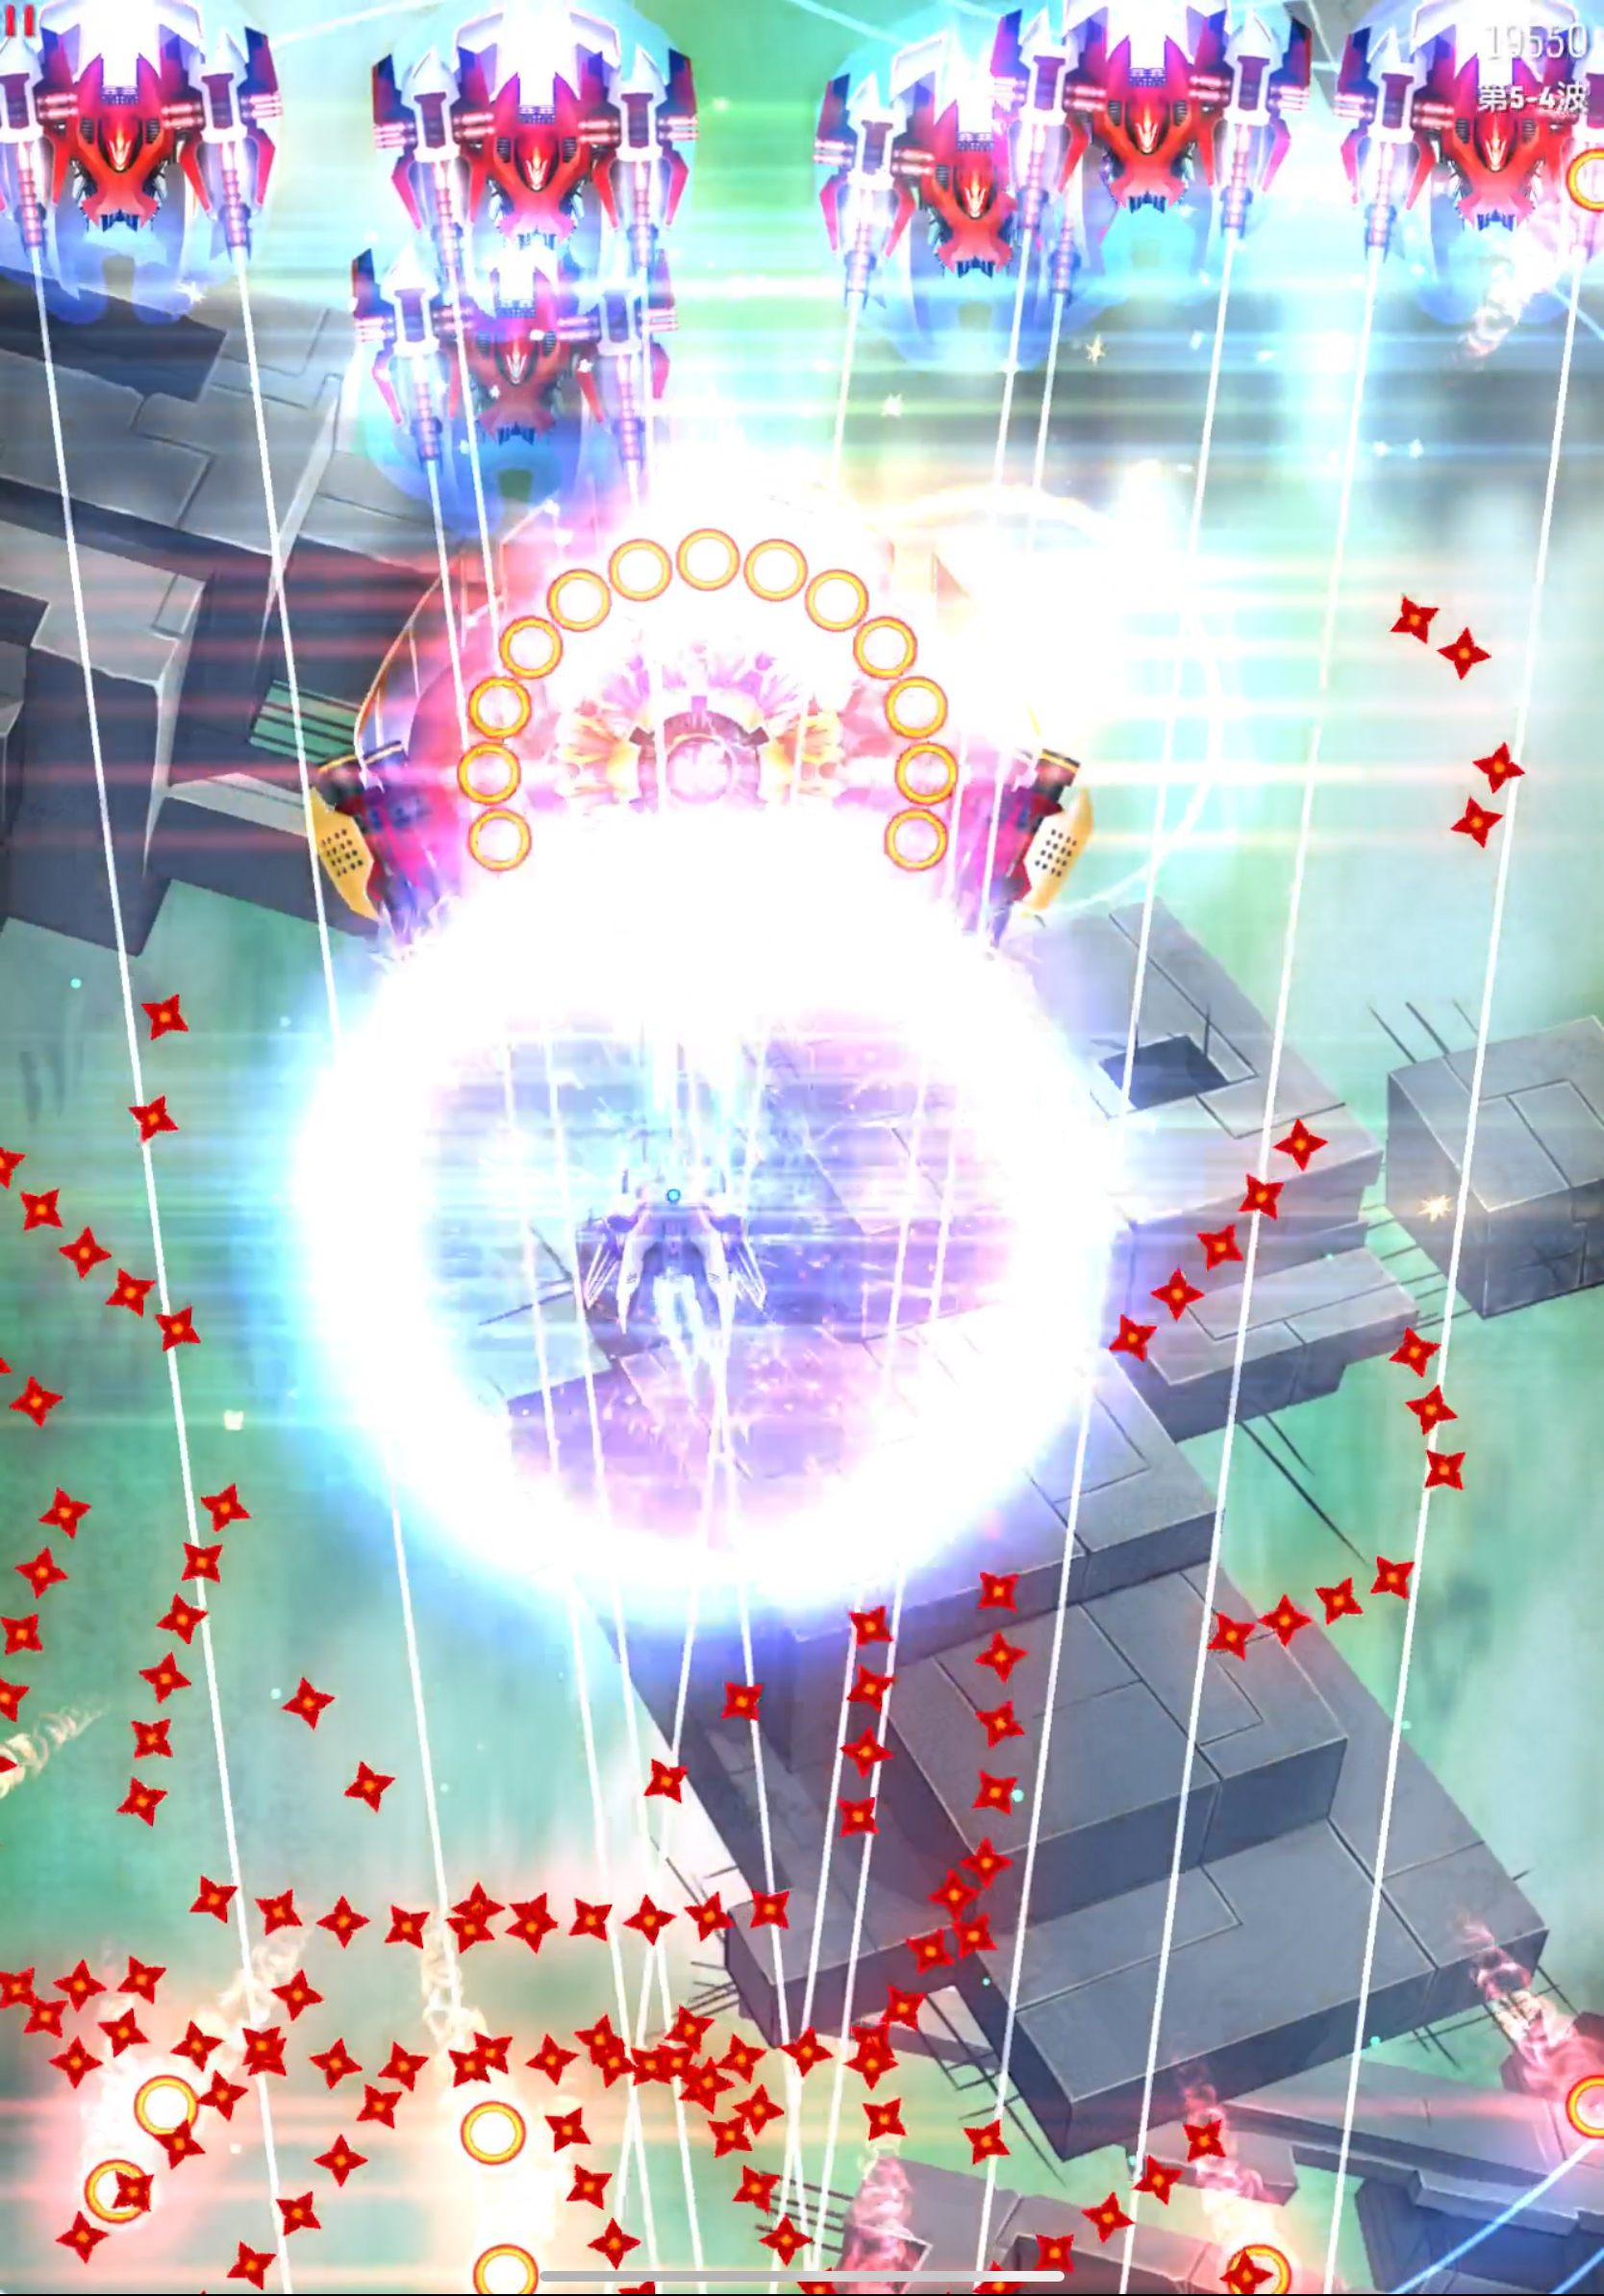
Laser Reflection
The highlight of Phoenix is the PS laser reflection. Whether the lasers are reflected successfully or not directly impacts your performance.
First, let's review the basic mechanics of PS laser reflection. Lasers reflected by PS deal 10 DPS per laser to invaders. Furthermore, when reflecting, each reflected laser fires to a randomly chosen invader position. The reflected laser disappears once the target invader is eliminated.
It is important to note that the reflected laser disappears after the target invader is eliminated. In other words, you want to avoid reflecting lasers fired from larger invaders or laser MIRVs onto Sparrows as much as possible.
Front Reflection
Most enemy lasers fire forward, so front reflection is the most commonly used method.
If the invaders’ weapons consist mainly of tracking lasers, you should try to position yourself at the bottom of the screen so that all lasers target you. At the moment when lasers begin to charge, activate PS to reflect them all.
The handling of MIRV Bloomers, which commonly appear in Laser Spam missions, will be the focus of this section.
-
MIRV Bloomers Only
This is the most basic configuration, usually found on Vultures. Vultures typically come equipped with a pair of MIRV Bloomers, providing enough lasers for PS laser reflection to destroy all invaders on the field. Therefore, your strategy is quite straightforward: Destructive Waves are not needed here, instead, just wait for the laser MIRVs to activate and then reflect with PS.

In addition, there's a small detail. Before each laser is fired, there will be a white pulse, which can be grazed. In other words, grazing as many pulses as possible before activating PS restores a good portion of the Aura. The extra energy obtained can make you more comfortable in the next wave.
Like this:
-
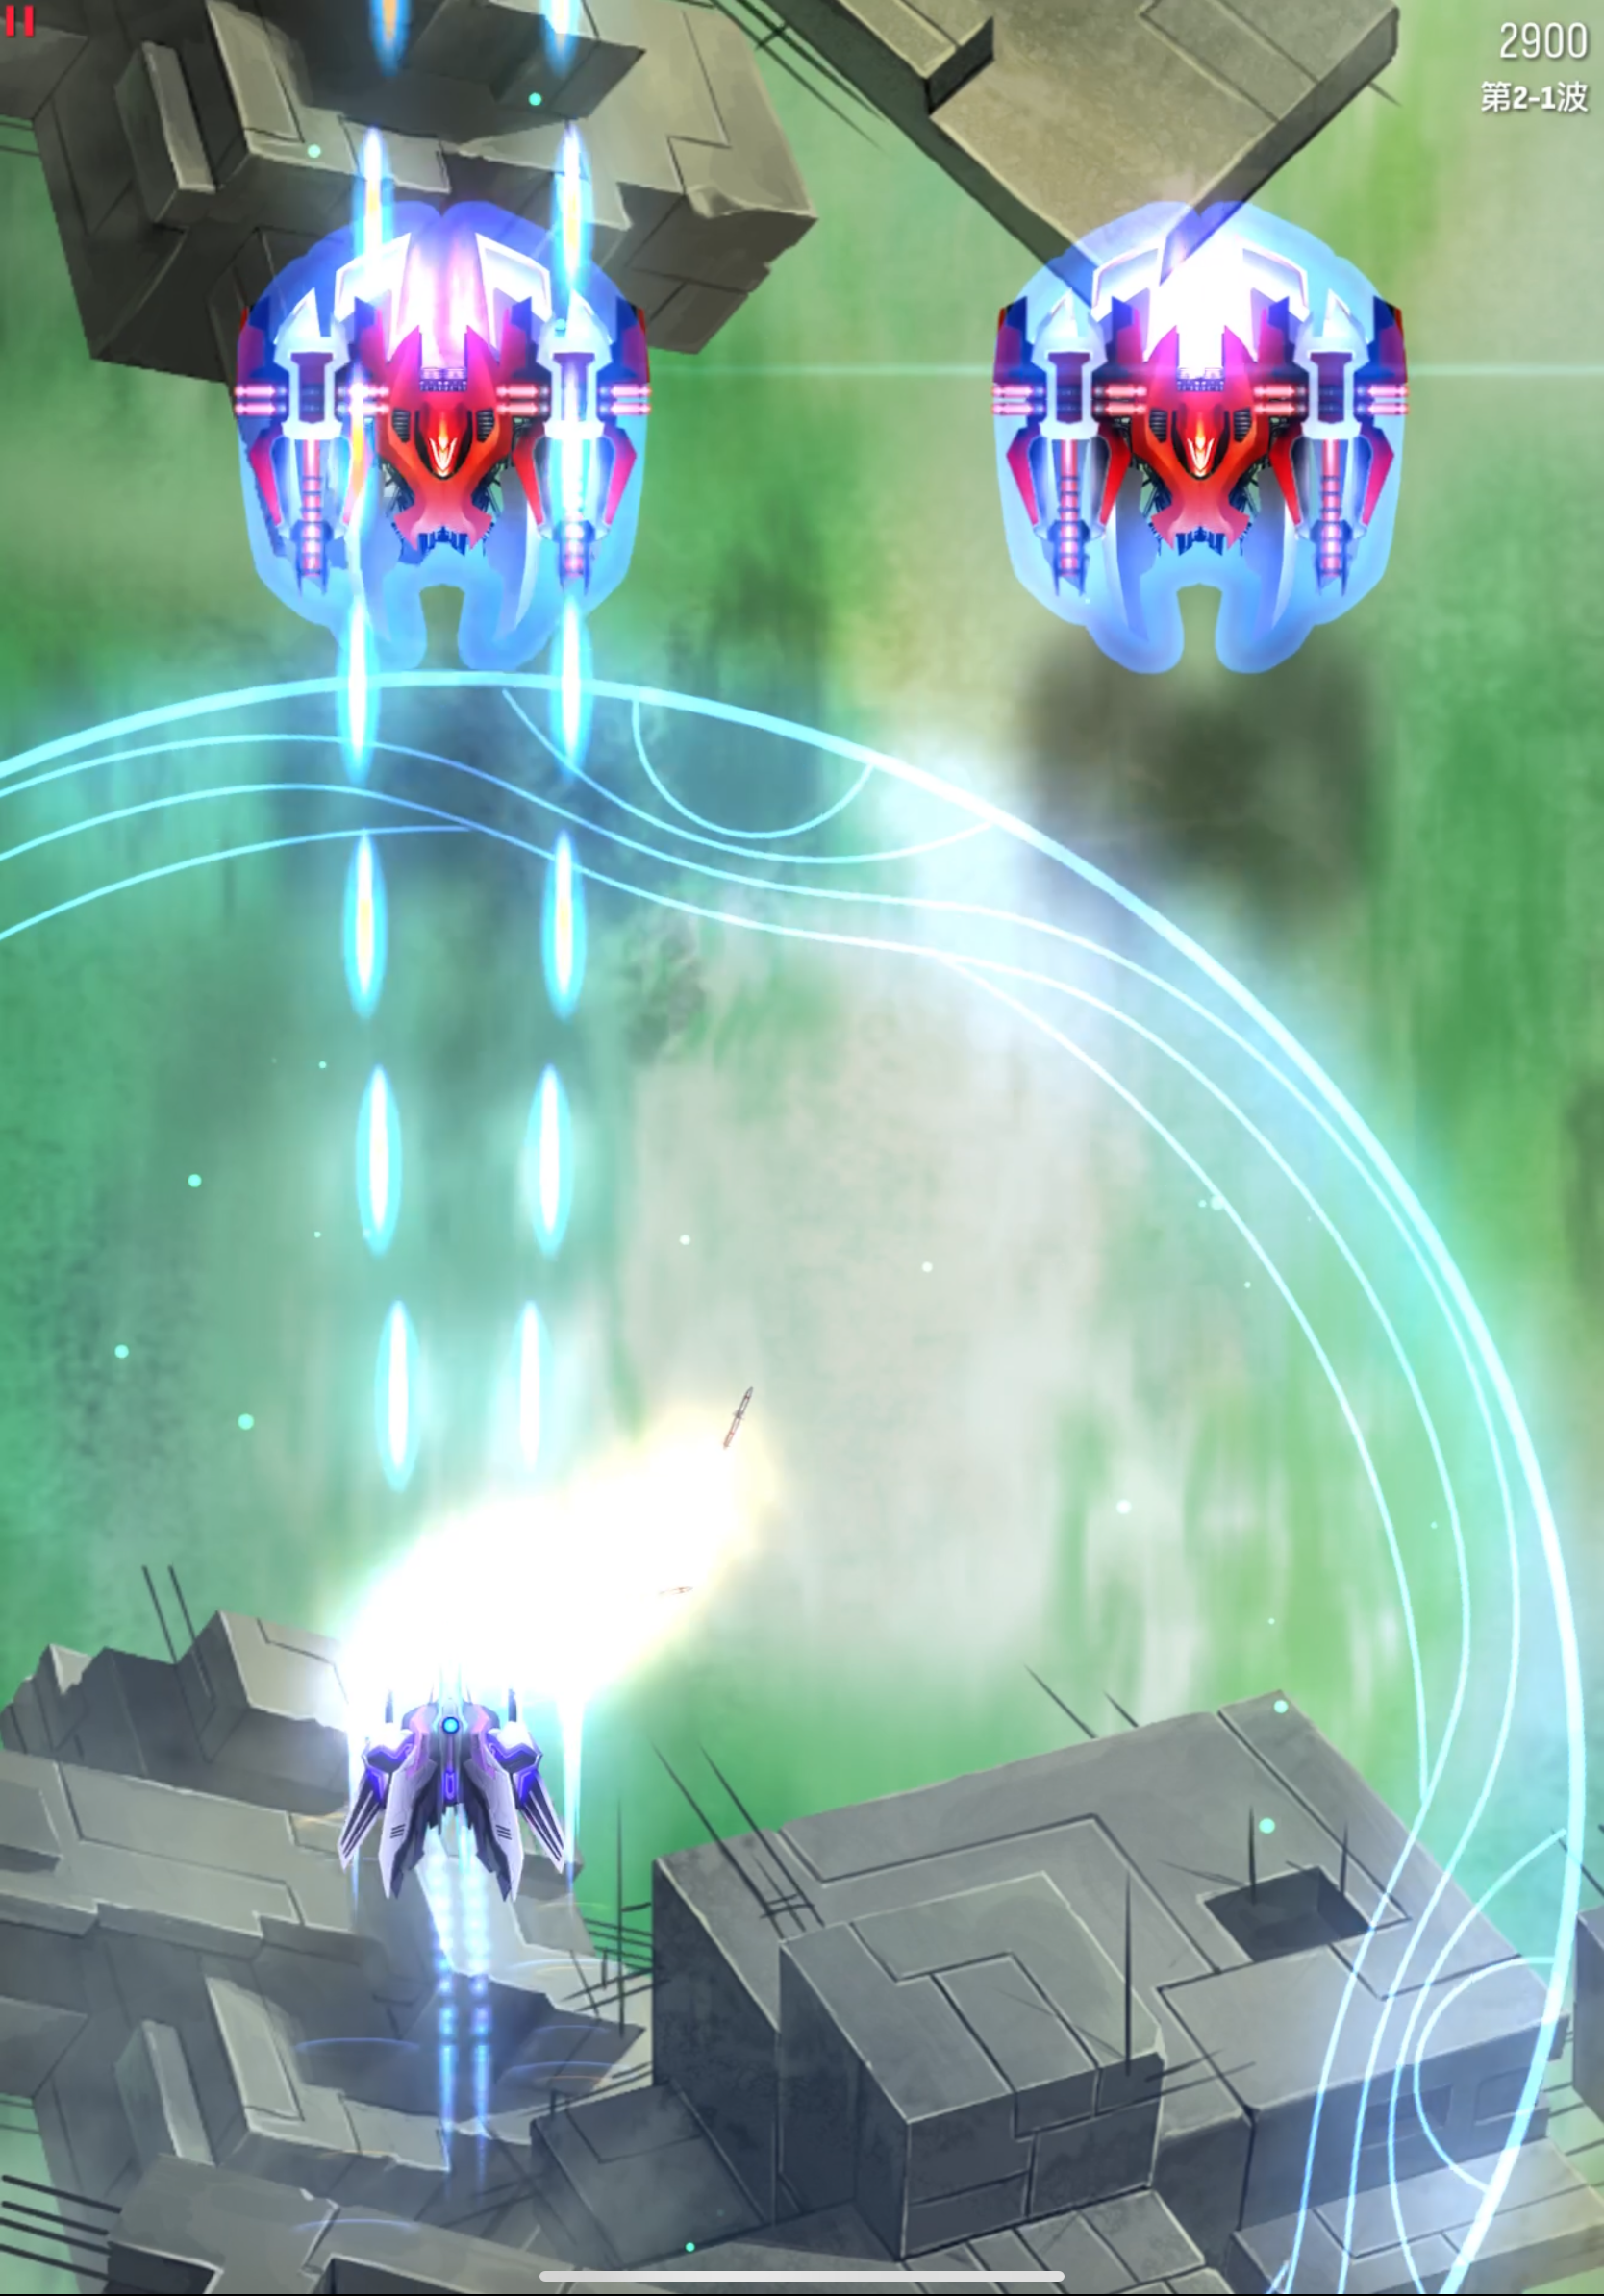
MIRV Bloomers + Shuriken Waves
This configuration is more common on Eagles. The way to deal with it is to get as close as possible to activate more laser MIRVs at once:
And use Destructive Wave to clear everything blocking your path, such as bullets and Sparrows flying around.
It is important to note that using Destructive Waves to kill smaller invaders is essential. Not only does it help you find the optimal reflecting position, but it also timely eliminates potential threats that could cause overflow damage. This is because the reflected lasers disappear after destroying their targets, so if too many lasers are reflected to Sparrows, larger invaders won't receive enough damage, which is detrimental to your speedrun.
-
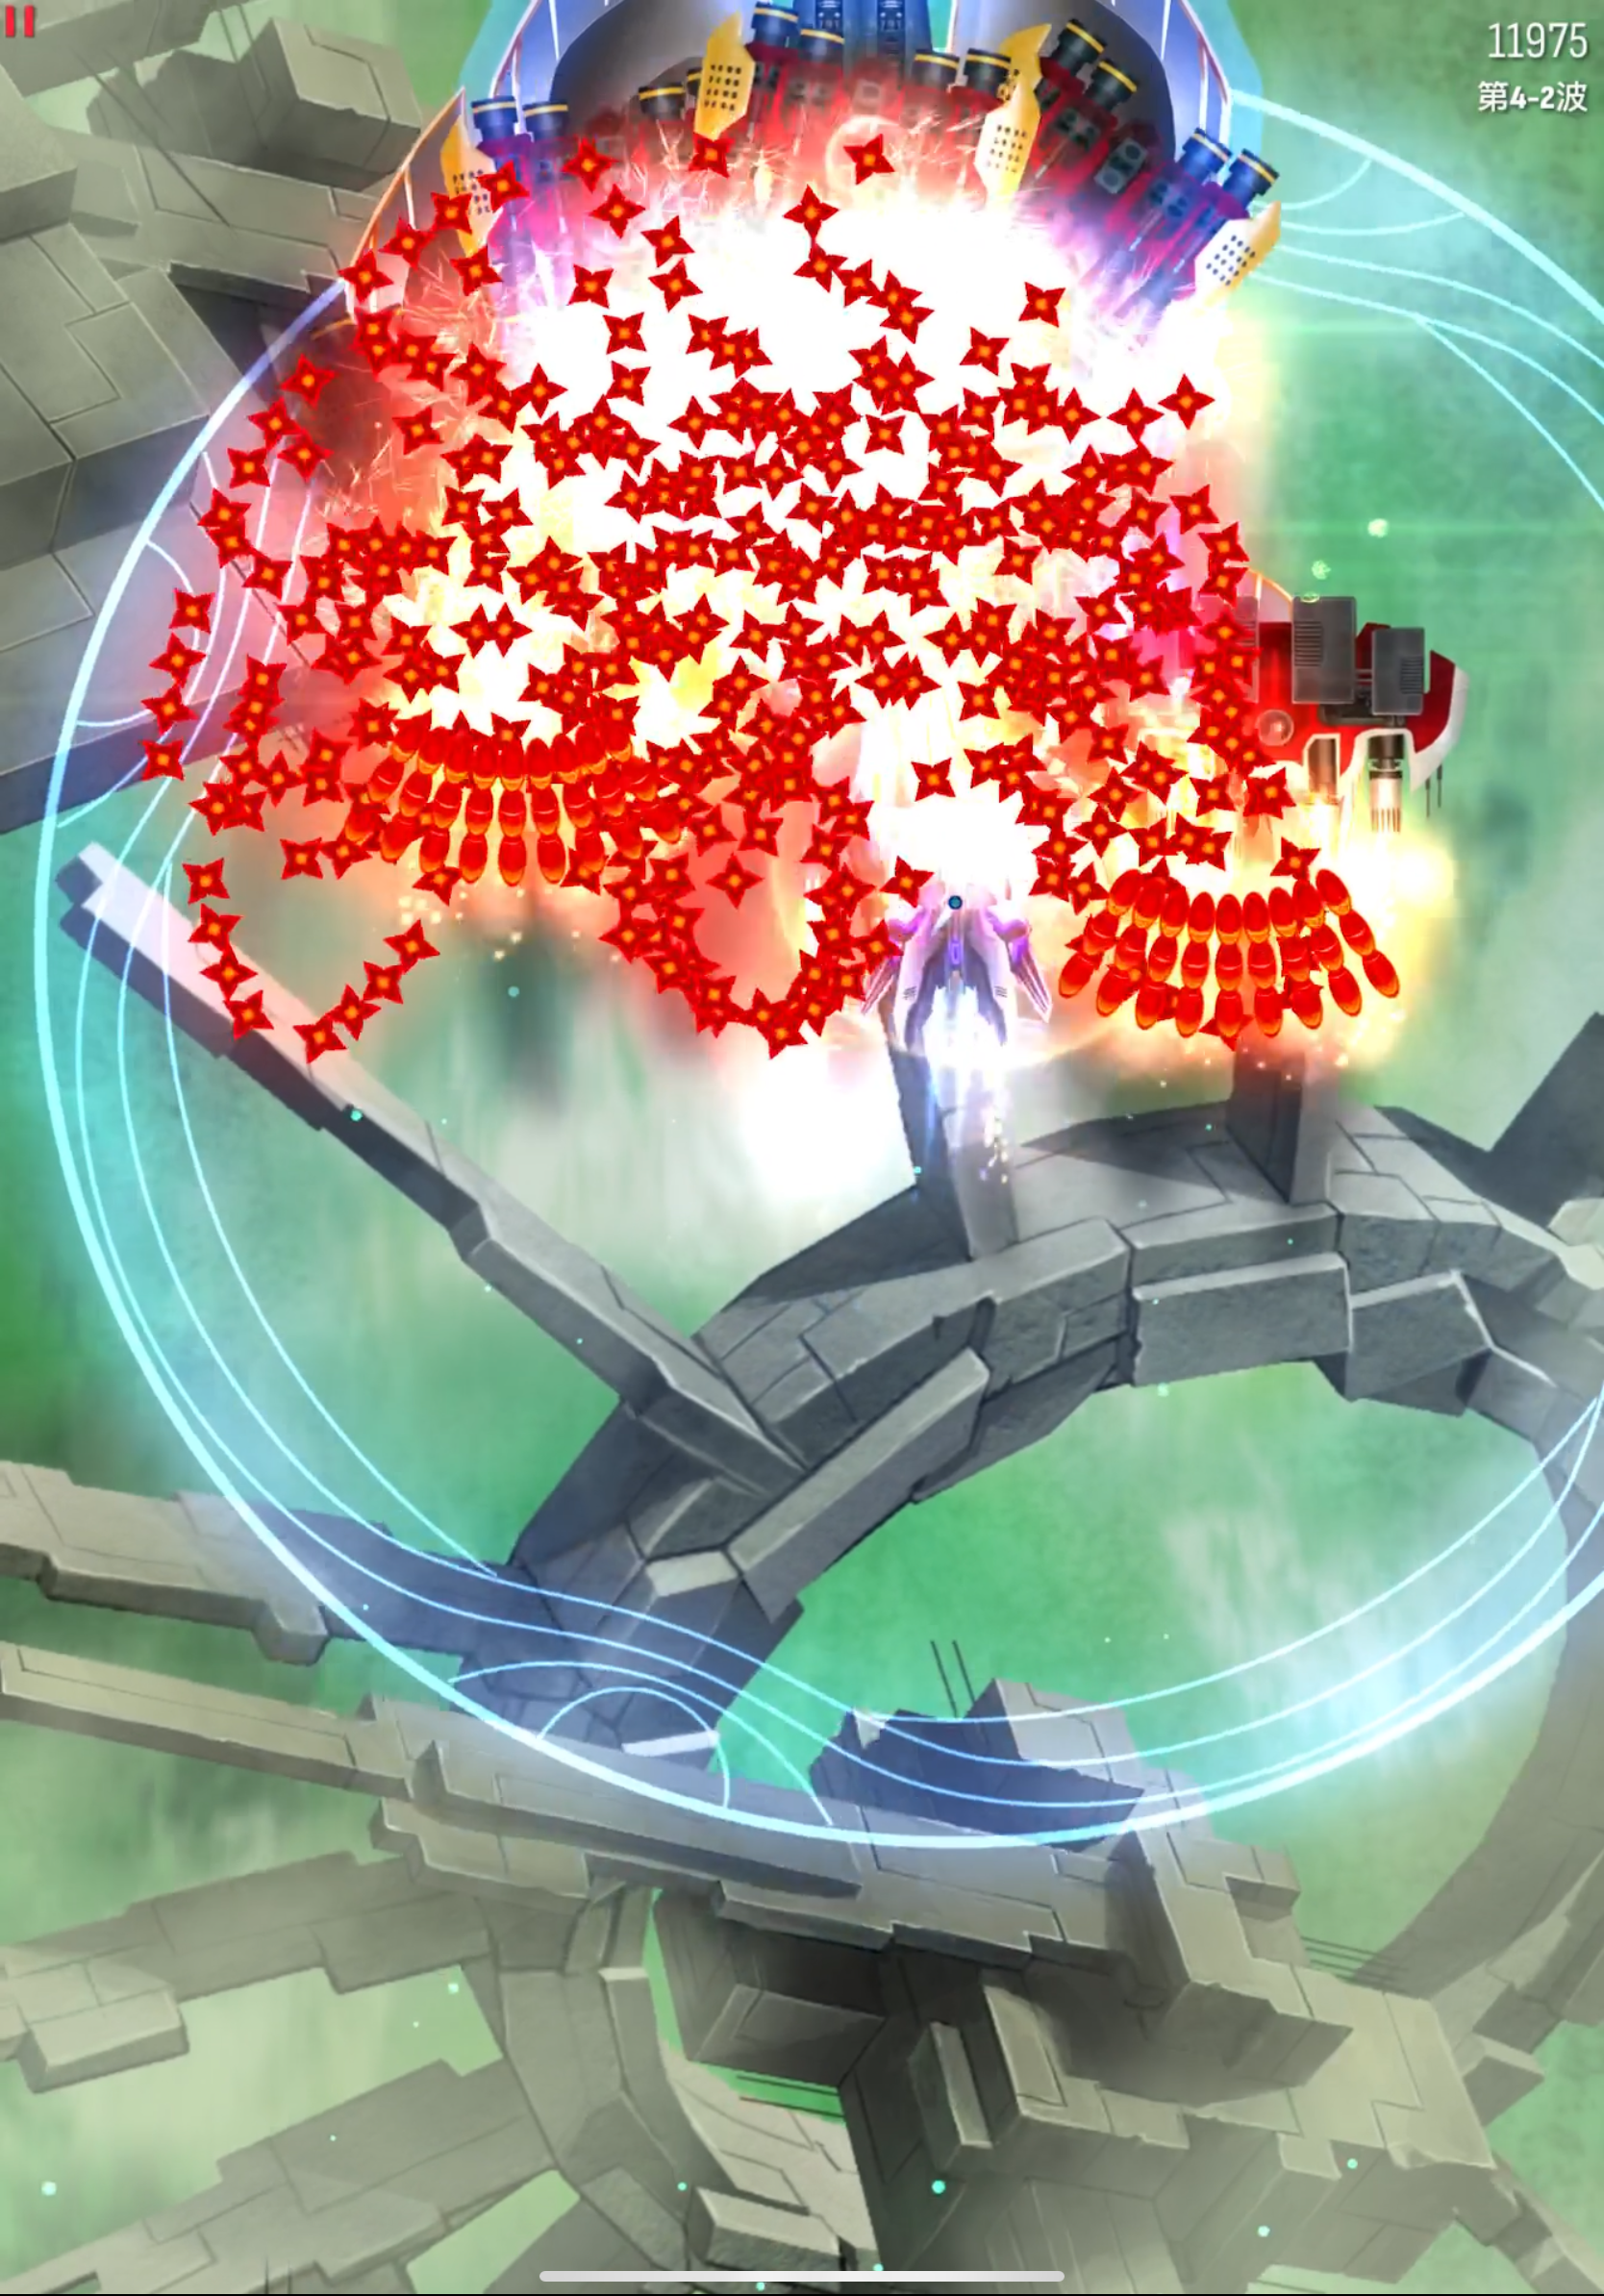
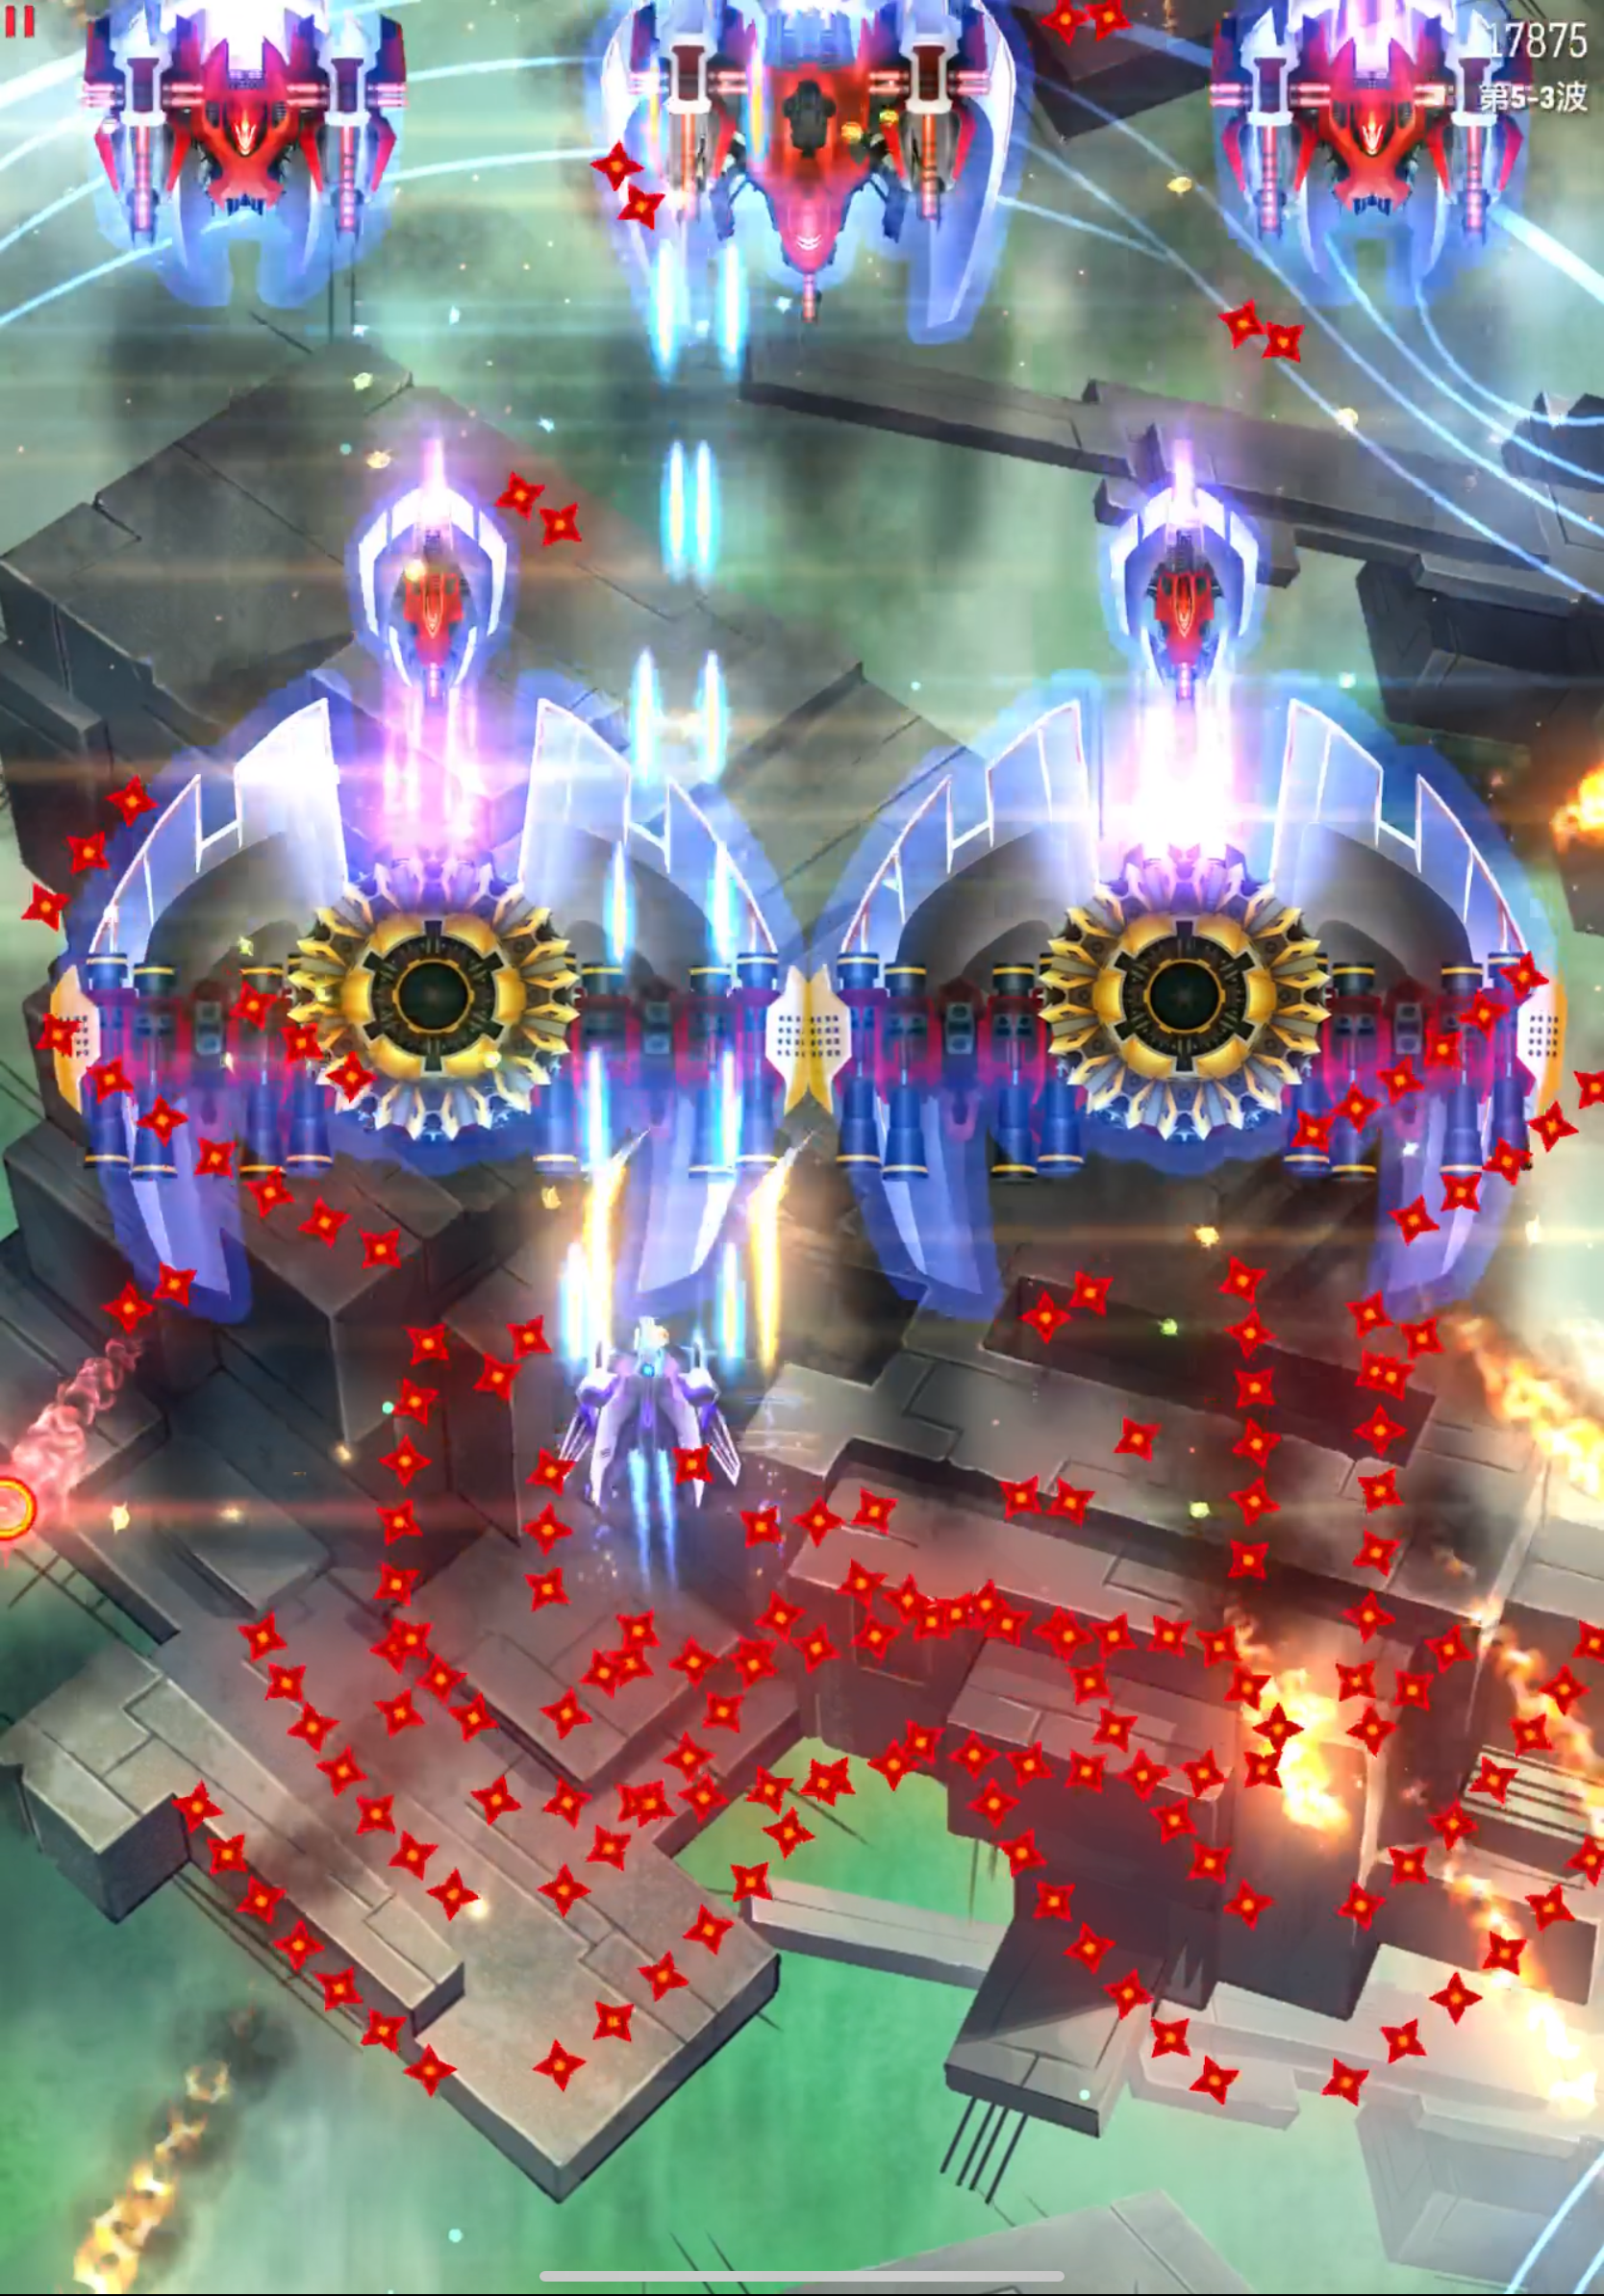
Rocs
The strategies for Roc fights are often overlooked by most players because they usually think that a single round of reflection is enough to destroy it. However, Rocs are quite tanky, so if the chosen reflecting position is not optimal, additional main shots are likely to be needed to finish it off.
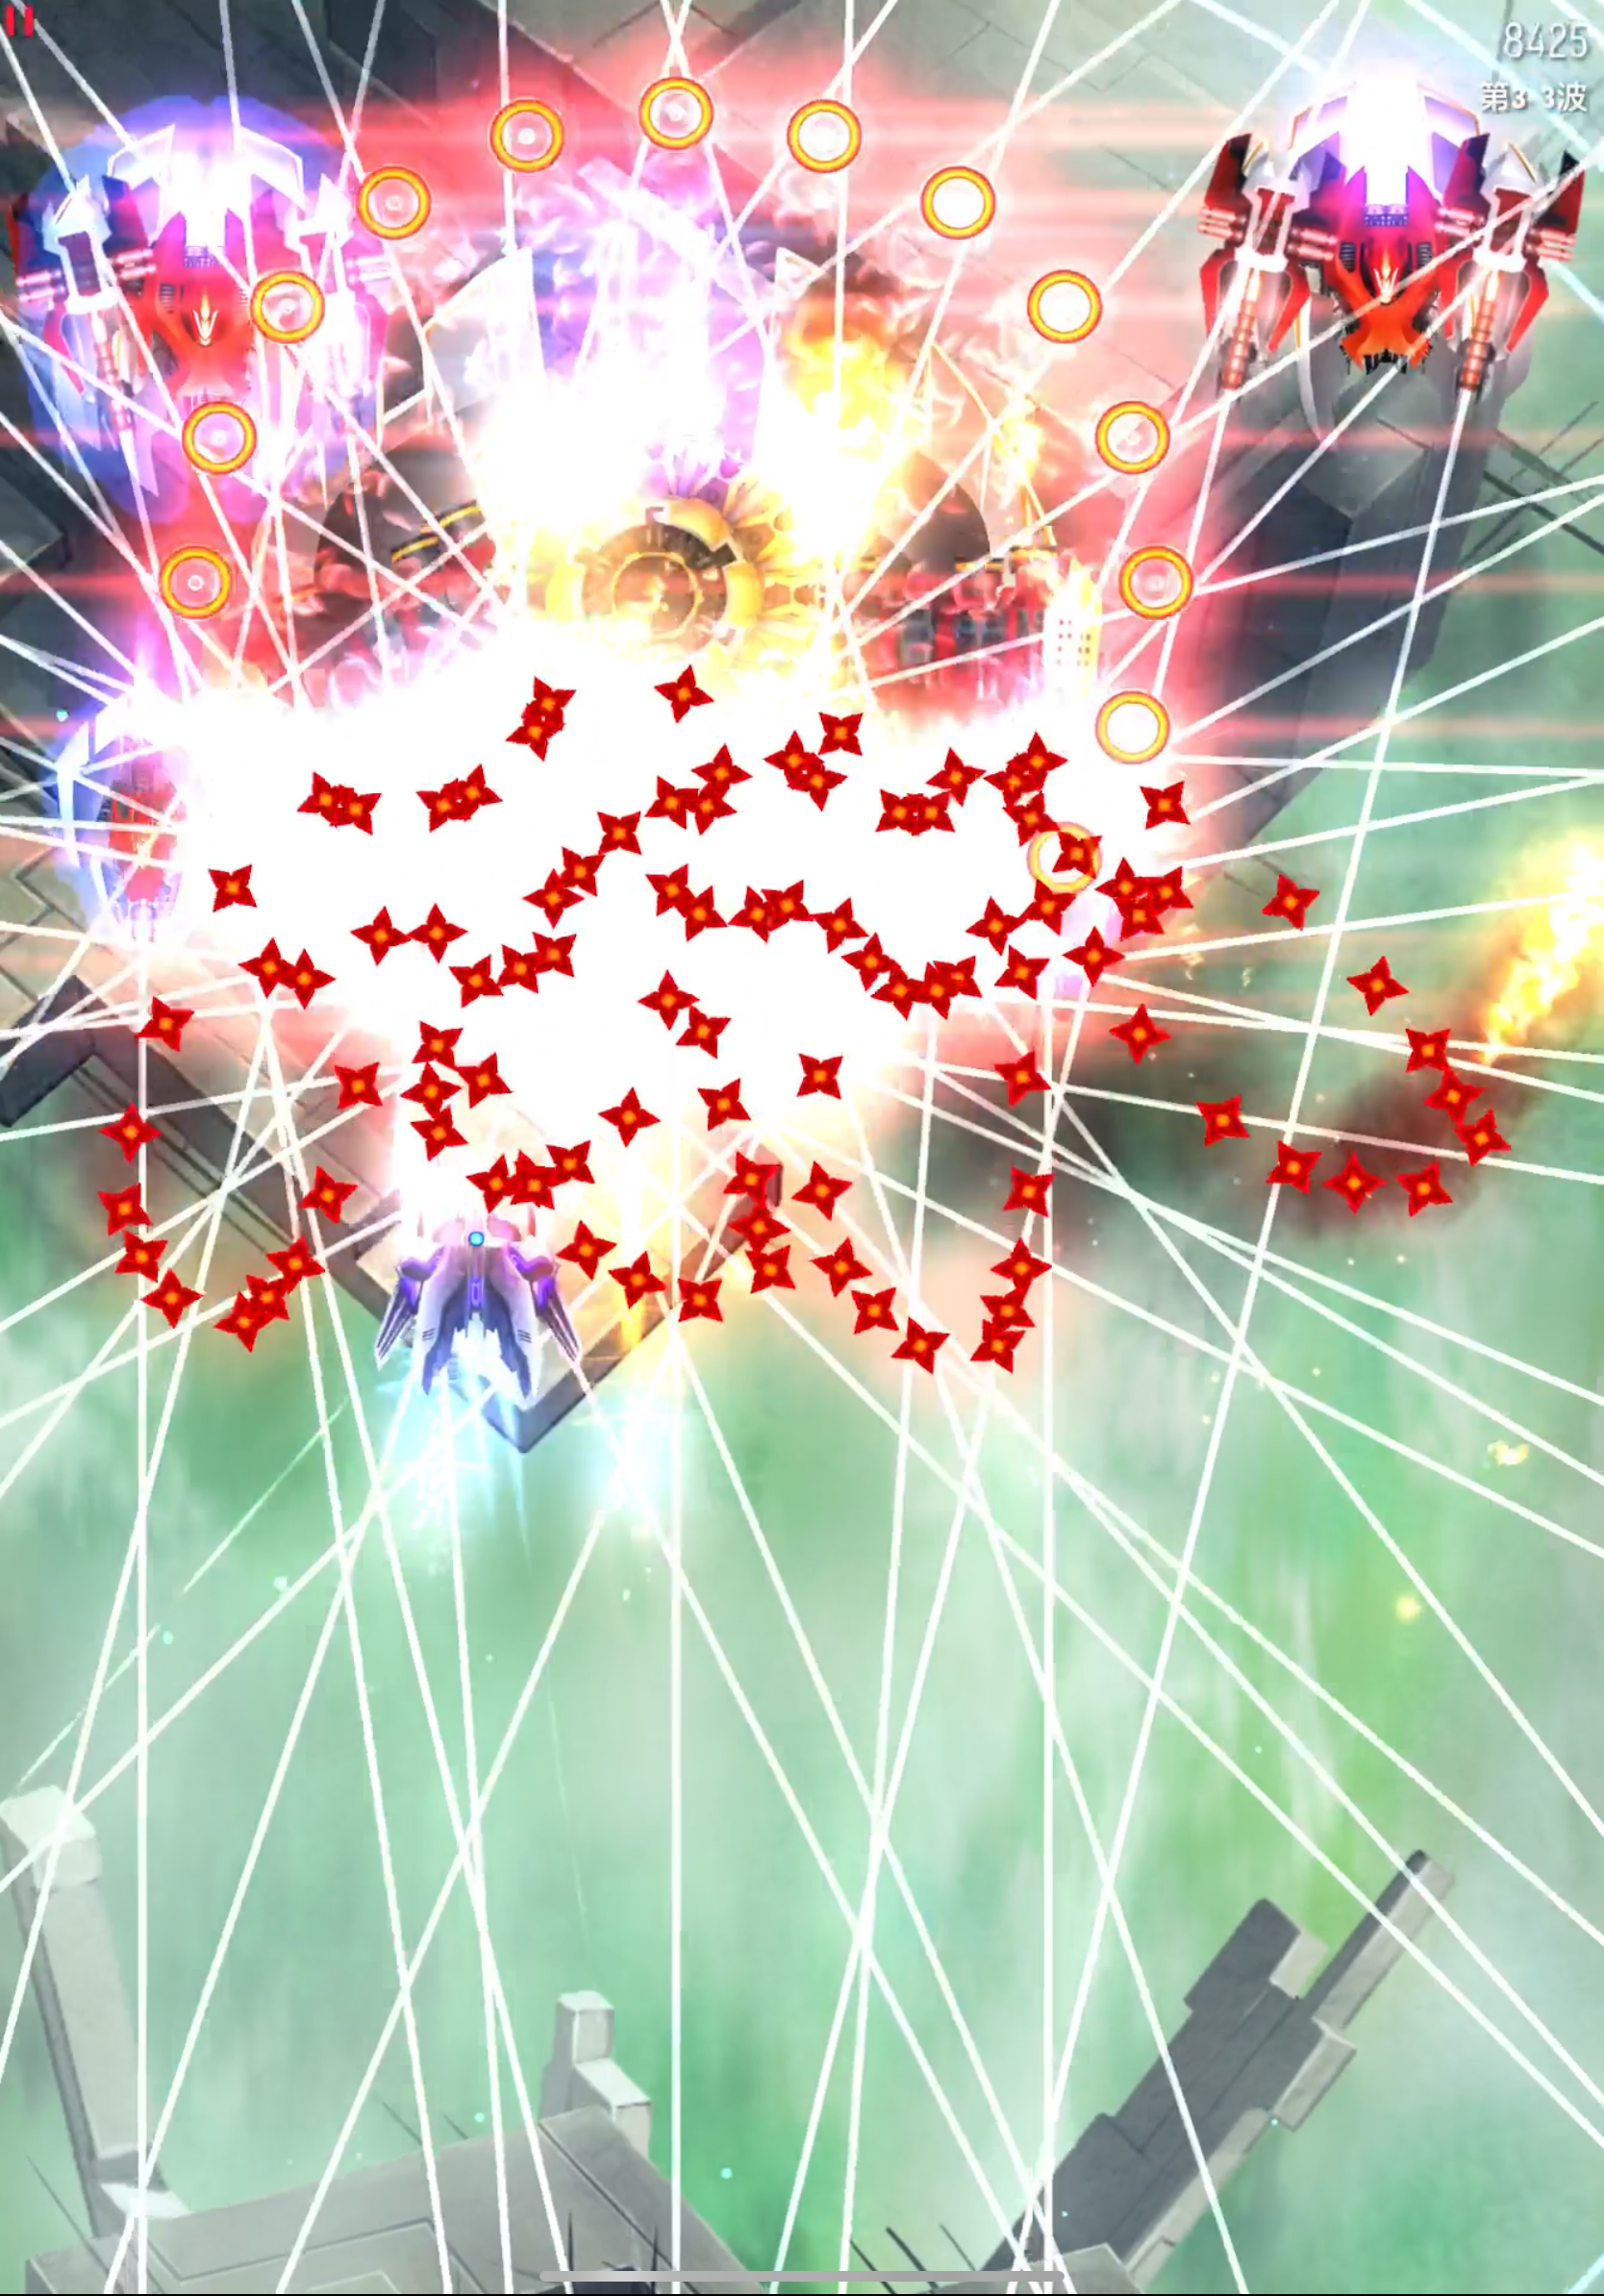
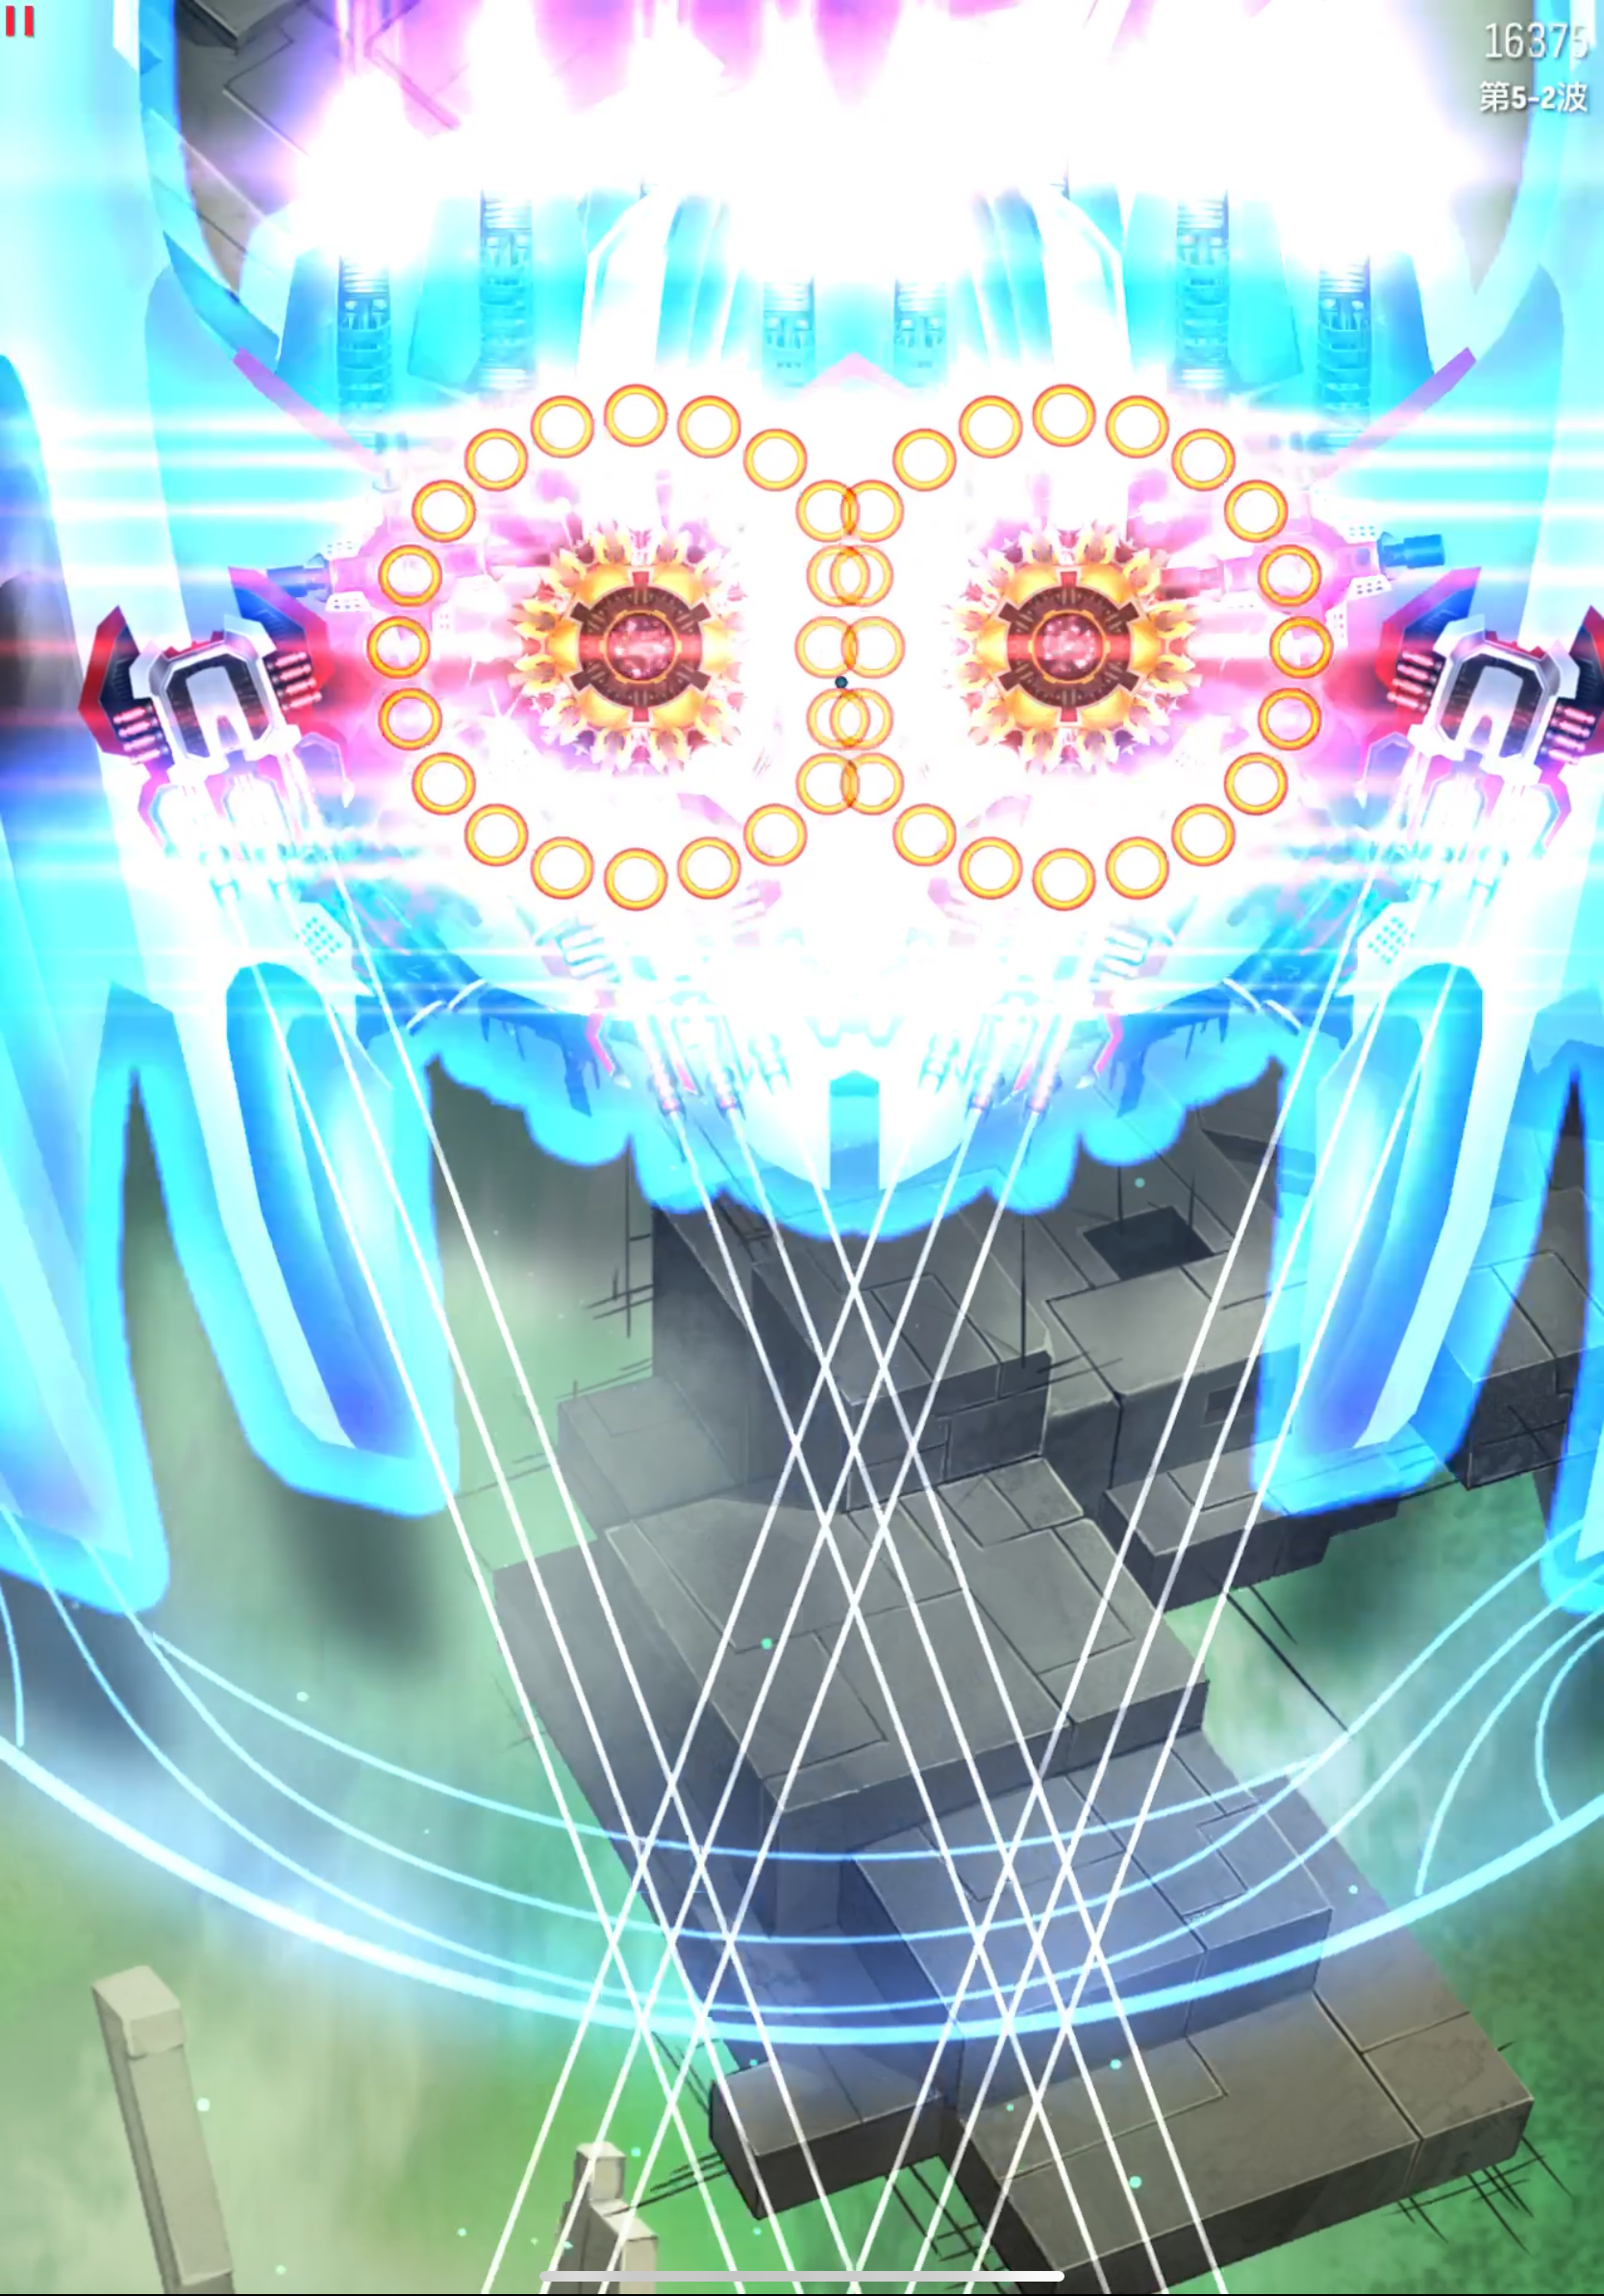
Pre-firing at the bottom is always needed. This lowers the Roc's health more which provides greater margin of error. Through a simple calculation, it can be found that a Roc, with 945 HP under laser reflection of 10 DPS per laser, requires 95 reflected lasers to be completely destroyed (lasers only last for 1 second). However, a single laser MIRV produces a maximum amount of 9 lasers, meaning the PS must cover as many lasers as possible. In reality, it only takes around 20-30 lasers to densely cover the entire screen, which makes it hard for your naked eye to judge whether there are 95 lasers. From this point of view, the initial pre-fire is necessary.
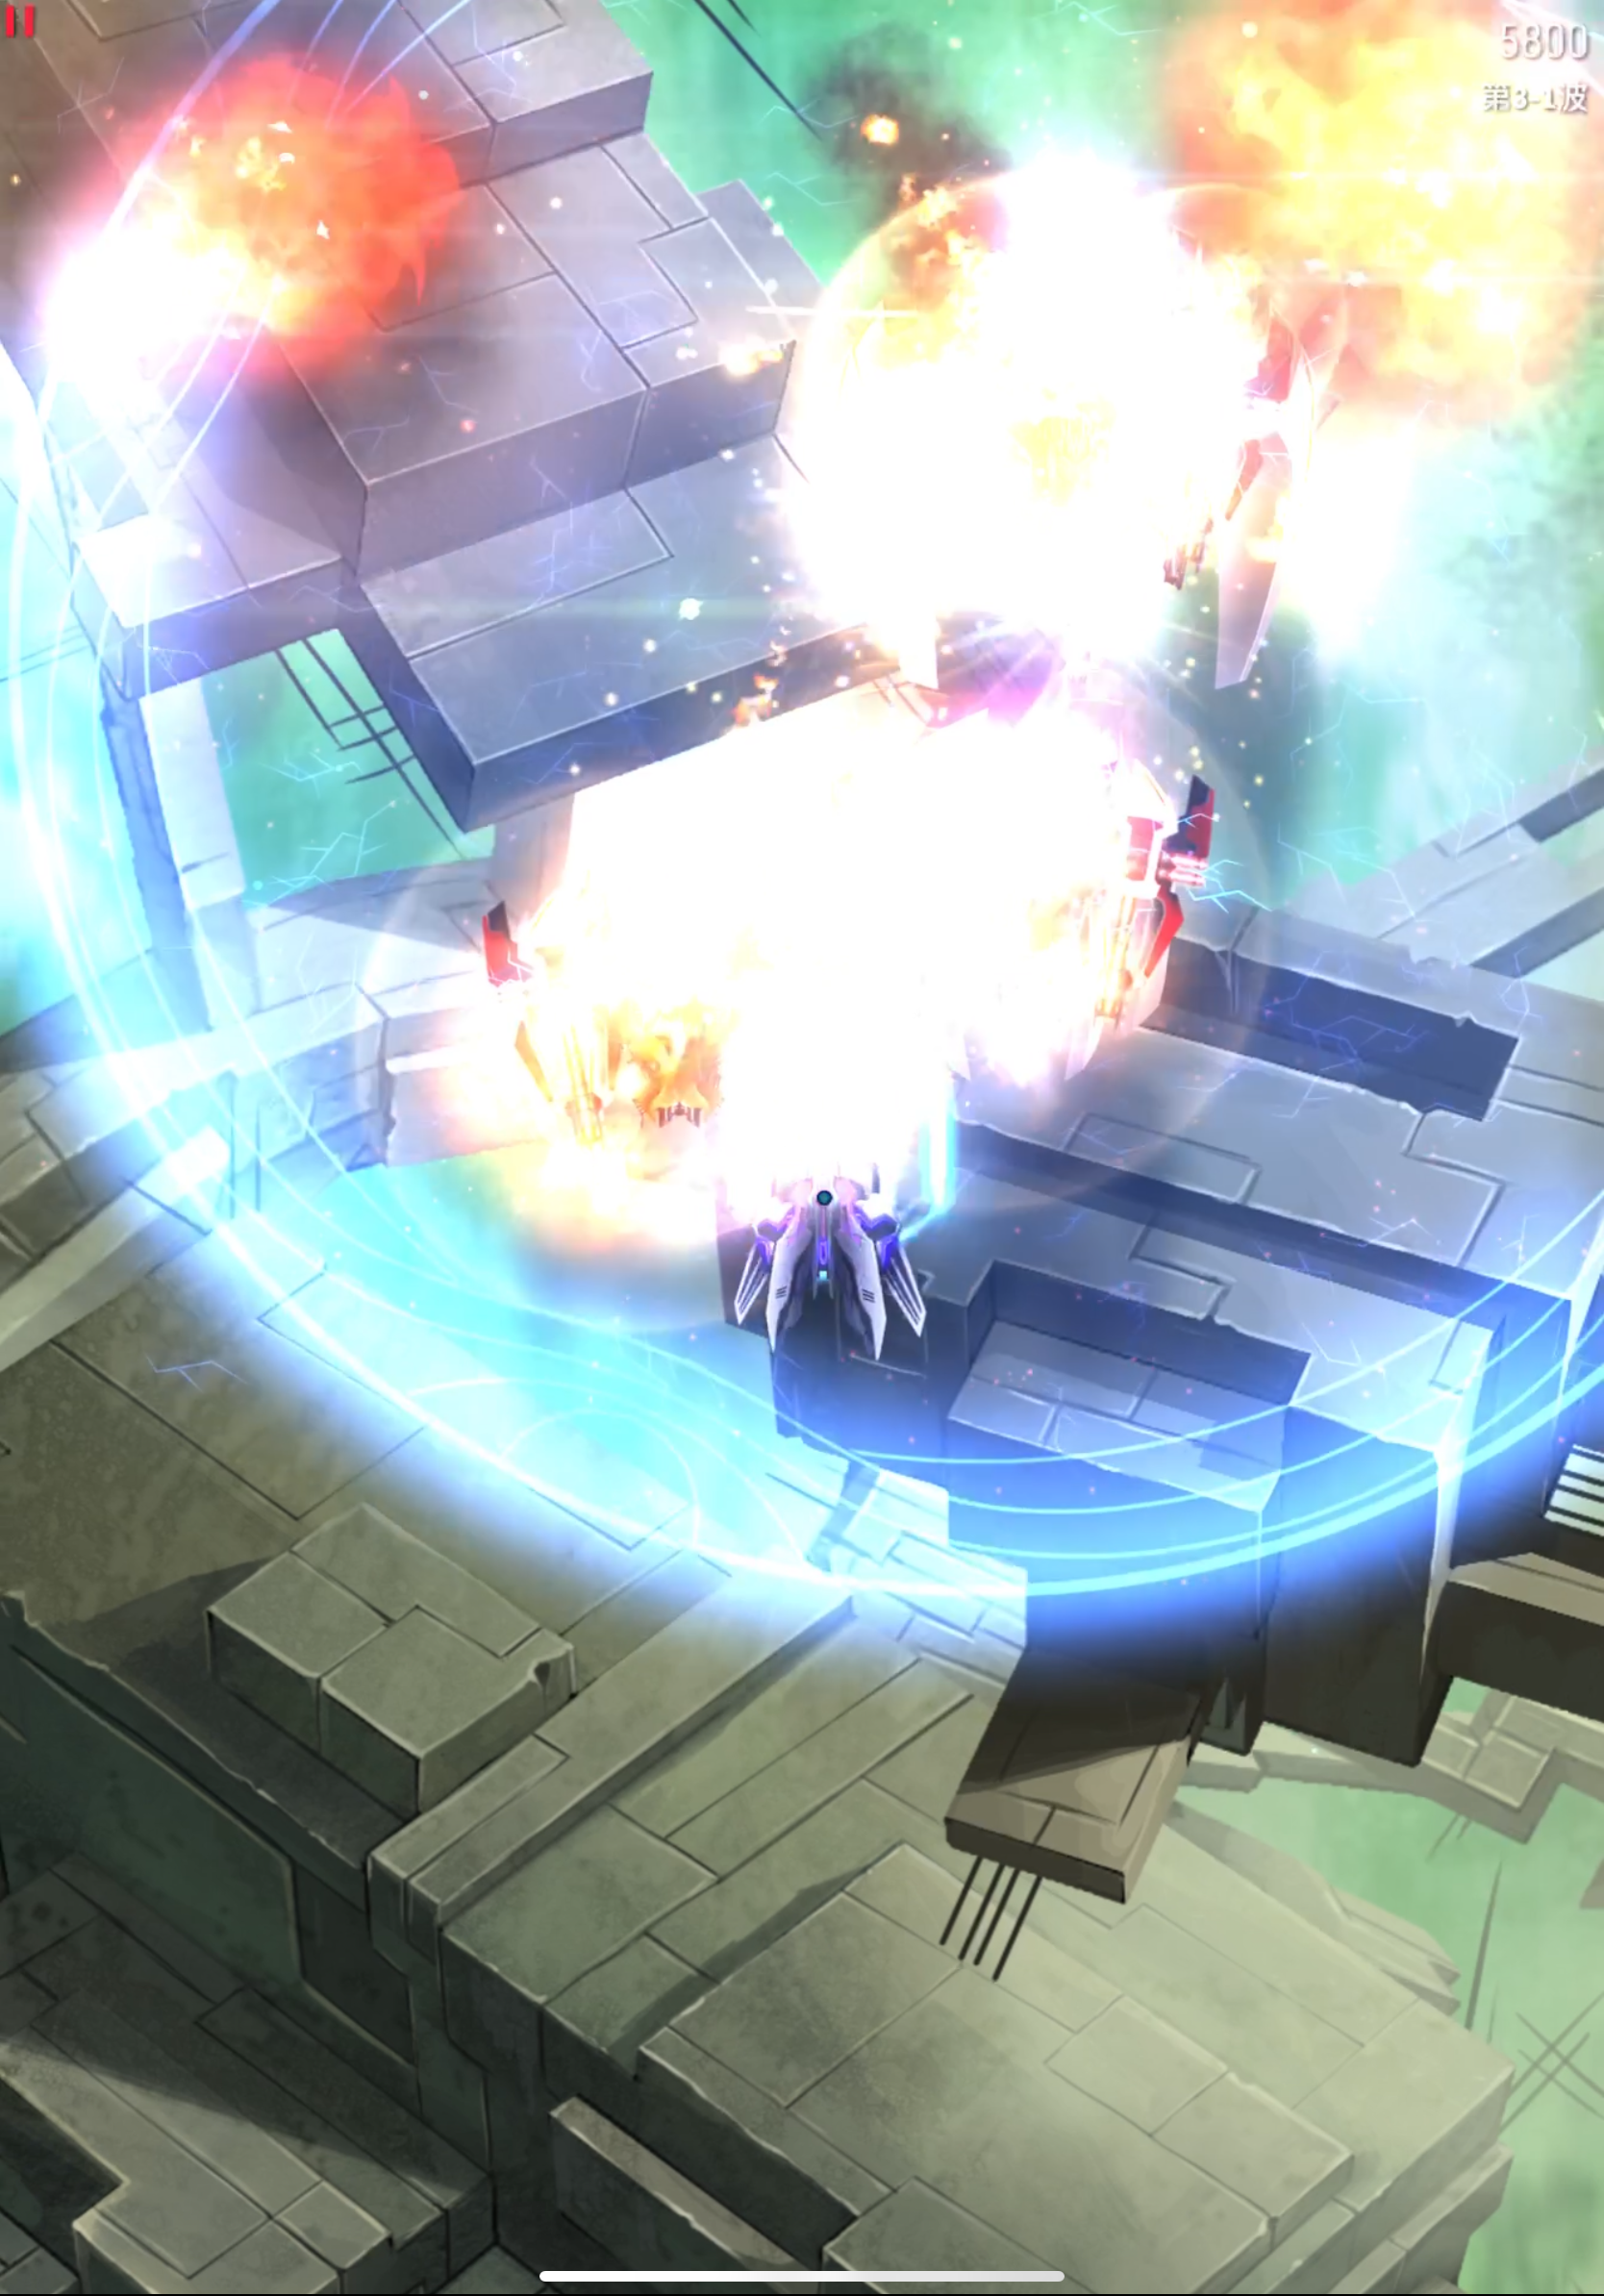
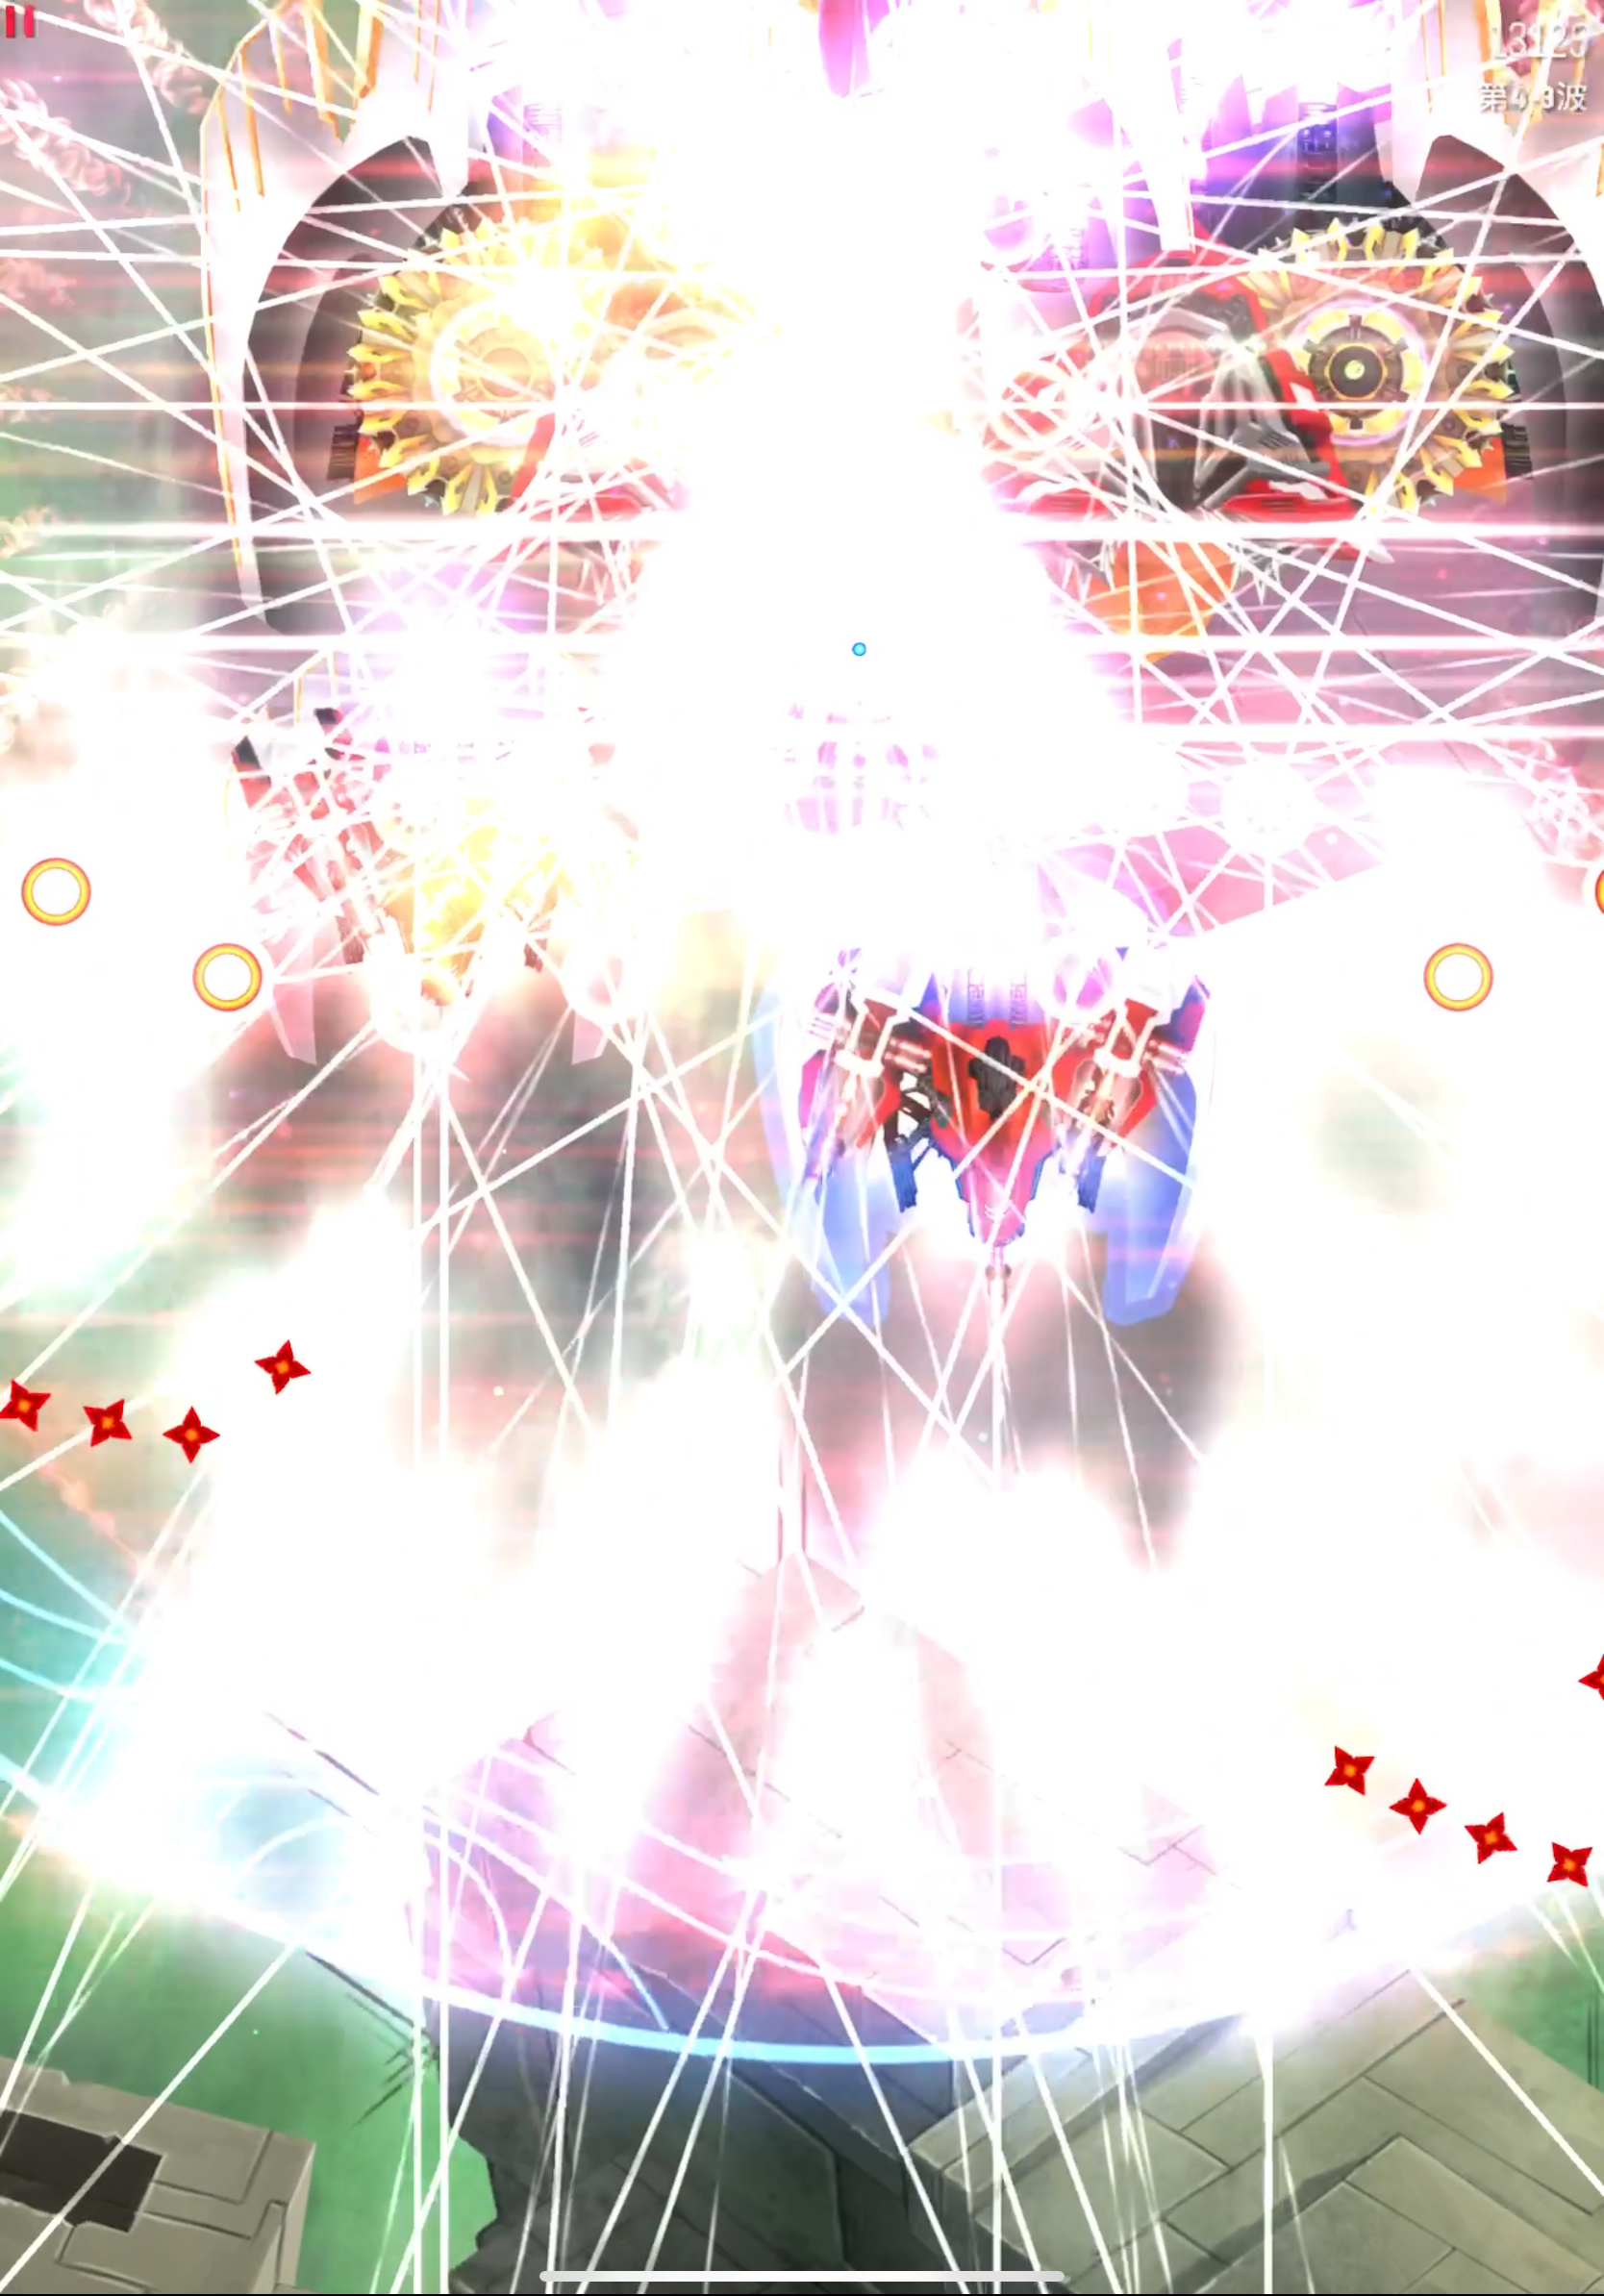
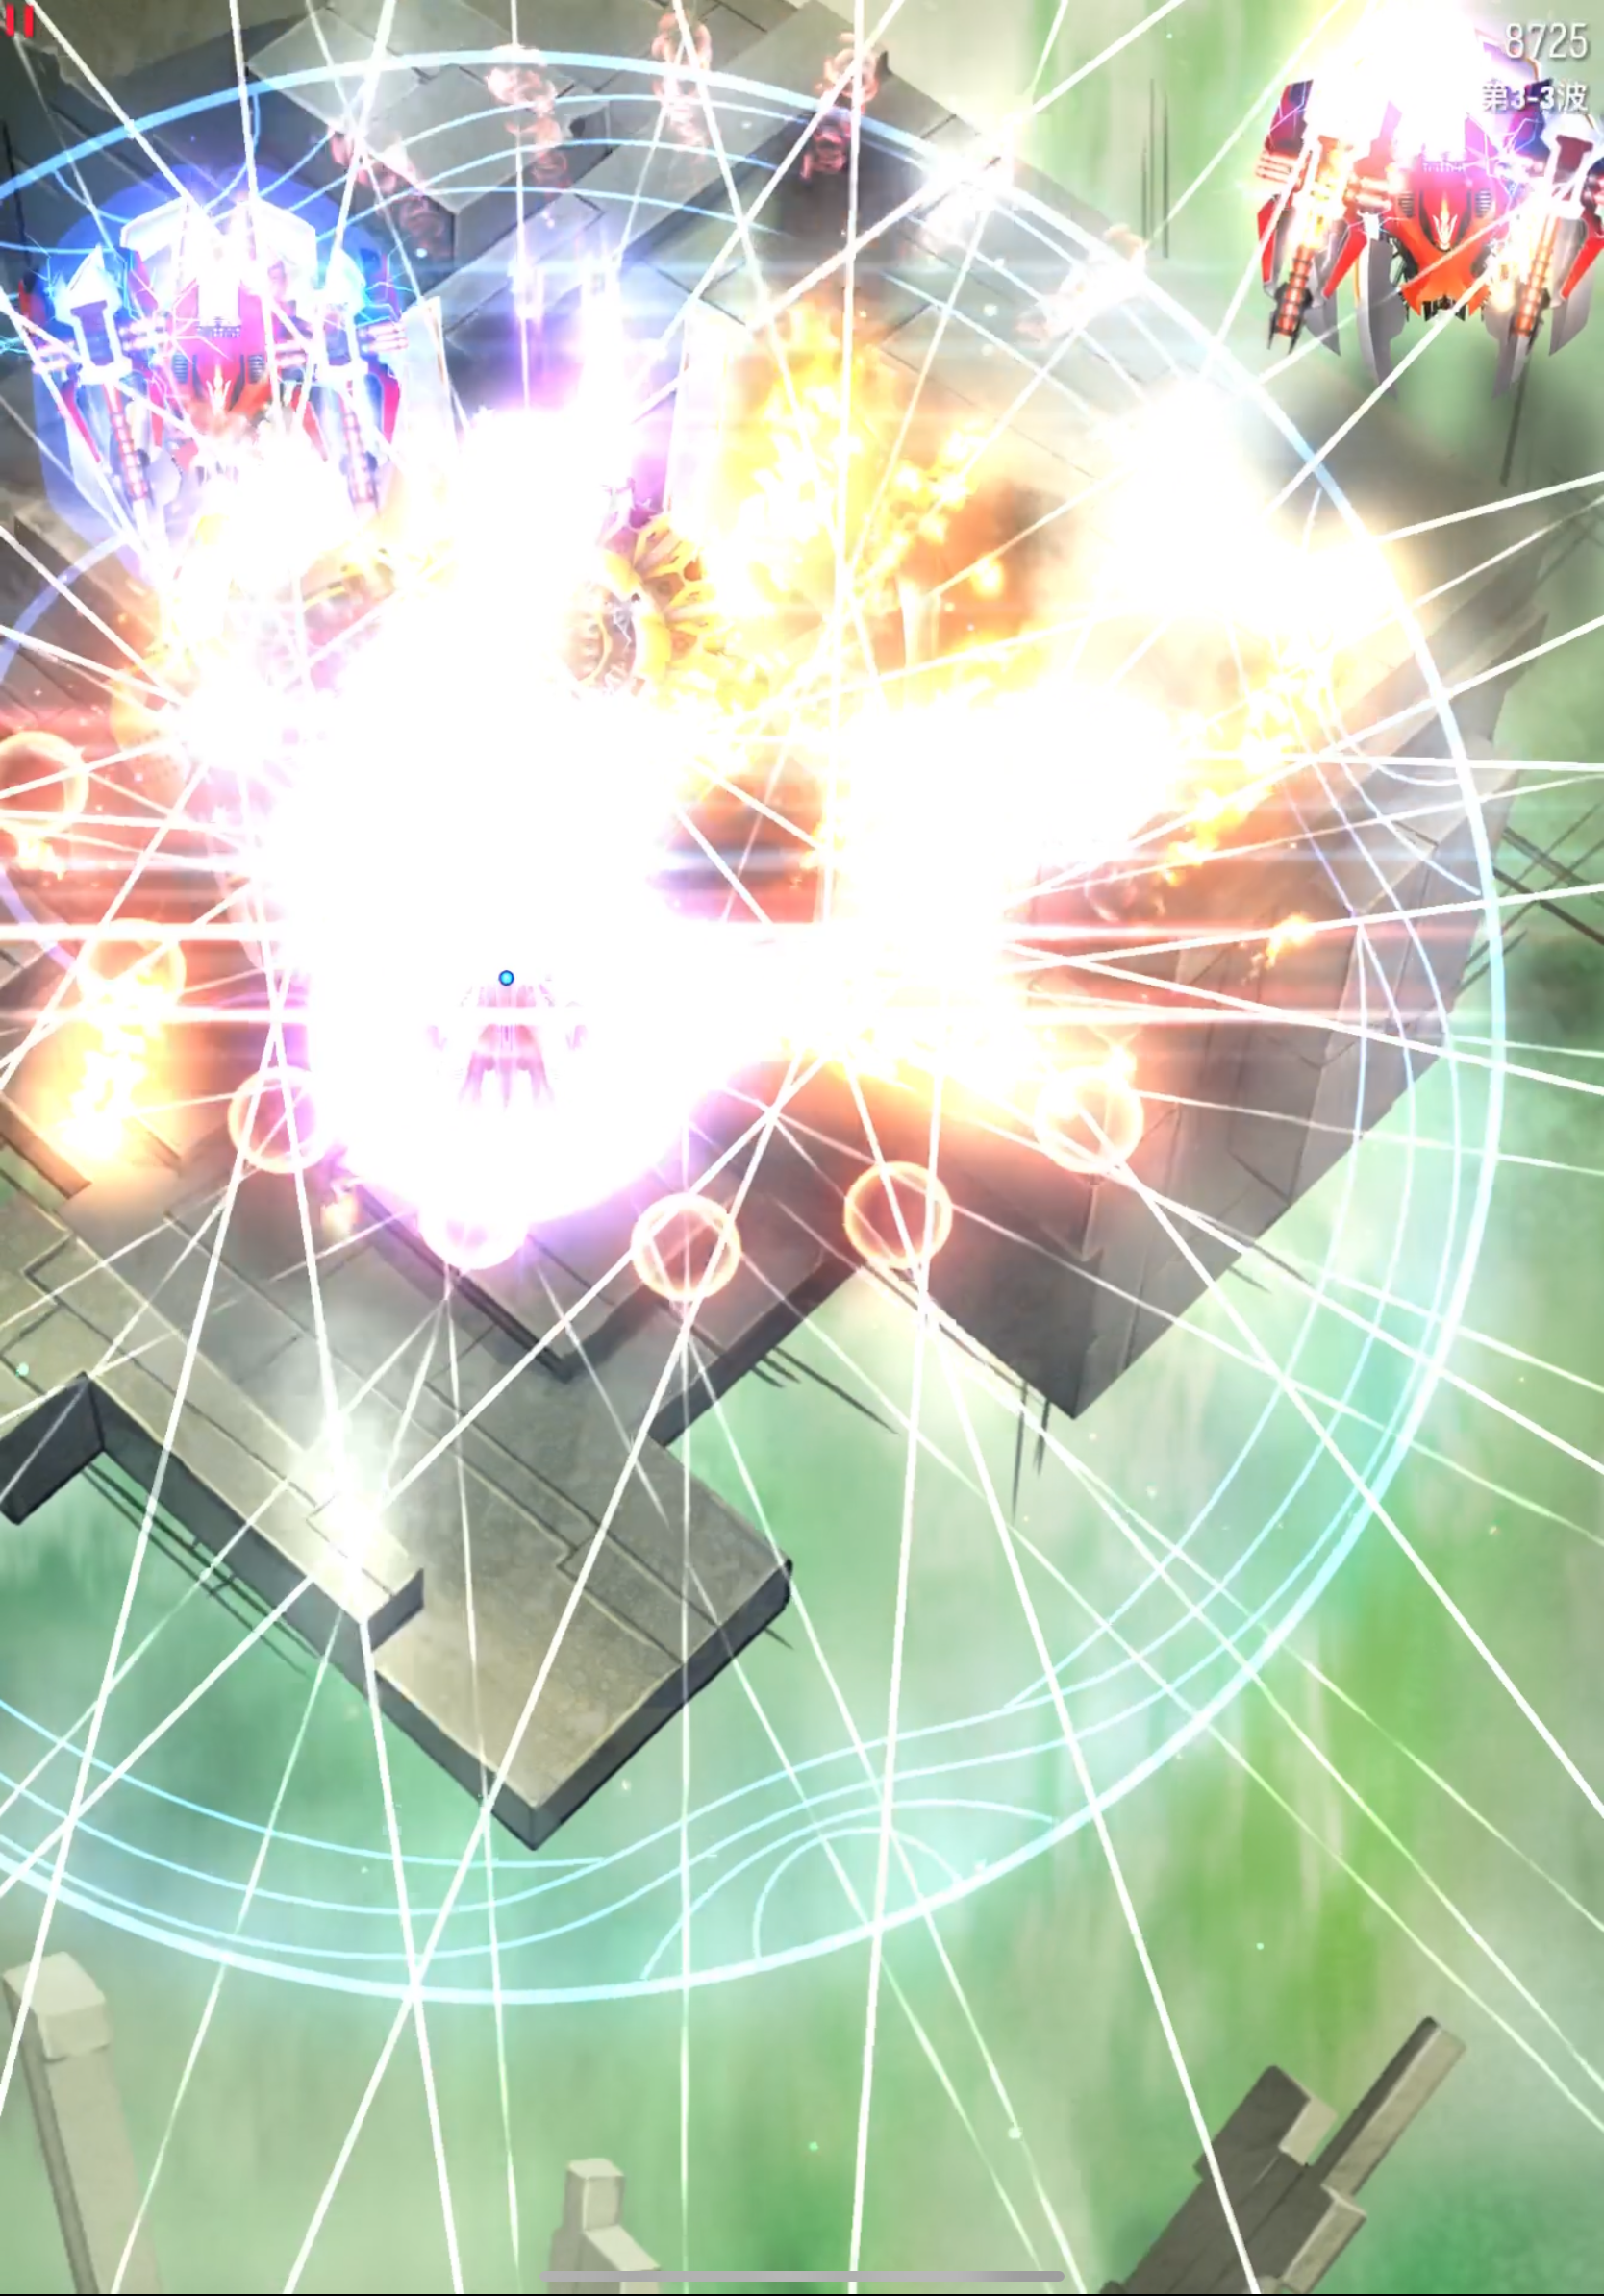
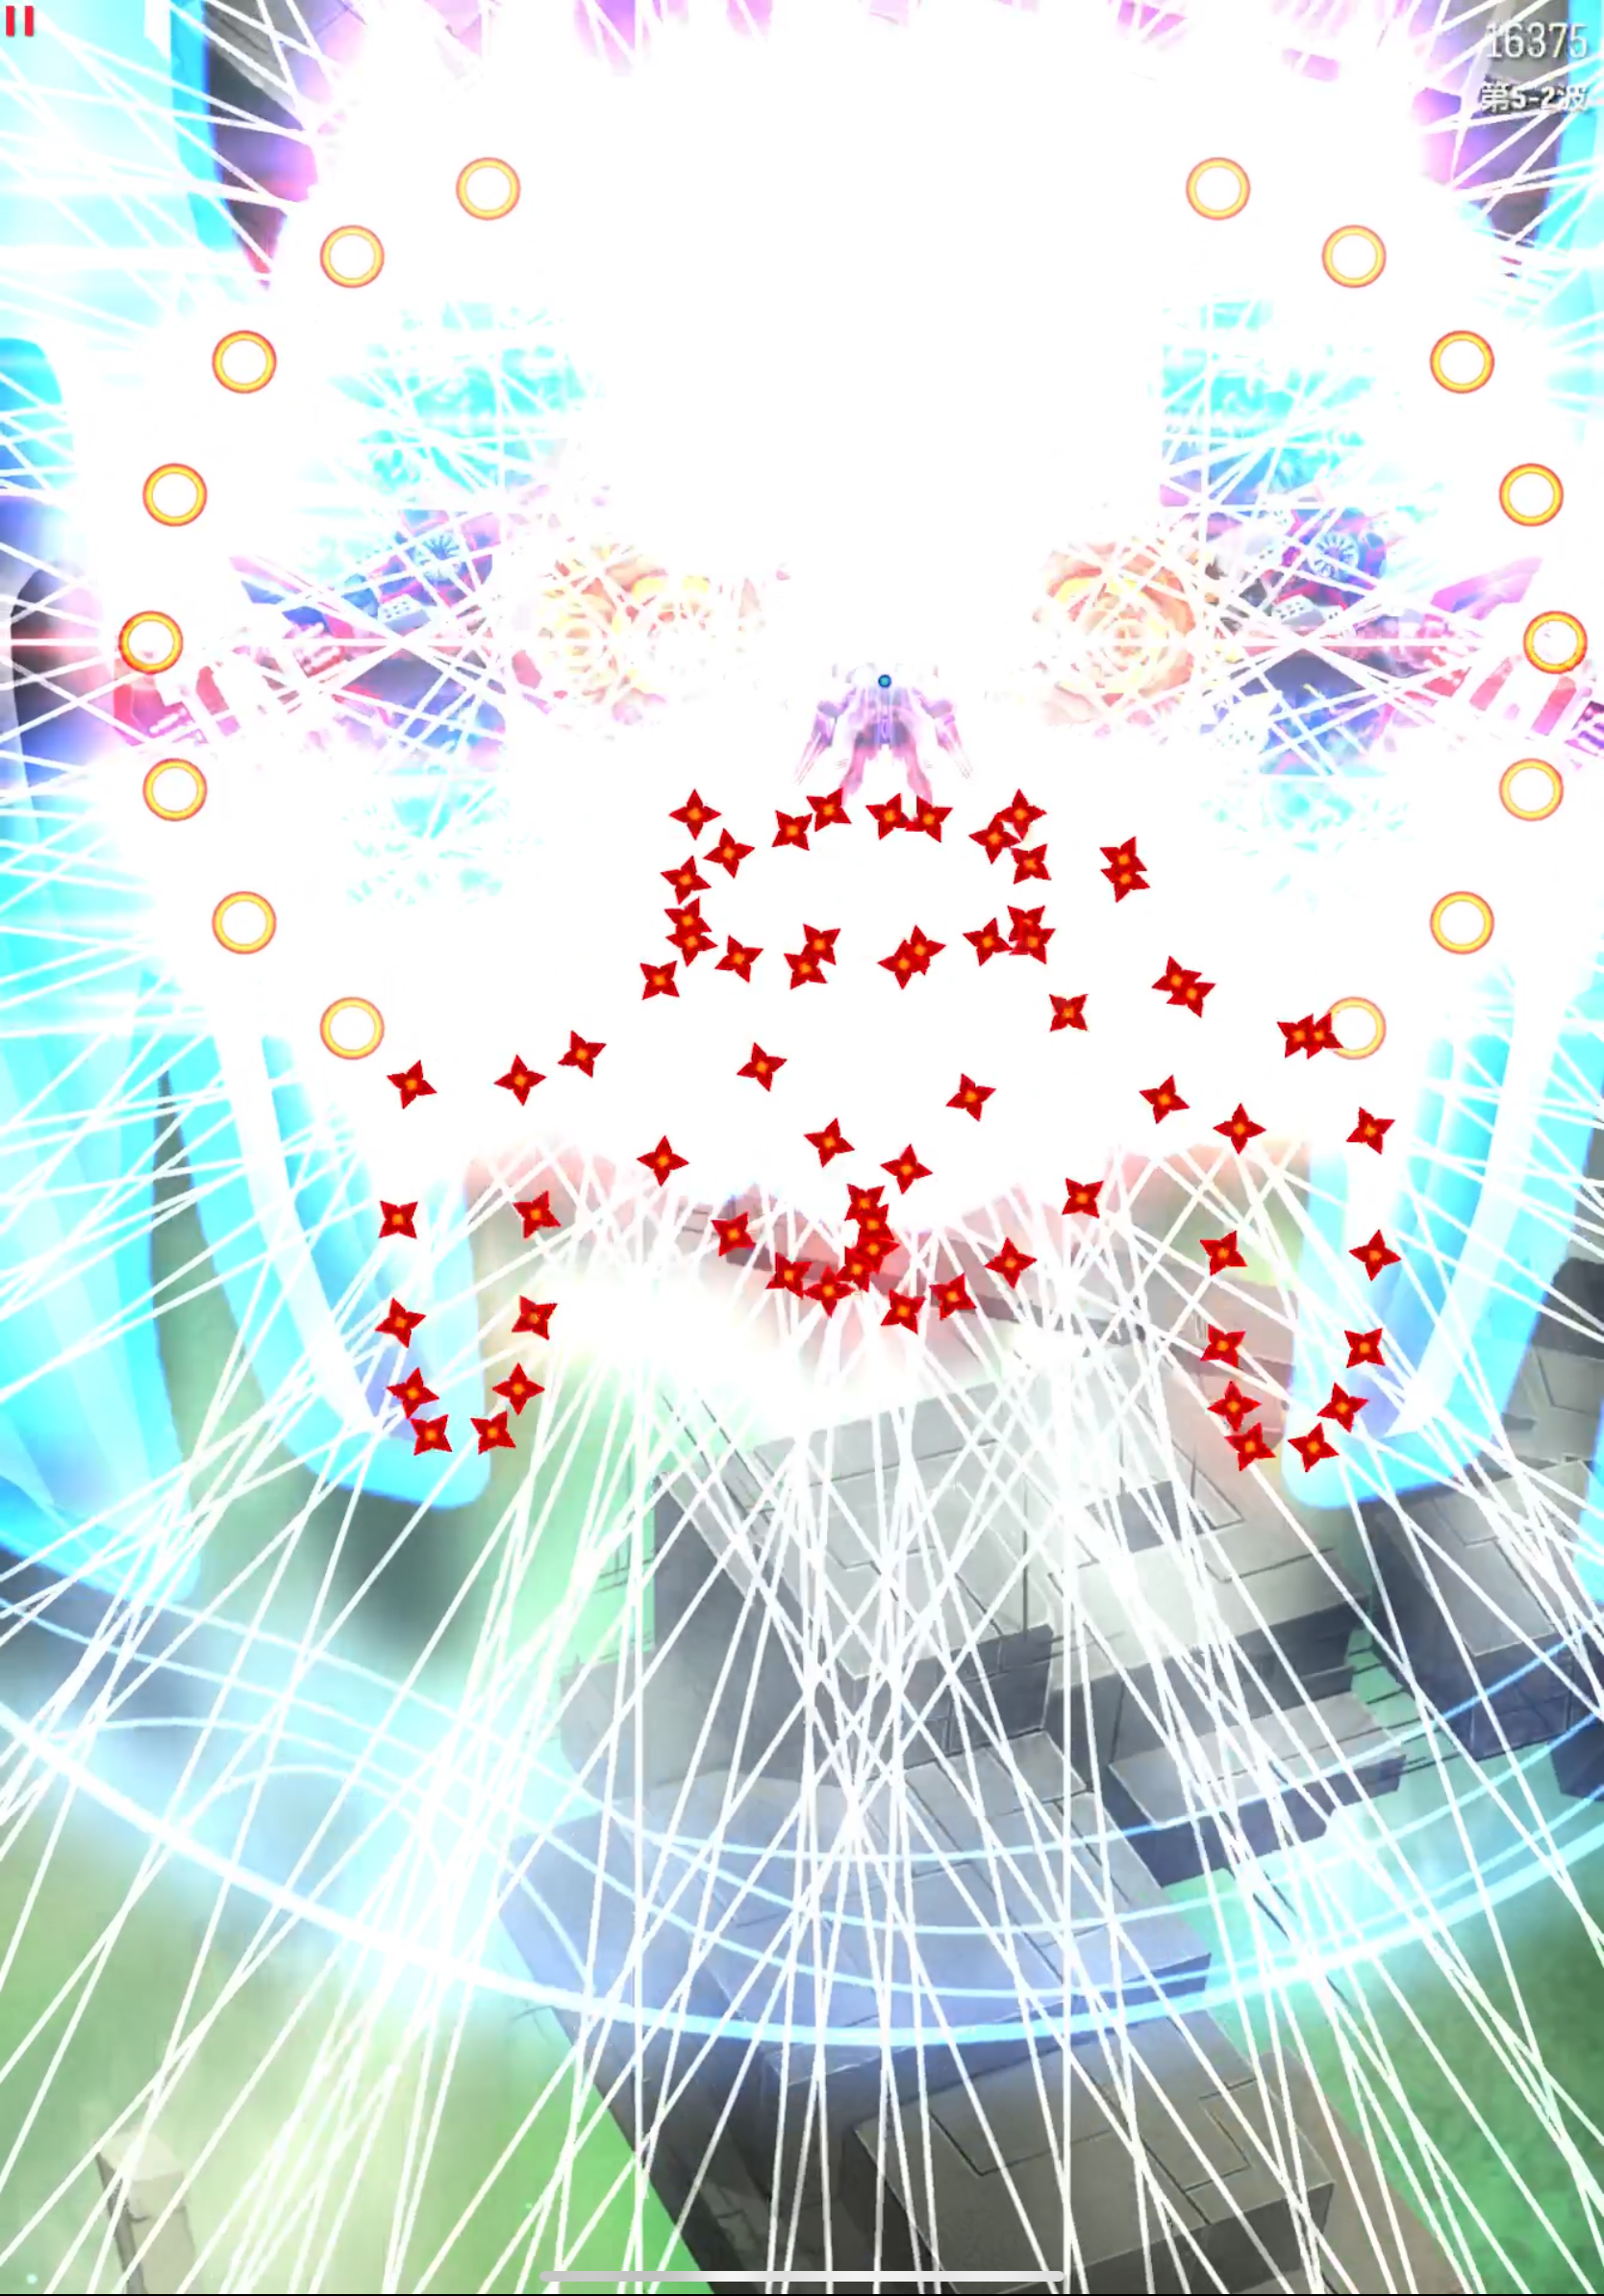
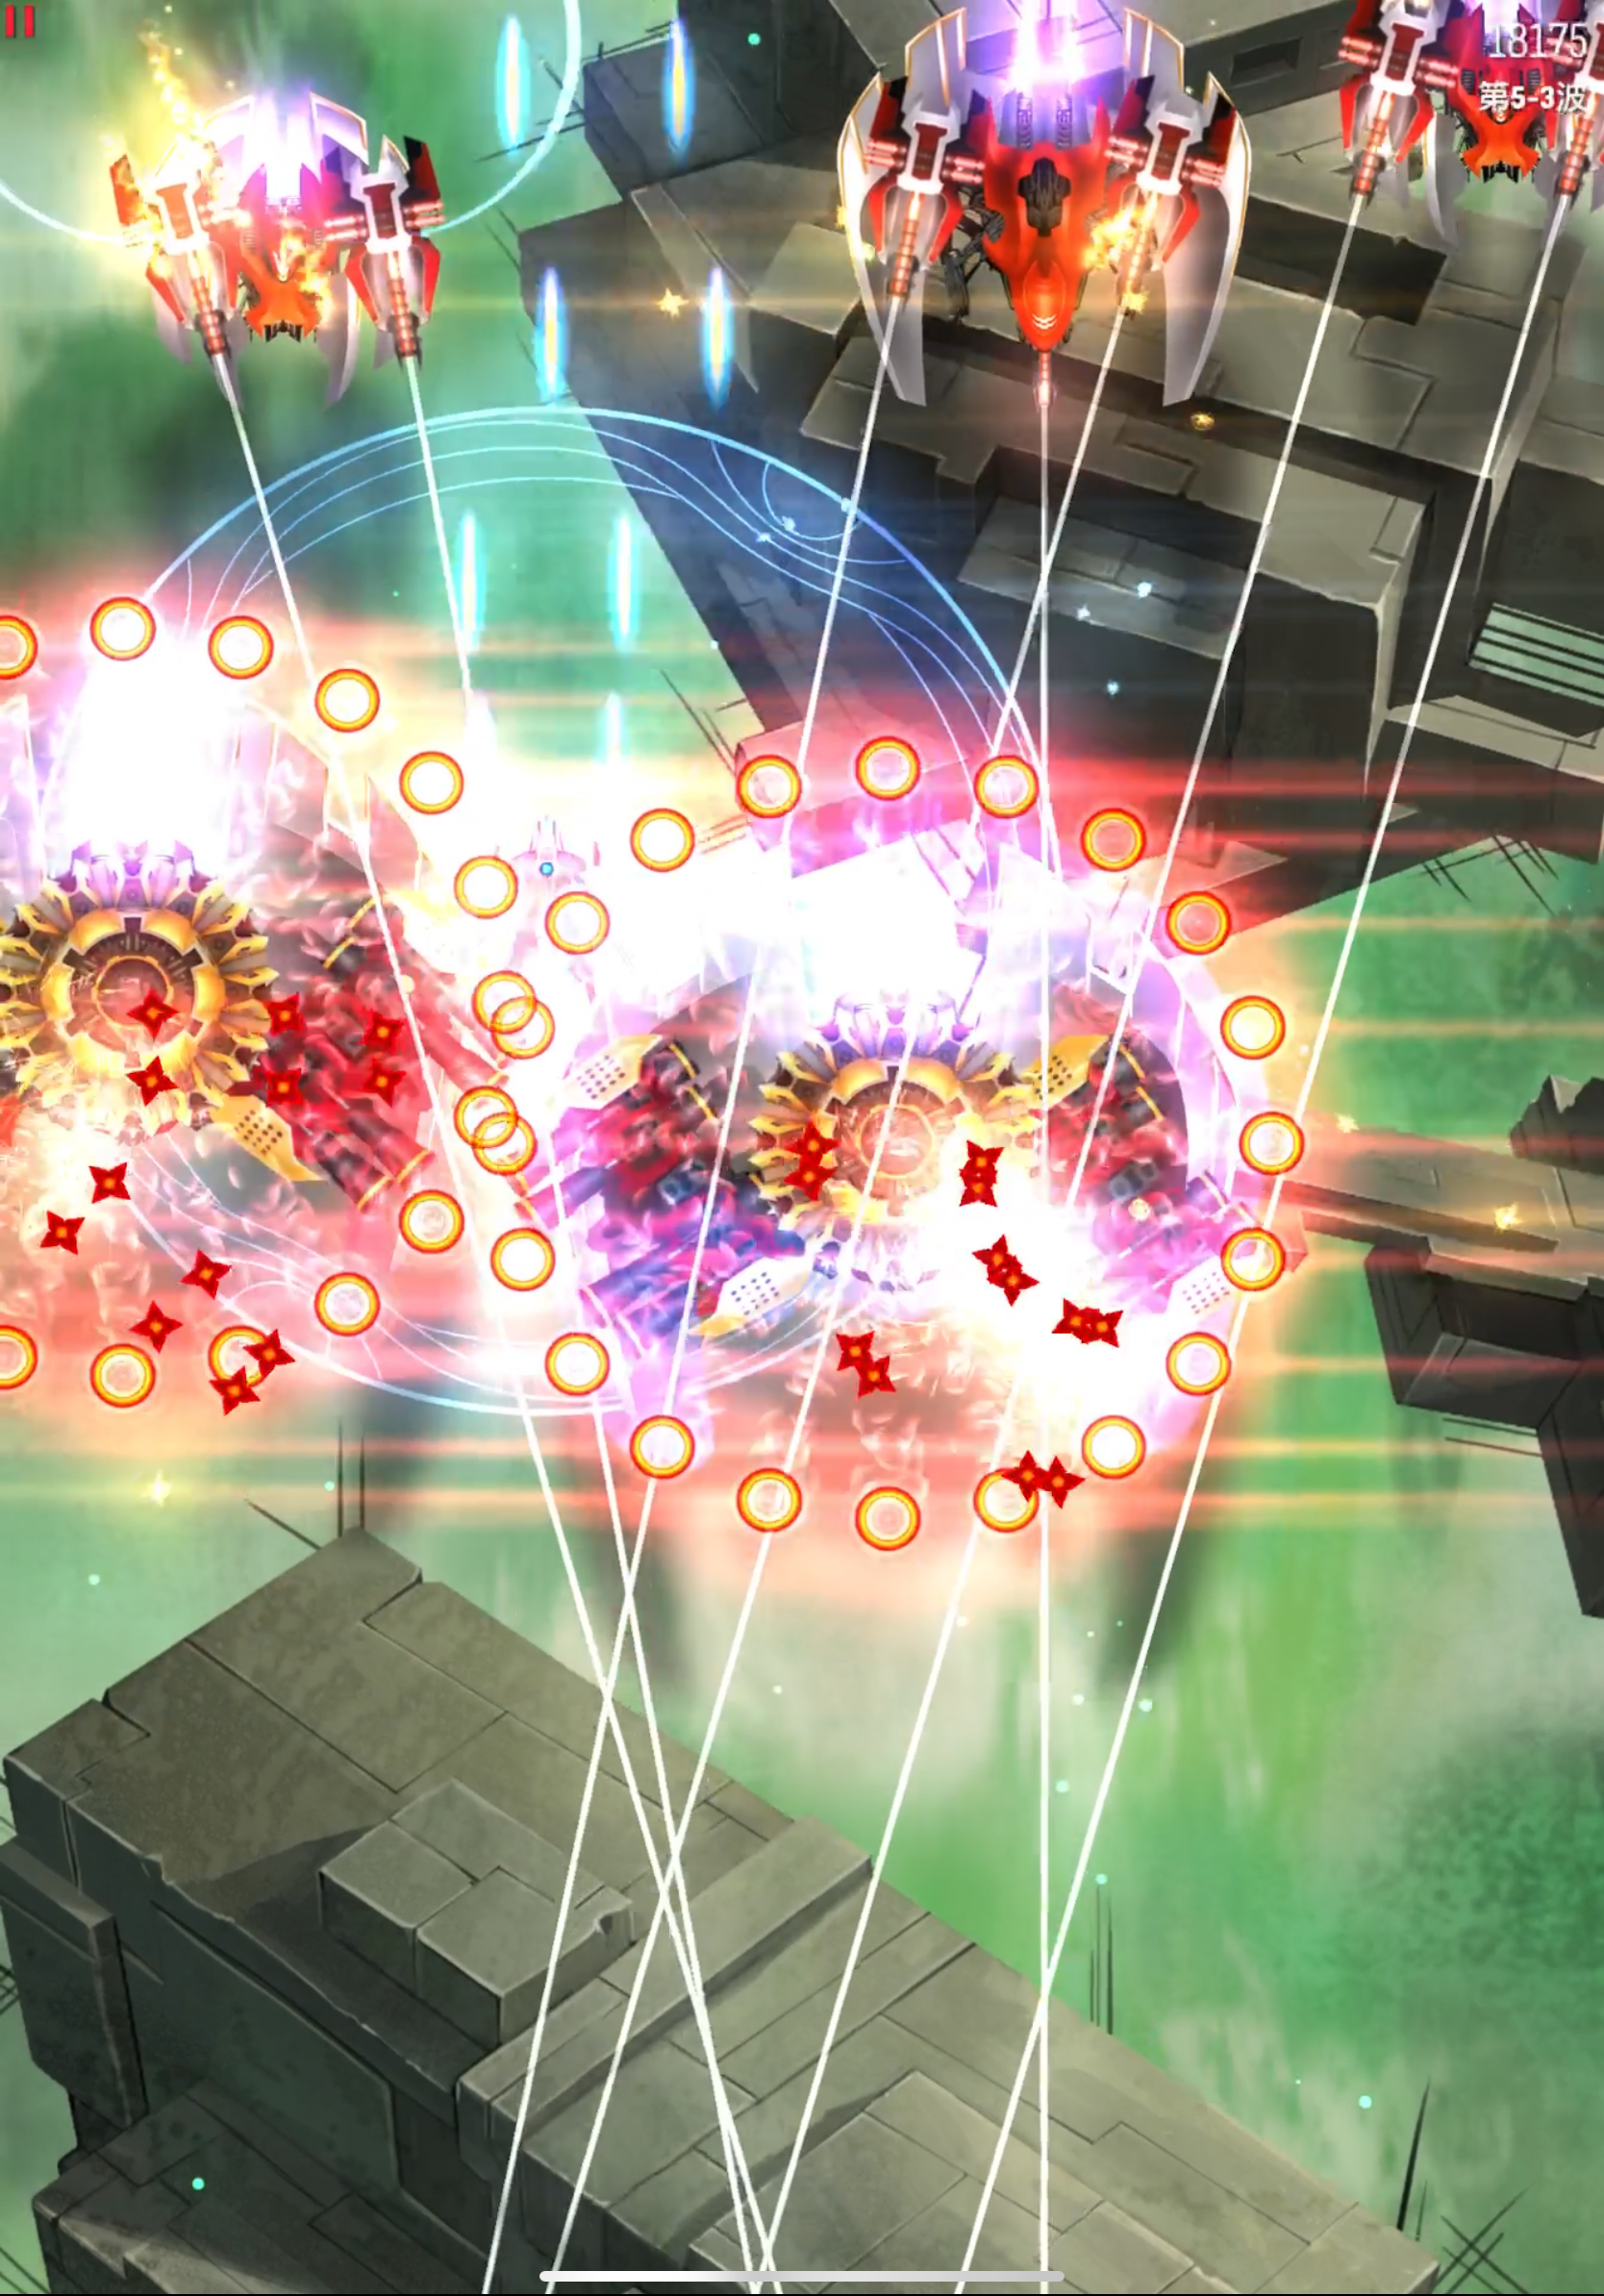
Sometimes, shuriken waves from the sides quickly block your path, so front reflection is not ideal. This is when the following technique shines: you can dash in between the two MIRV Bloomers for reflection. It is worth noting that the laser MIRVs themselves have collision detection, and you need to accurately avoid them to activate PS for reflection. (Otherwise, the reflected laser count will be insufficient.) A safe position is the middle position pointed to by the tips of the two MIRV Bloomers, which happens to be in between the two adjacent laser MIRVs. This helps you avoid colliding with unexploded laser MIRVs:
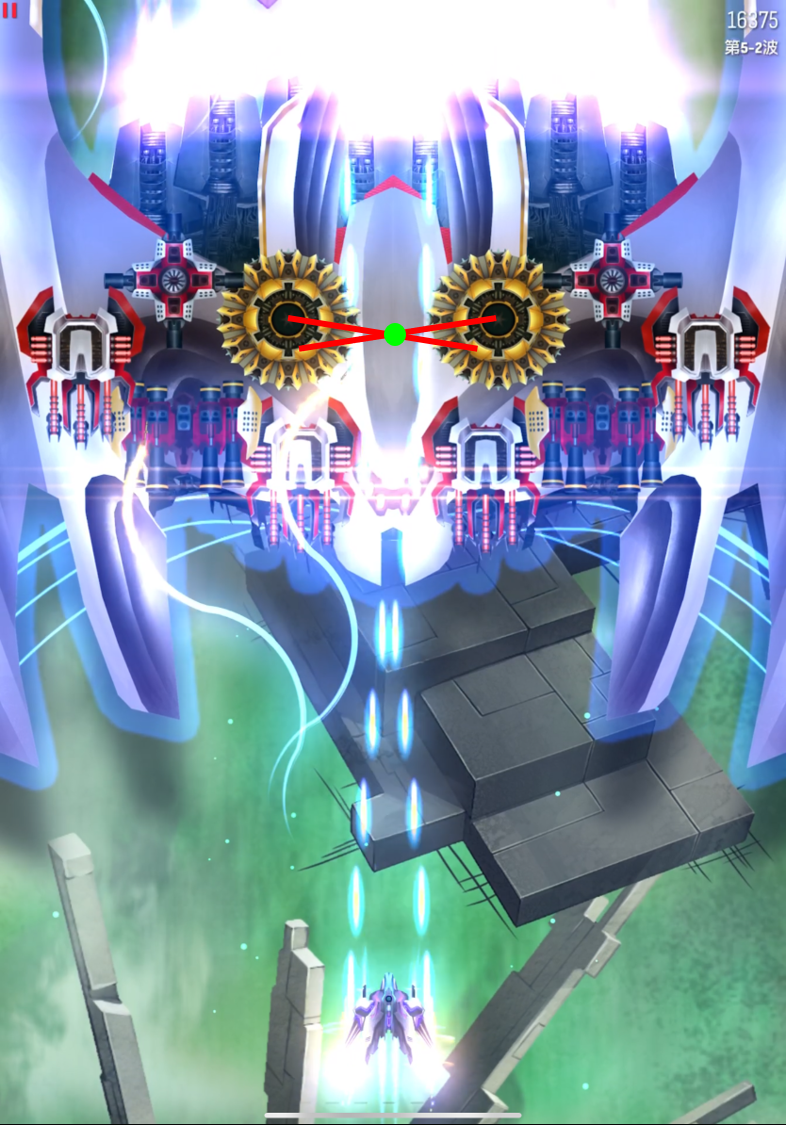
After dodging the collision of these laser MIRVs, you should charge PS immediately to reflect lasers. This is the ideal position to mass activate laser MIRVs, and reflecting all lasers produced by them one-shots the Roc:
Full demonstration:
Back Reflection
This strategy is typically used when a pair of front row Eagles appear because the massive amount of shurikens they pump out quickly block your way and prevent you from mass activating laser MIRVs. The key points of back reflection are relatively simple: after the initial pre-fire, dive to the back row to activate as many laser MIRVs as possible, then use a Destructive Wave before charging PS for reflection.
Consecutive Reflections
This strategy is aimed at situations where PS is needed for reflection in consecutive waves. Specifically, in consecutive waves where each wave has at least two MIRV Bloomers, the benefit of reflecting in both waves is higher than waiting for PS cooldown to recover and only using the main weapon to deal damage.
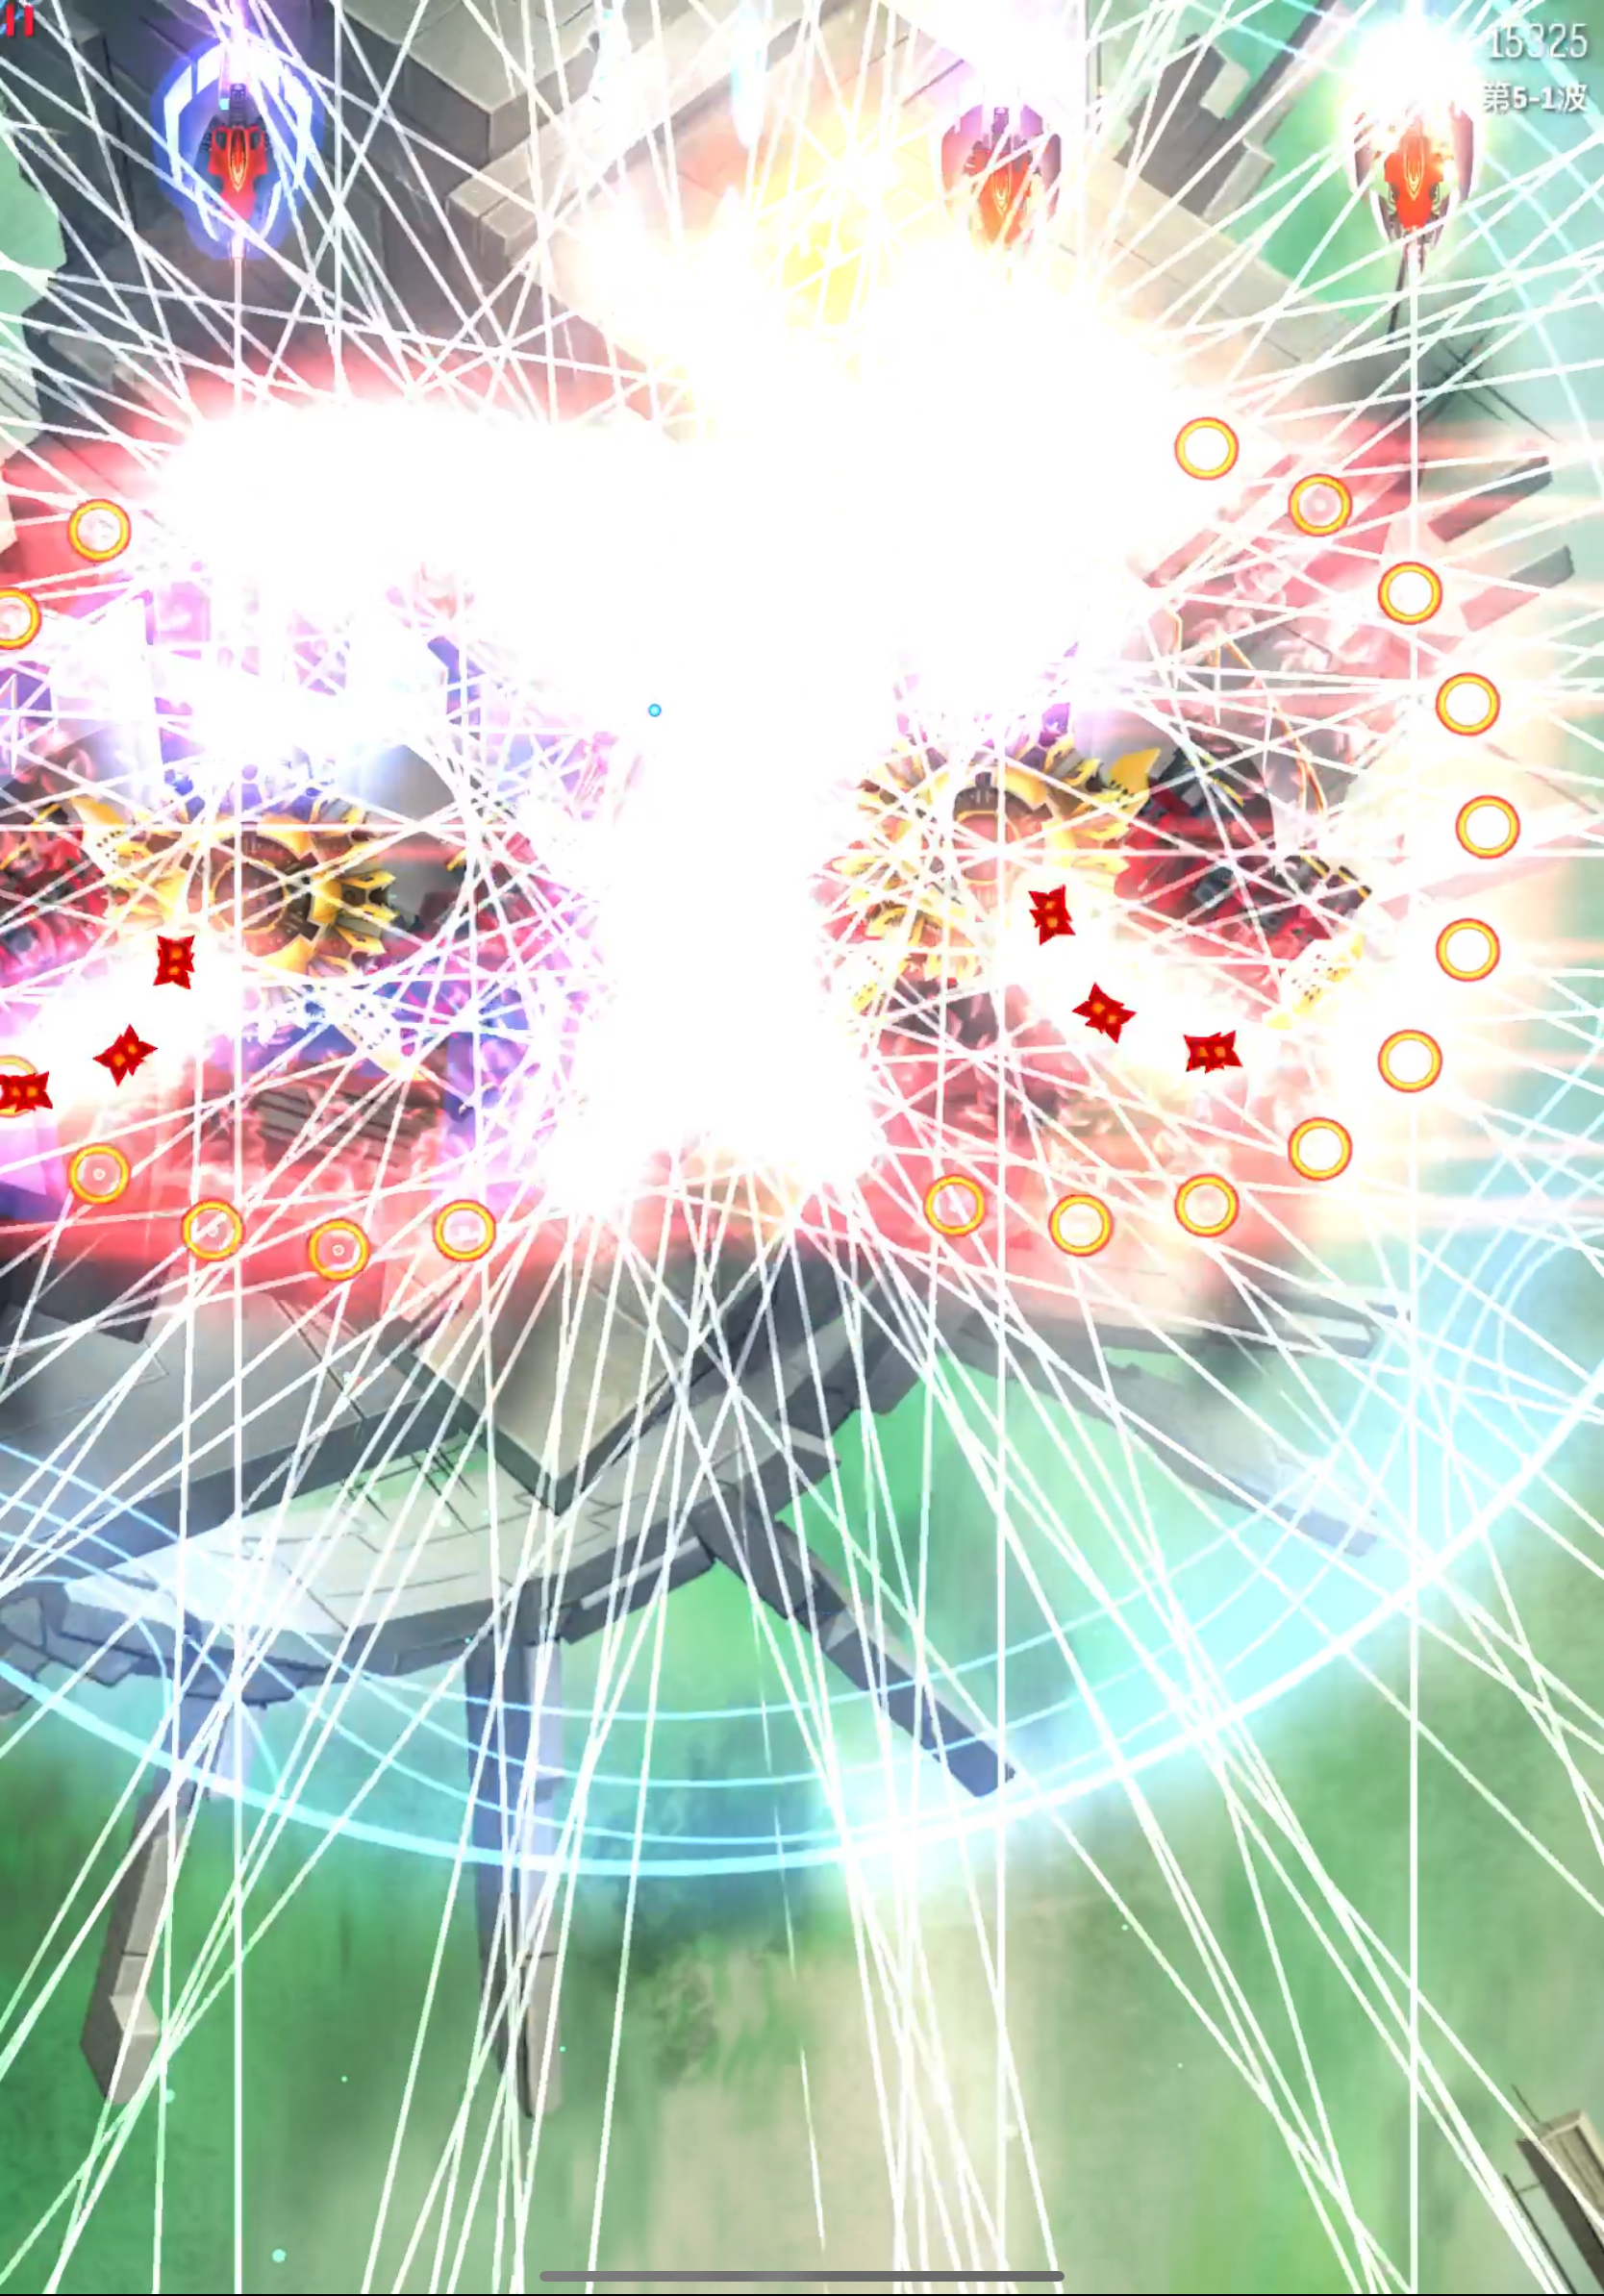
For example, after one-shotting the Roc, the following wave immediately arrives:
At this moment, your PS cooldown has just started, so it's not wise to forcibly charge it directly in the middle of the screen. Because firstly, you haven't utilized the main weapon to break the shields, and secondly, there's a high risk of making mistakes due to the increase in charge time. Therefore, it is recommended that you first pre-fire and use Destructive Wave to clear the first round of laser MIRVs, and then reflect the second round. By doing so, not only can you break some shields, but you can also reduce the cooldown time for later PS activations.
Full demonstration:
No Reflection
Sometimes, even if the invaders have laser MIRV Bloomers, giving up PS reflection may be a wise choice. This usually happens when you have already used PS reflection twice in a row, making the benefit of reflecting again very low. Or, the reflection damage is not high enough to destroy more invaders, so using more Destructive Waves may be more efficient instead.
In this case, the MIRV Bloomers become a hindrance, therefore you should pop them first. For Eagles, using Destructive Wave immediately after the laser MIRVs are released reduces the threat effectively.
And your goal is to kill this Eagle first:
Conclusion
Phoenix speedrun generally refers to Delta Phoenix speedrun, which requires you to have a good understanding and comprehensive application of the main weapon, Destructive Wave BEMP and PS laser reflection. In reality, whether you pay attention to various details will be an important factor in determining your performance, and optimizing PS laser reflection is paramount.