Mistral
We often overestimate its strength, but we can never underestimate its potential.
Author: Flyingfish812
Intro
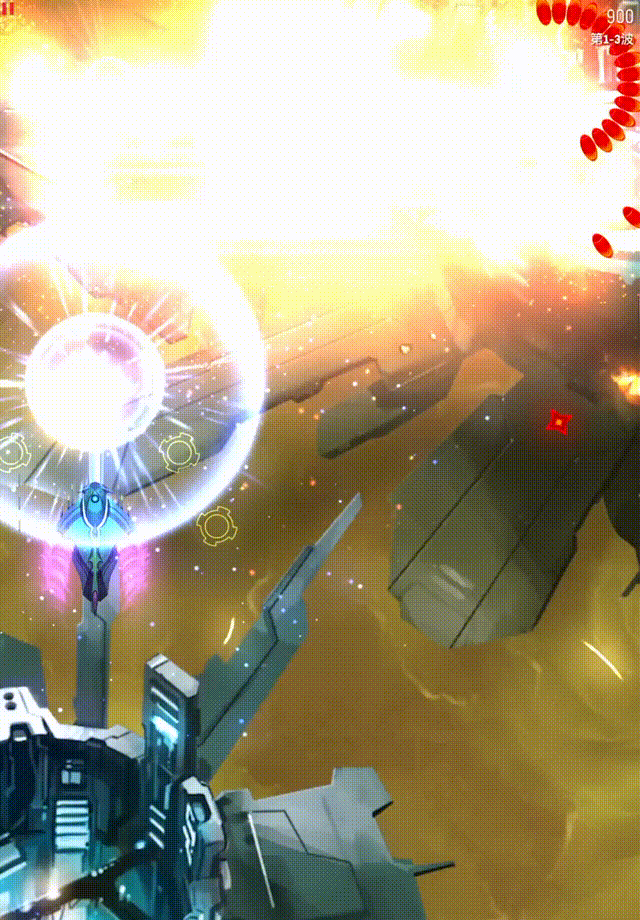
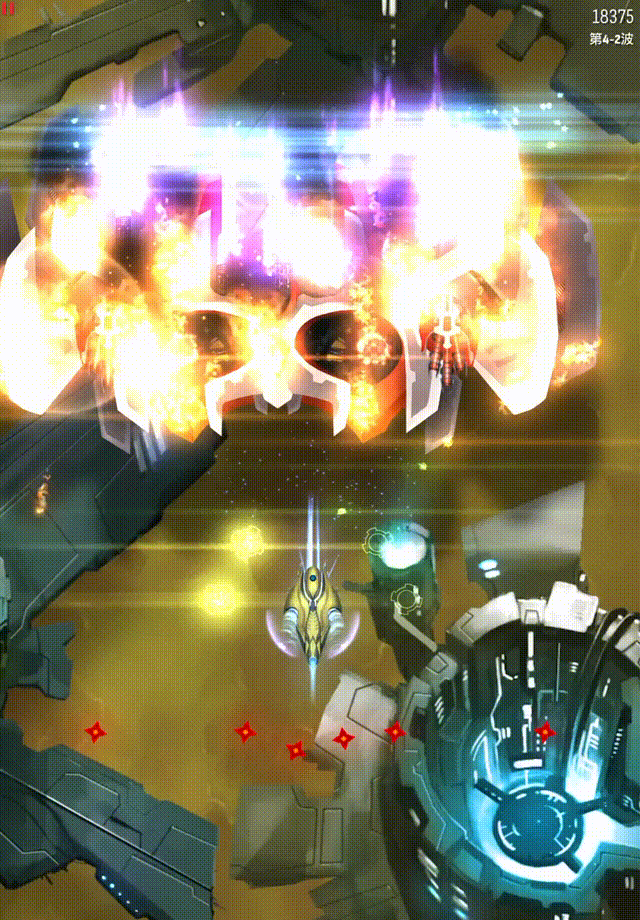
Mistral was actually not very popular when it first came out. Although both its Aura and Zen deal AoE damage, they tend to leave invaders with little remaining health. Therefore, it somewhat lacks speedrun potential. In fact, if it weren’t for its two excellent Apexes, Mistral might not have been recognized at all.
Mistral’s main weapon fires a laser forward at fixed intervals. Fortunately, since it is an Armor-Piercing weapon which cannot deal critical damage, it will cause fixed damage to any type of invader, therefore eliminates the need for players to consider the randomness of critical hits when speed-running. In other words, as long as you have a proper strategy, your final score only depends on whether the invaders converge nicely. Moreover, the problem of convergence can be circumvented by skill combinations.
Basics
Main
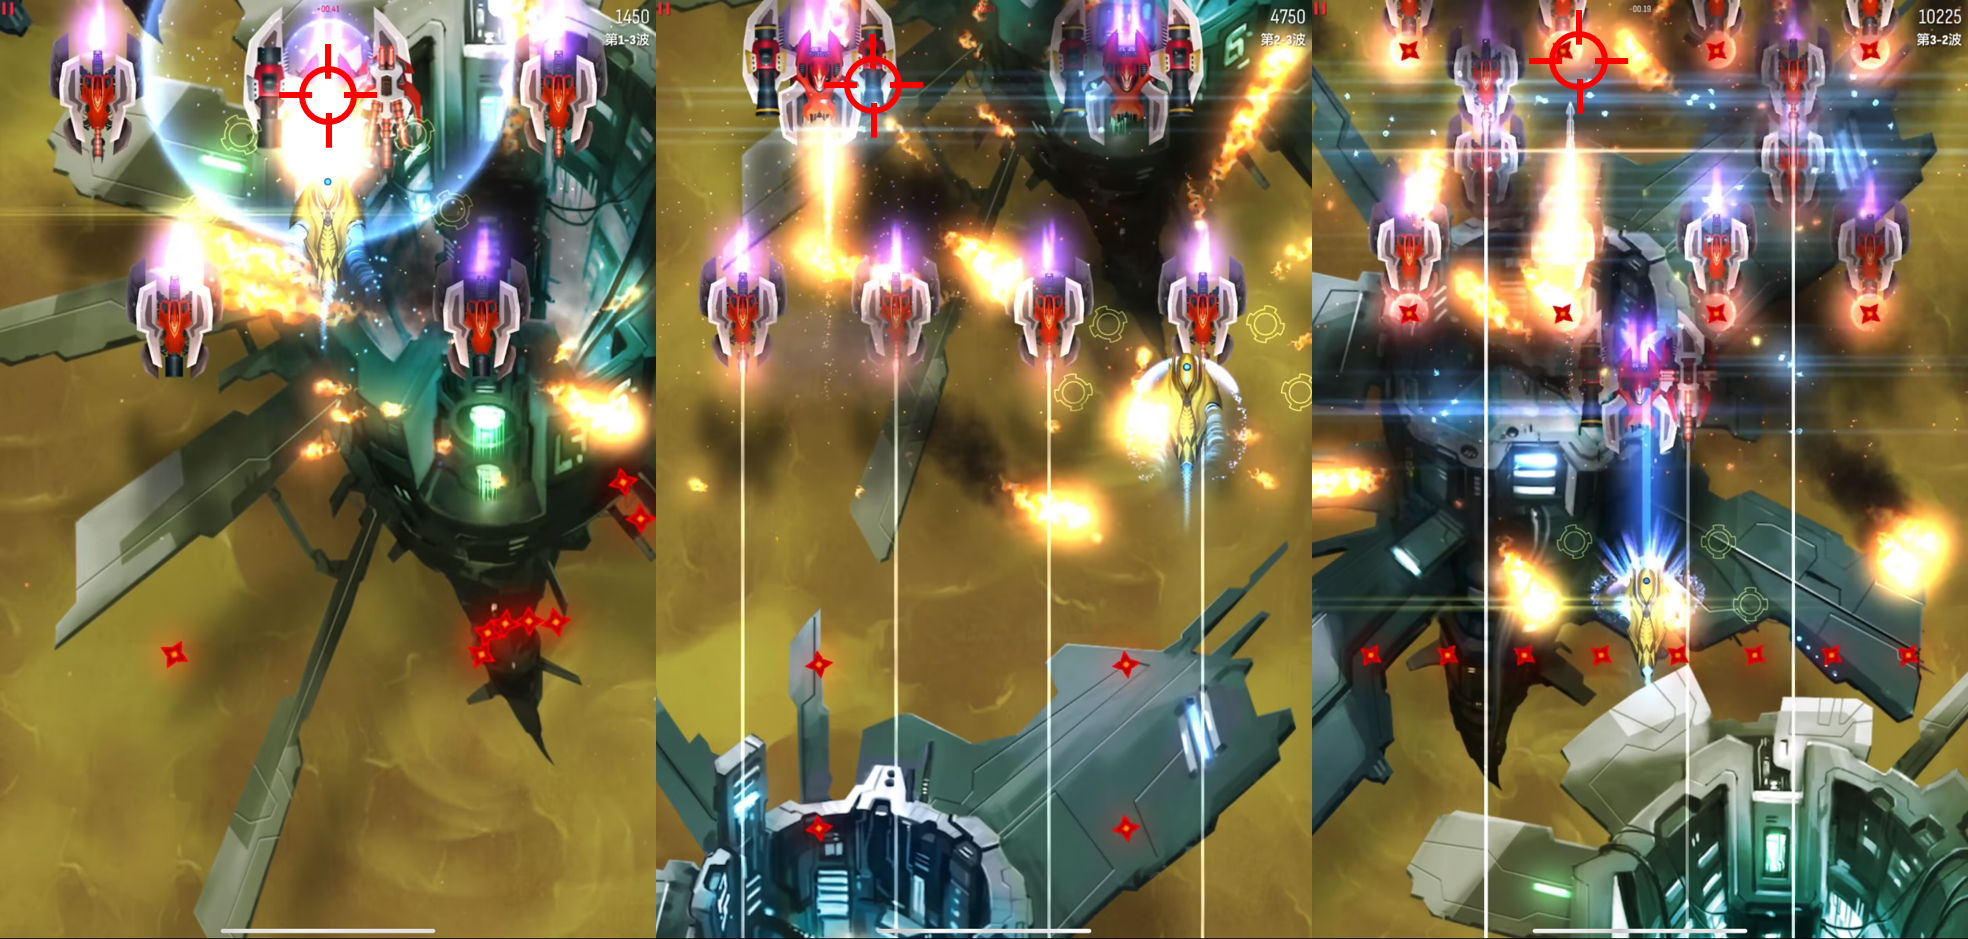
Mistral's main is not an easy one to master. Although it looks like a simple shot, in fact, it requires you to pay attention to the positions of invaders at all times. Hence, the first stage of learning the main is to accurately hit the target you want to shoot, and the second stage is to be able to skillfully use the main to sweep.
The first stage is very basic, which only requires you to aim at the target when the main is fired. Practicing this basic skill will help you not only efficiently pop the turrets of large invaders, but also better master the sweeping of the main.
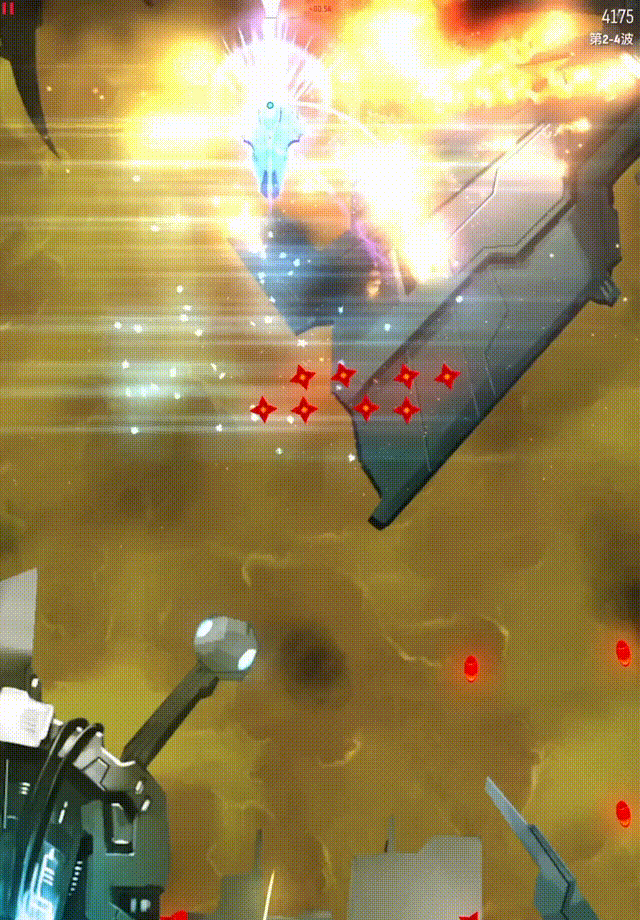
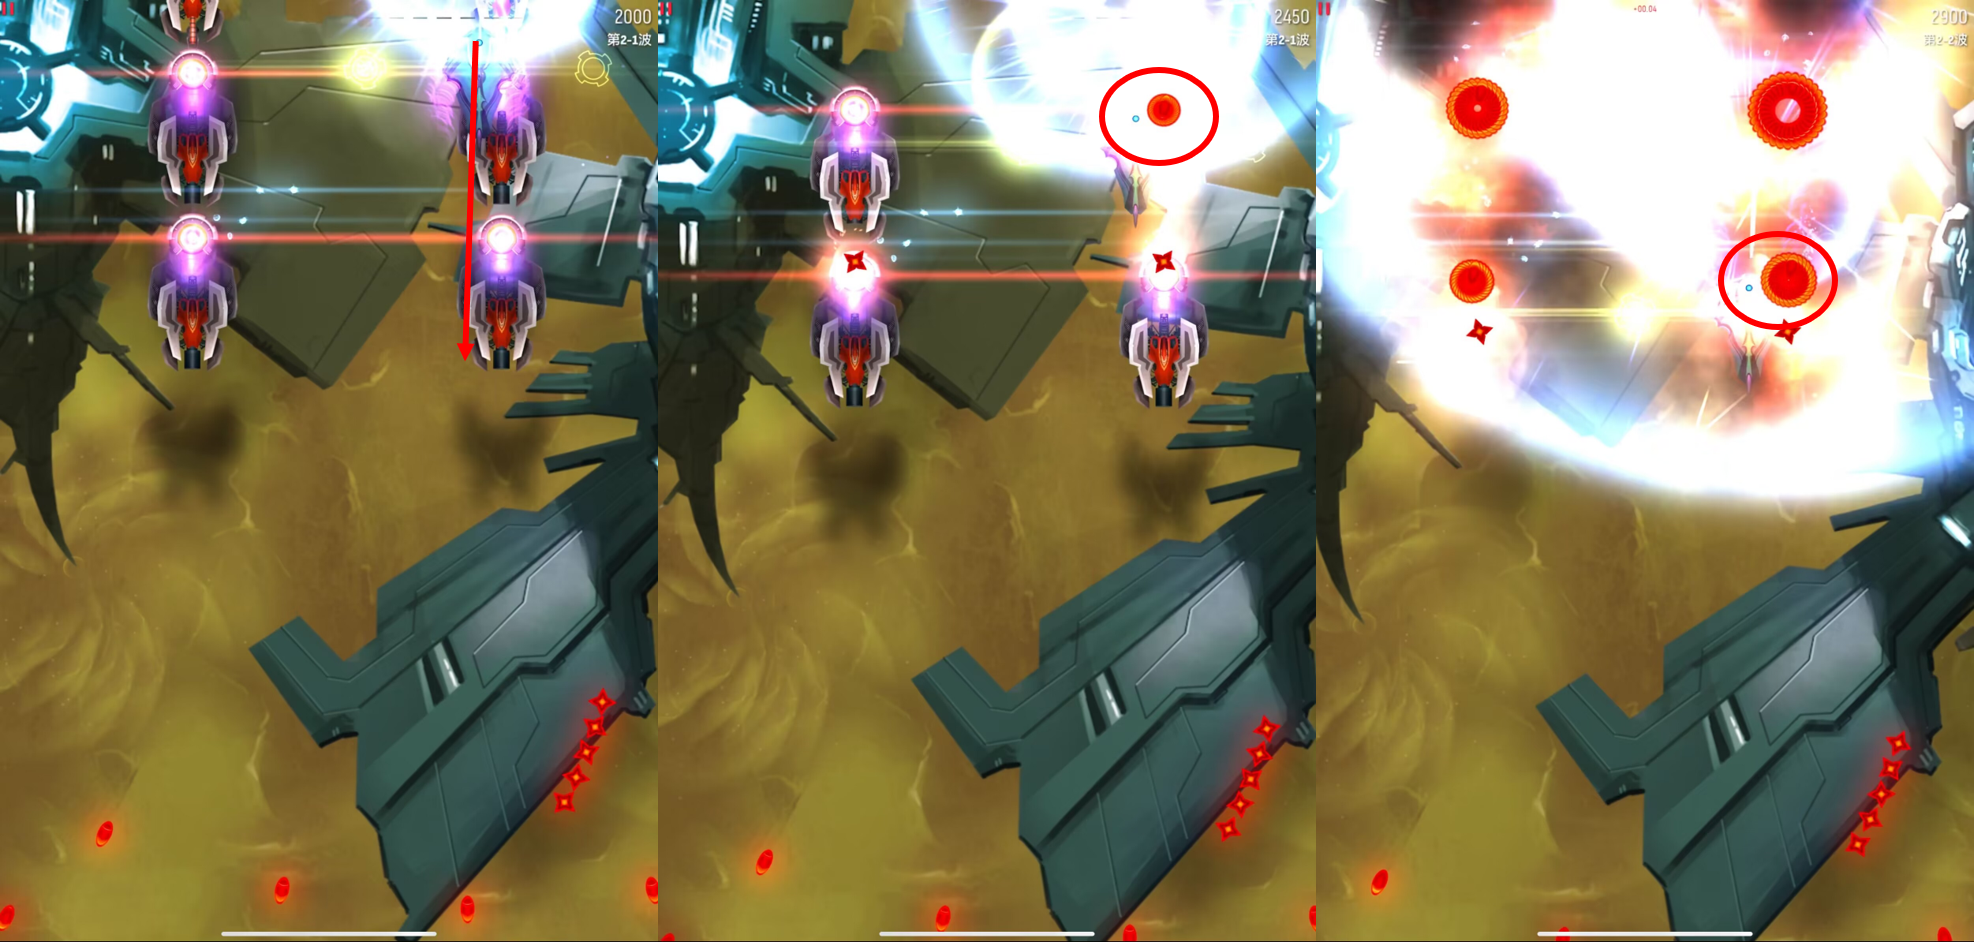
Unlike Wraith, Mistral's main sweep can only kill up to 2 Sparrows at a time, and that only happens when they are very close to each other. This requires you to grasp the fire rate of the main. Generally speaking, when the main starts firing, you should move in the direction of the other Sparrow at the same time to ensure that you can take both of them down.
As shown in the gif below, if the Sparrows are too far apart, there is no need to force multiple hits. Instead, you have to ensure that the first targeted Sparrow is killed. When Sparrows do converge, you need to control the ship’s movement to catch them all:
Goliath Missile
The principle of using GMs is simple: let each GM fully exert its AoE damage.
A GM deals 10 impact damage + 24 AoE damage. An AoE damage of 24 means that Ravens (an Unprotected Raven has 27 hp) will still have a little health left (except for Centurion's Armor-Piercing GMs against Armored Ravens). So, if you plan to use only one GM in a wave, you need to make sure its AoE covers as many invaders as possible.
Here are some common impact locations for single-shot GMs:
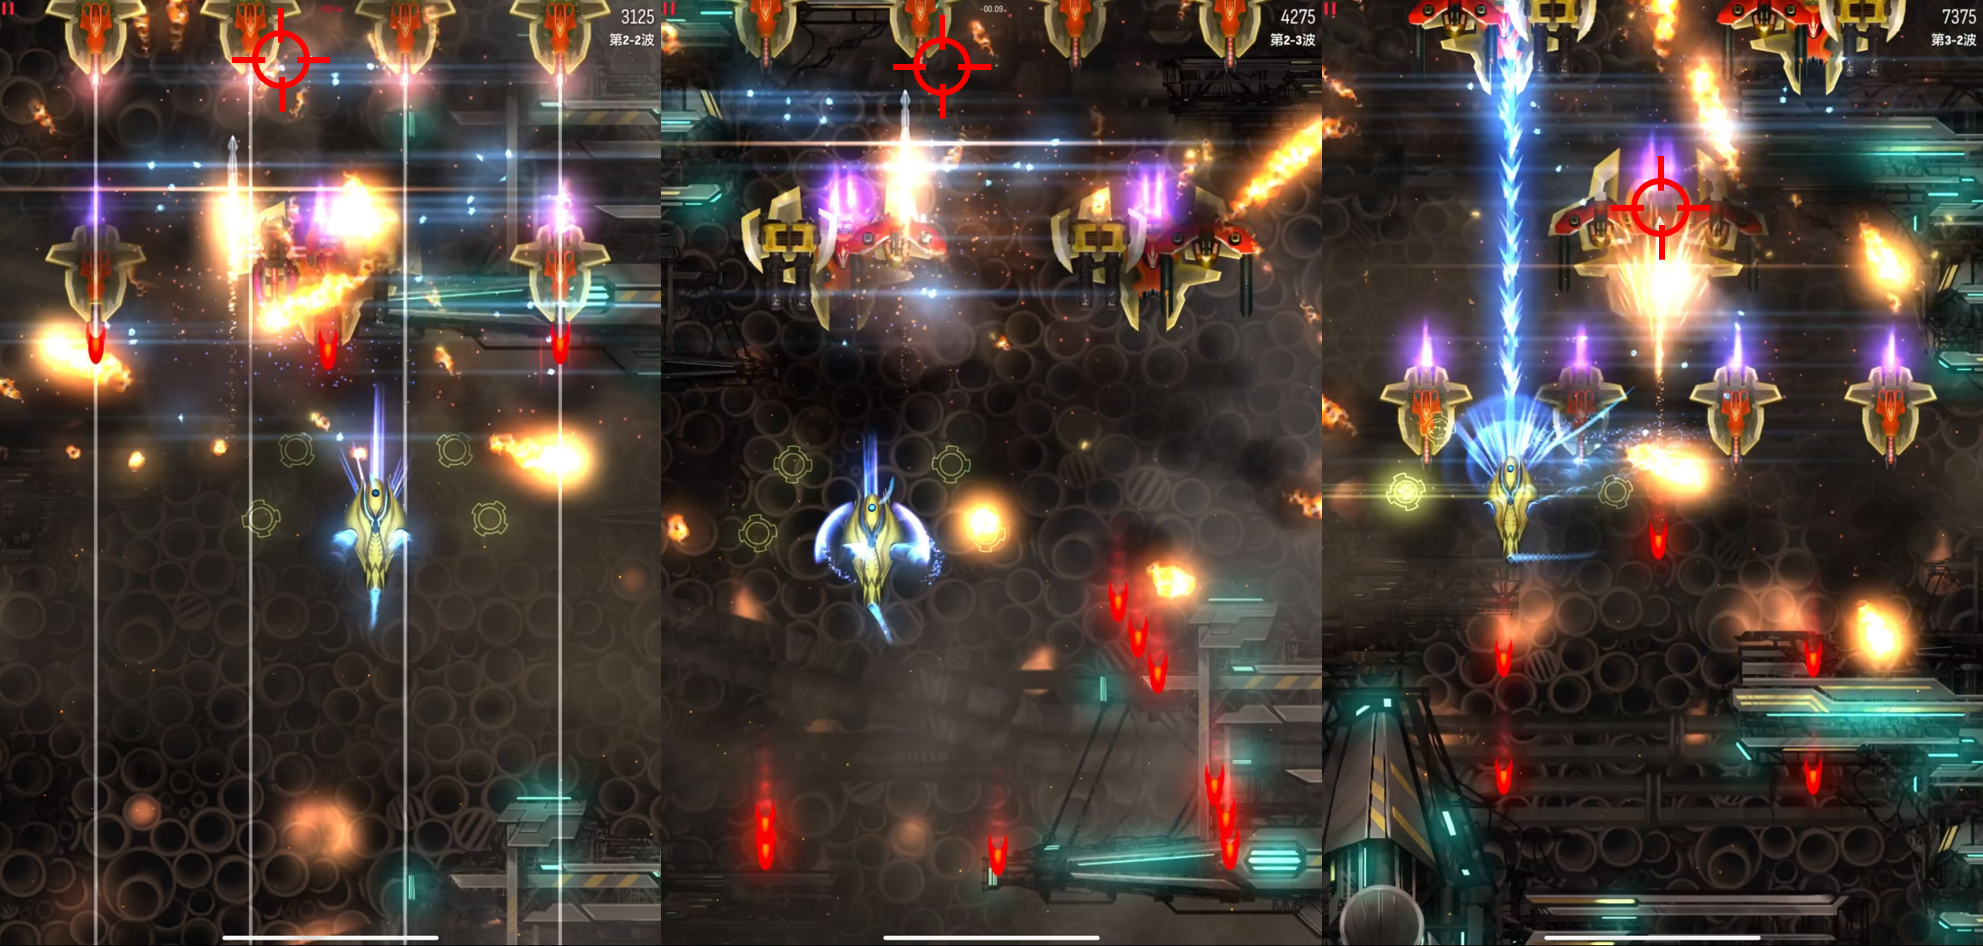
Since a single GM cannot one-shot Ravens, which then need to be killed by the main, there is another way of using GMs, which is using two at a time. Specifically, you can use one GM on each side of the field. Or, you can choose to hit both GMs in the middle, causing an additional 10 impact damage to larger invaders, while inflicting AoE damage twice on surrounding Ravens to annihilate them.
The gif below shows an example of using 2 GMs, one for each side of the field:
The gif below shows an example of using 2 GMs, both in the middle:
Or more precisely, one for the back row and the other for the front row:
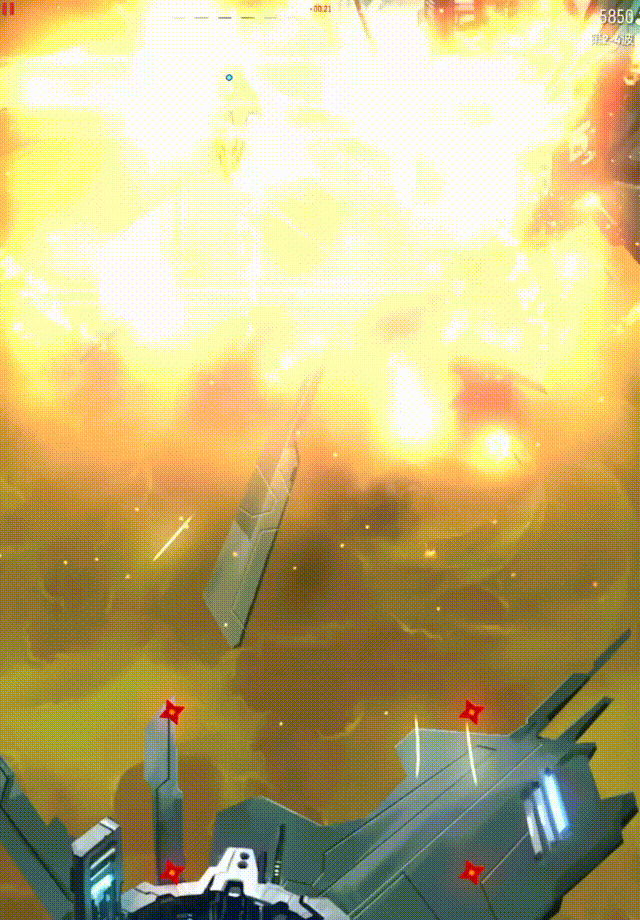
Eagles are a little more troublesome, because you need 4 GMs if you want to kill 2 Eagles at the same time. Generally speaking, the distribution is 2 GMs on each side of the field. This means that our precious GM reserve is depleted merely by 2 Eagles. Therefore, unless there is no time to charge MB, you should avoid using large numbers of GMs just to kill Eagles.
In a desperate situation, it is best to ensure that the AoE damage of GMs are not wasted. Particularly, try your best to hit the Eagle on the right side with the AoE damage from the left GM (or vice versa). The gif below shows an example:
That’s all for basic GM techniques. More advanced techniques will be introduced in the Combo Skills section.
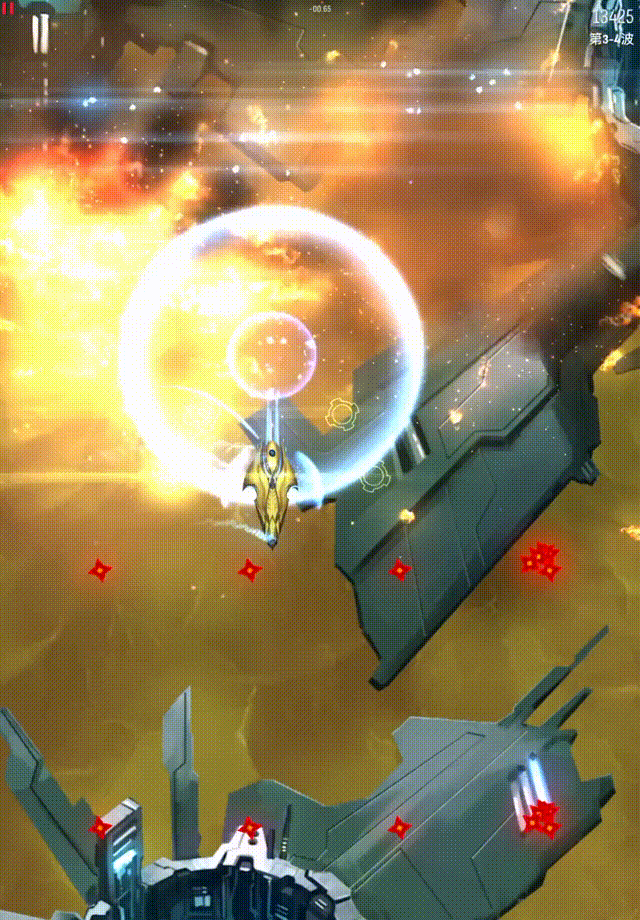
Mega Bomb
The use of MBs is the same as that of other ships. The priority is to fully utilize the 40 AoE damage from MBc by placing it in areas with higher invader densities. For example, in a wave composed mostly of Ravens, the ideal spot for MBc is in between 2 Herons; In a wave with 2 or 4 Eagles, the ideal spot is in between 2 Eagles of your selection. Sometimes, when heavily reliant on invaders’ convergence, you even have to bet that the MBc covers more than 3 larger invaders.
MB timing is crucial. It is usually used at the beginning rather than in the middle of a wave. Sometimes, if you find that a wave is made up of dense Ravens and Sparrows, you may want to charge MB even if it is not the first wave of an act:
Mastering the techniques mentioned above allows you to use MB with ease.
Combo skills
Both GM and MB produce a considerable number of invaders with little health left, which is disadvantageous if you use them separately. However, one can also say that these two skills are complementary in one way or another. In this section, we will explore some common techniques when using them in combination.
MB Charging After GM
One drawback of MB is that the charge time can become too long. Spamming will result in inability to charge it in time. This is especially true when confronting waves after waves of dense invaders, since MB is a very effective tool to alleviate pressure from invaders.
Meanwhile, the main feature of GM is that it travels slowly. Interestingly, we can take advantage of it because when used in conjunction with MB, this will buy us sufficient charge time.
There are many scenarios, such as when you need to charge MB for a dense wave in the middle of an act. Generally, you have to calculate the remaining HP of the last invaders to ensure that a single GM is able to finish them off. Also, be sure to aim accurately (preemptively), as the invader may have already moved away when the GM arrives.
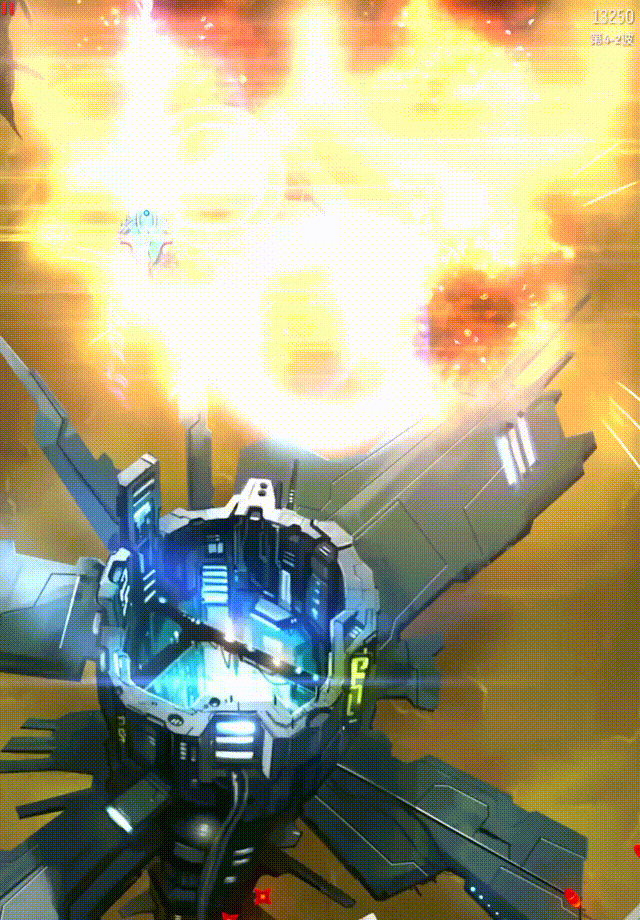
Take an Unprotected Vulture as an example, 270 HP = MBc + 11 main hits + 1 GM. Therefore, our strategy is obvious: After using MB, count the number of main hits. Once 11 is counted, throw a GM and immediately fly up to charge MB.
Focus Fire
Focusing fire means allocating the impact damage of GMs to larger invaders as much as possible, such as Vulture or Condor, while utilizing the AoE damage of MBs and GMs to destroy the smaller front row invaders.
In addition, try to land as many main shots as possible on larger invaders, and only hit smaller invaders when the AoE damage is insufficient to finish them off.
Advanced
In this section, we will focus on Mistral’s Apexes, namely Fast Charge and Disintegrator Warhead. They benefit Mistral in distinctive ways in different mission types.
Fast Charge
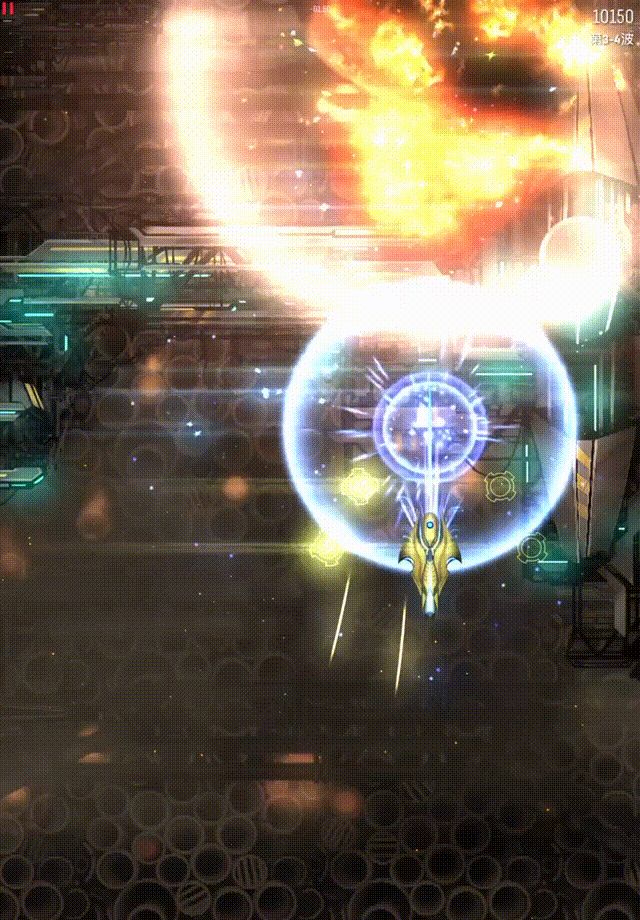
Fast Charge is designed to unleash the full potential of MB, saving the use of GMs with more frequent AoE damage.
Arguably, Fast Charge changes the rules of using MB. For instance, regular MBs are typically used in the first wave or dense waves. However, Fast Charge allows you to use MBs in two waves consecutively. As shown in the gif below, the first three waves in Act 1 are cleared with MB, main, and a GM respectively. Despite that, we still managed to charge MB in 1-4 (and went on charging for 2-1):
The gif below shows an application in 3-4:
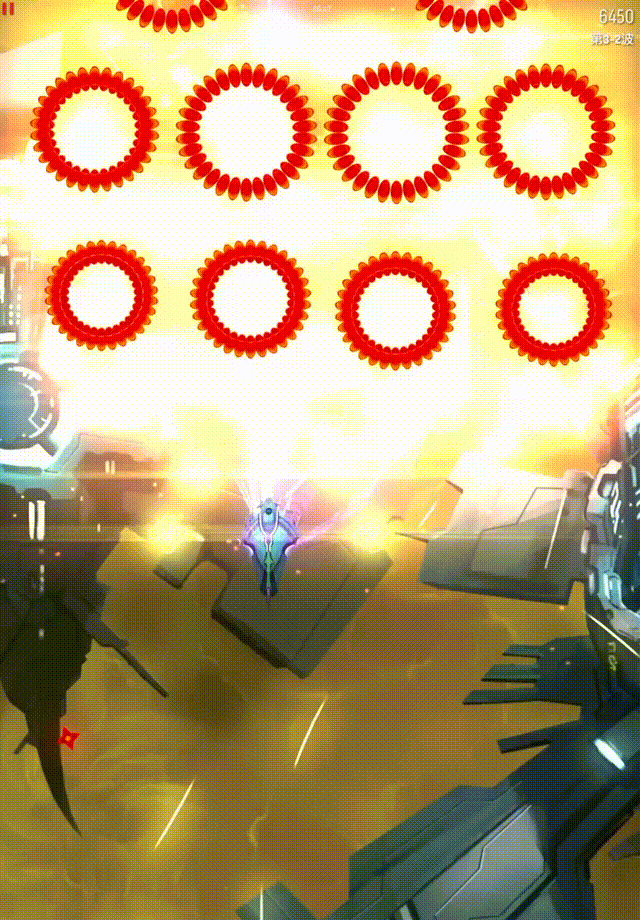
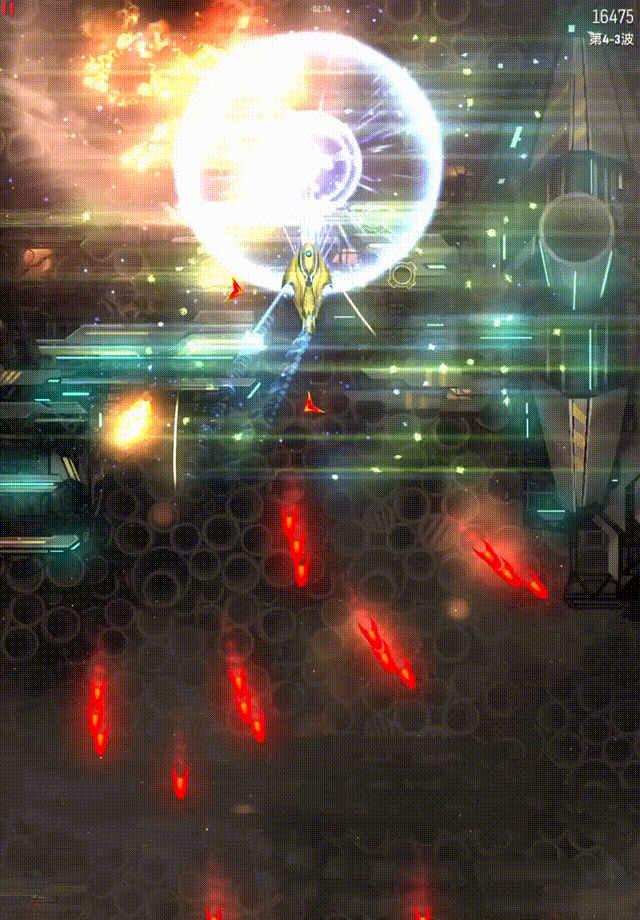
This technique is very effective when you are running low on GMs. Besides, with regular MBs, you will not have enough time to charge when facing darts, whereas Fast Charge gives you the ability to race against darts, and you can bet you're faster than them. This small possibility can bring you huge improvements.
The gifs below show two examples of such dart races (a narrow death):
More extremely:
As you might have noticed, Fast Charge fully activates Mistral's potential. More MB usage means that GMs can be used more concentratedly on invaders in a certain wave.
Disintegrator Warhead
As the name suggests (?), this Apex allows GM to clear bullets in its AoE as soon as it explodes. In other words, it grants Mistral respectable survivability even in bullet hells.
Dense bullets mean that you need more GMs to clear them. Obviously, more grazing is required for more energy. One of the most famous sources of graze is caged MIRVs. Grazing each caged MIRV provides energy equivalent to that of grazing 30 bullets, which is enough to charge a GM. Therefore, only in missions feature caged MIRVs can this Apex perform better than the Fast Charge Apex.
In the absence of caged MIRVs, just dodge the bullets then.
Mega Bomb Graze
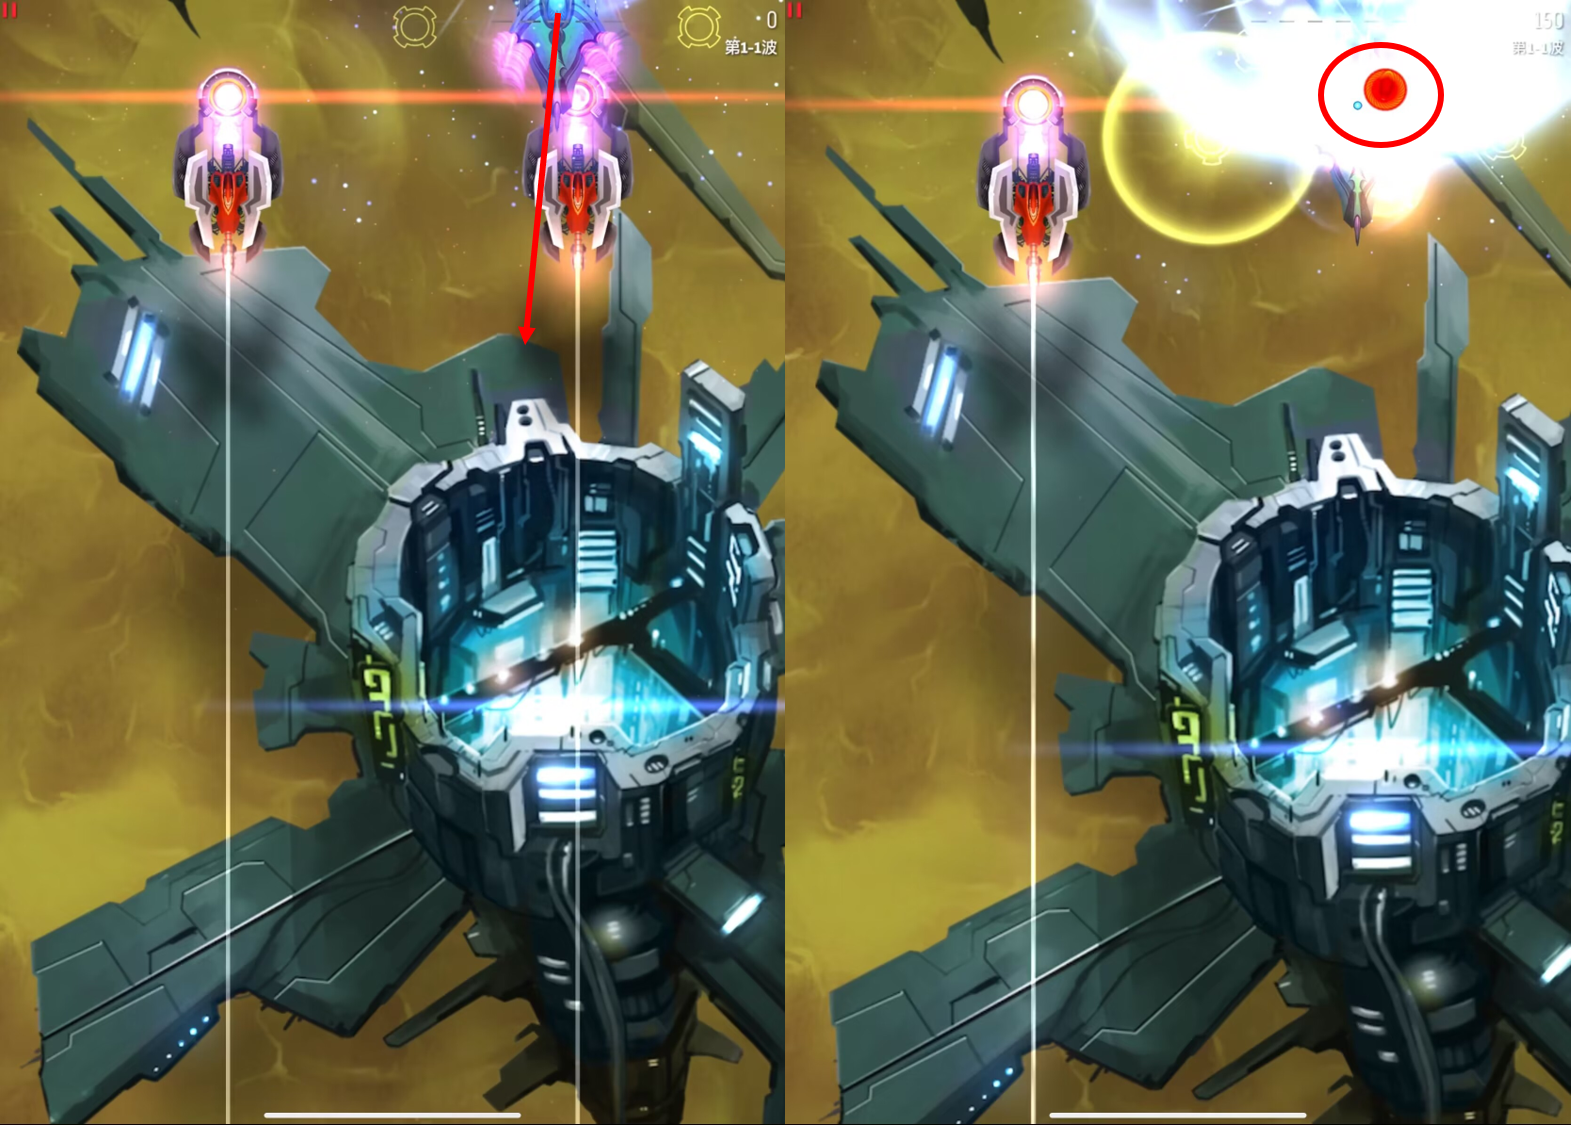
If you come to practice this skill, you must have more or less heard about the technique of grazing a caged MIRV by MB. For players who are not familiar, we will be going over the details again.
This technique is typically used in the first wave of each act. First, you want to throw your ship to the top of the screen at the beginning, usually higher than a Sparrow equipped with caged MIRV. Then, charge MB.
When the MB is fully charged, aim your ship towards the edge of the caged MIRV and swipe hard. At this time, the core of your ship should just pass by the exploding MIRV. Since it just exploded and has not dispersed, you should be able to graze all the bullets. Then, a GM counter is successfully charged. As shown below:
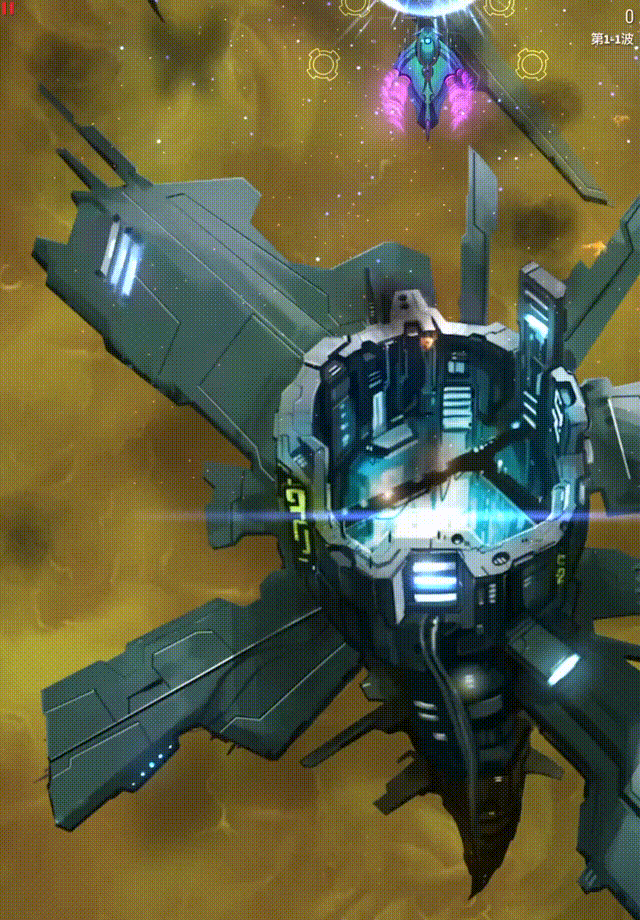
A GM gained by such grazing should be used immediately in the next wave, otherwise you will have to do some dodging, which may hinder your performance. An example of grazing and using GM is shown below:
Double Graze
The practice of Double MB Graze is similar to that of Single MB Graze, except that 2 GMs are charged at a time.
Sometimes, 2 Sparrows will appear in the same column. Since the progression of both MB and Grazing are top-down, if you swipe down fast enough, you can graze 2 caged MIRVs almost simultaneously, therefore gaining energy for 2 GMs. Don't underestimate this technique, as it not only provides you with more damage, but also clears bullets for you to increase survivability.
Illustration:
The essence of Disintegrator Warhead is to make full use of any bullet fired by the invaders, convert them into our energy and then counterattack with elegance.
Videos
Finally, we present some videos for you to learn from, which are comprehensive applications of Mistral:
-
Disintegrator Warhead Starter: Video Link
-
Disintegrator Warhead Specialize: Video Link
-
Fast Charge Starter: Video Link
-
Fast Charge Specialize: Video Link