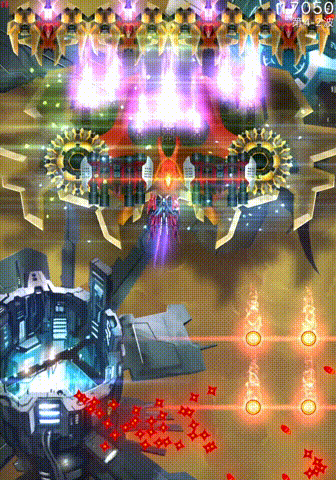
Shogun
Powerful close combat, infinite grazinig potential.
Author: Sylvester, Flyingfish812
Introduction
Shogun is a ship with a high ceiling and a low floor in terms of strength. After a certain number of games and time, Shogun players can somewhat grasp the essence of this ship, but to excel, it inevitably requires more time for accumulation and a deeper understanding of Shogun.
Shogun is a ship inherited from Phoenix HD. In that game, Shogun needed to launch attacks against invaders by grazing bullets, but in Phoenix 2, due to the density of bullets being very high, launching an attack every time a bullet is grazed would lead to numerical collapse. However, even without the mechanism of grazing attacks from the first game, this characteristic has been well preserved.
In this article, we will detail how to play this ship well.
Basics
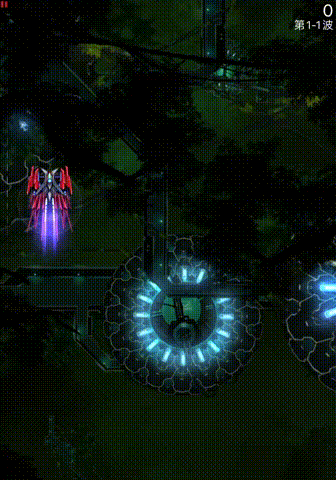
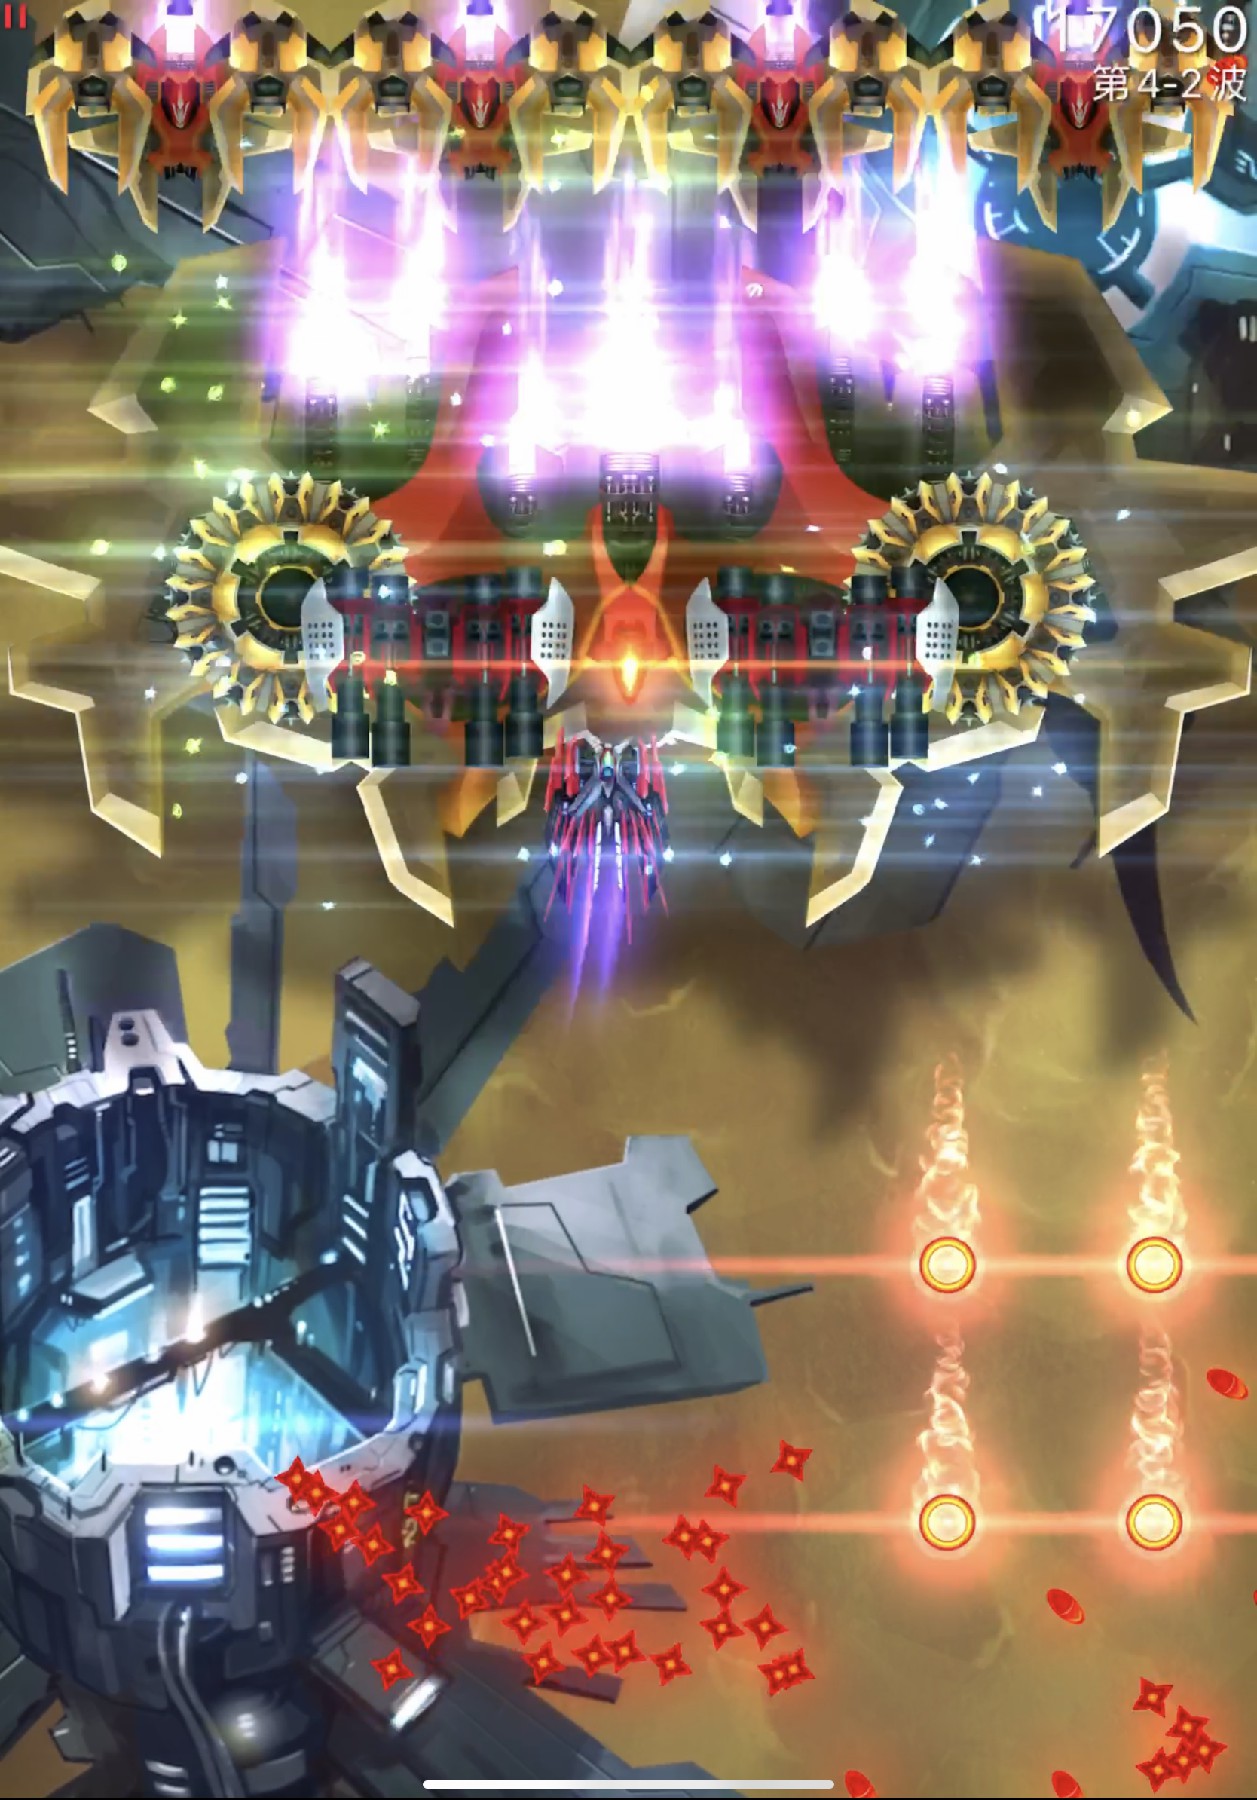
Main Weapon
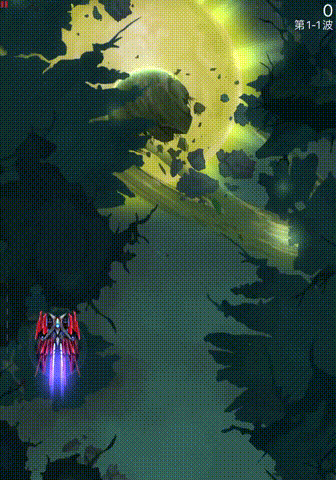
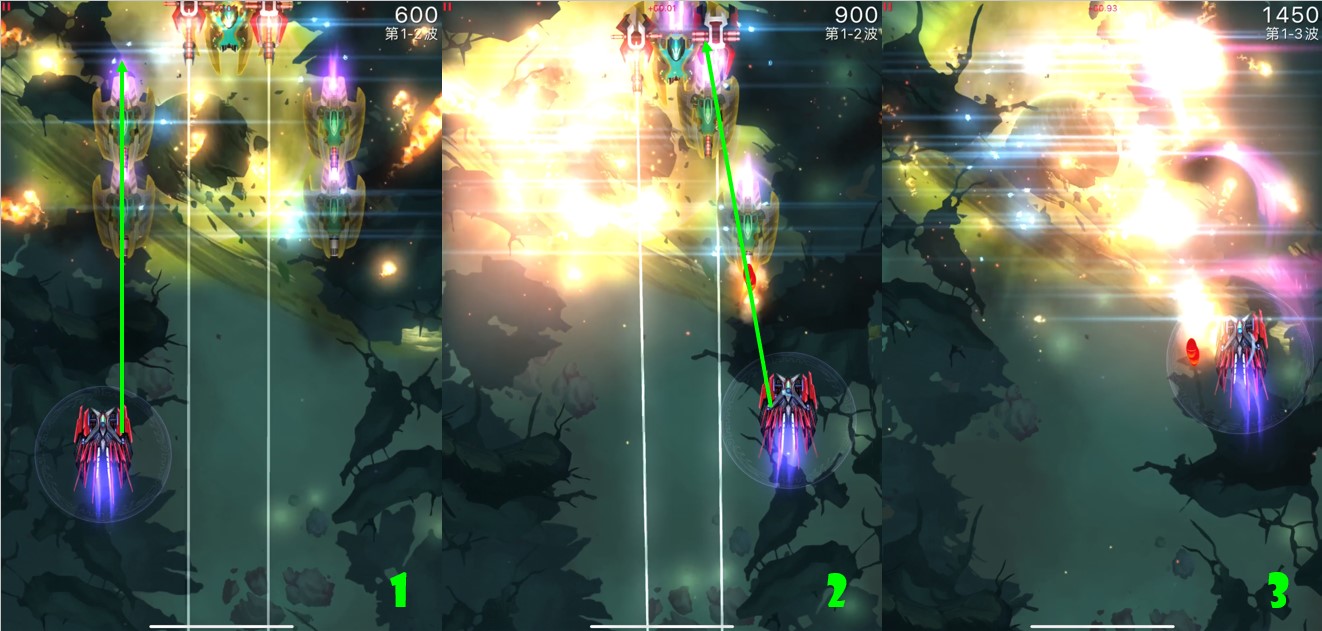
The Shogun's main weapon, Phantom Katana, unleashes an extremely fast and almost invisible attack towards invaders. We often refer to a round of the main weapon as being divided by a 1-second interval after every 4 slashes. Within one round of the main weapon, each of the 4 attack slashes has a 0.45-second interval, and there's an additional 1-second cooldown after the round for the next round's charge. In total, one round lasts for approximately 2.35 seconds, and based on rough DPS calculations, each attack slash deals around 18.3-20 damage.
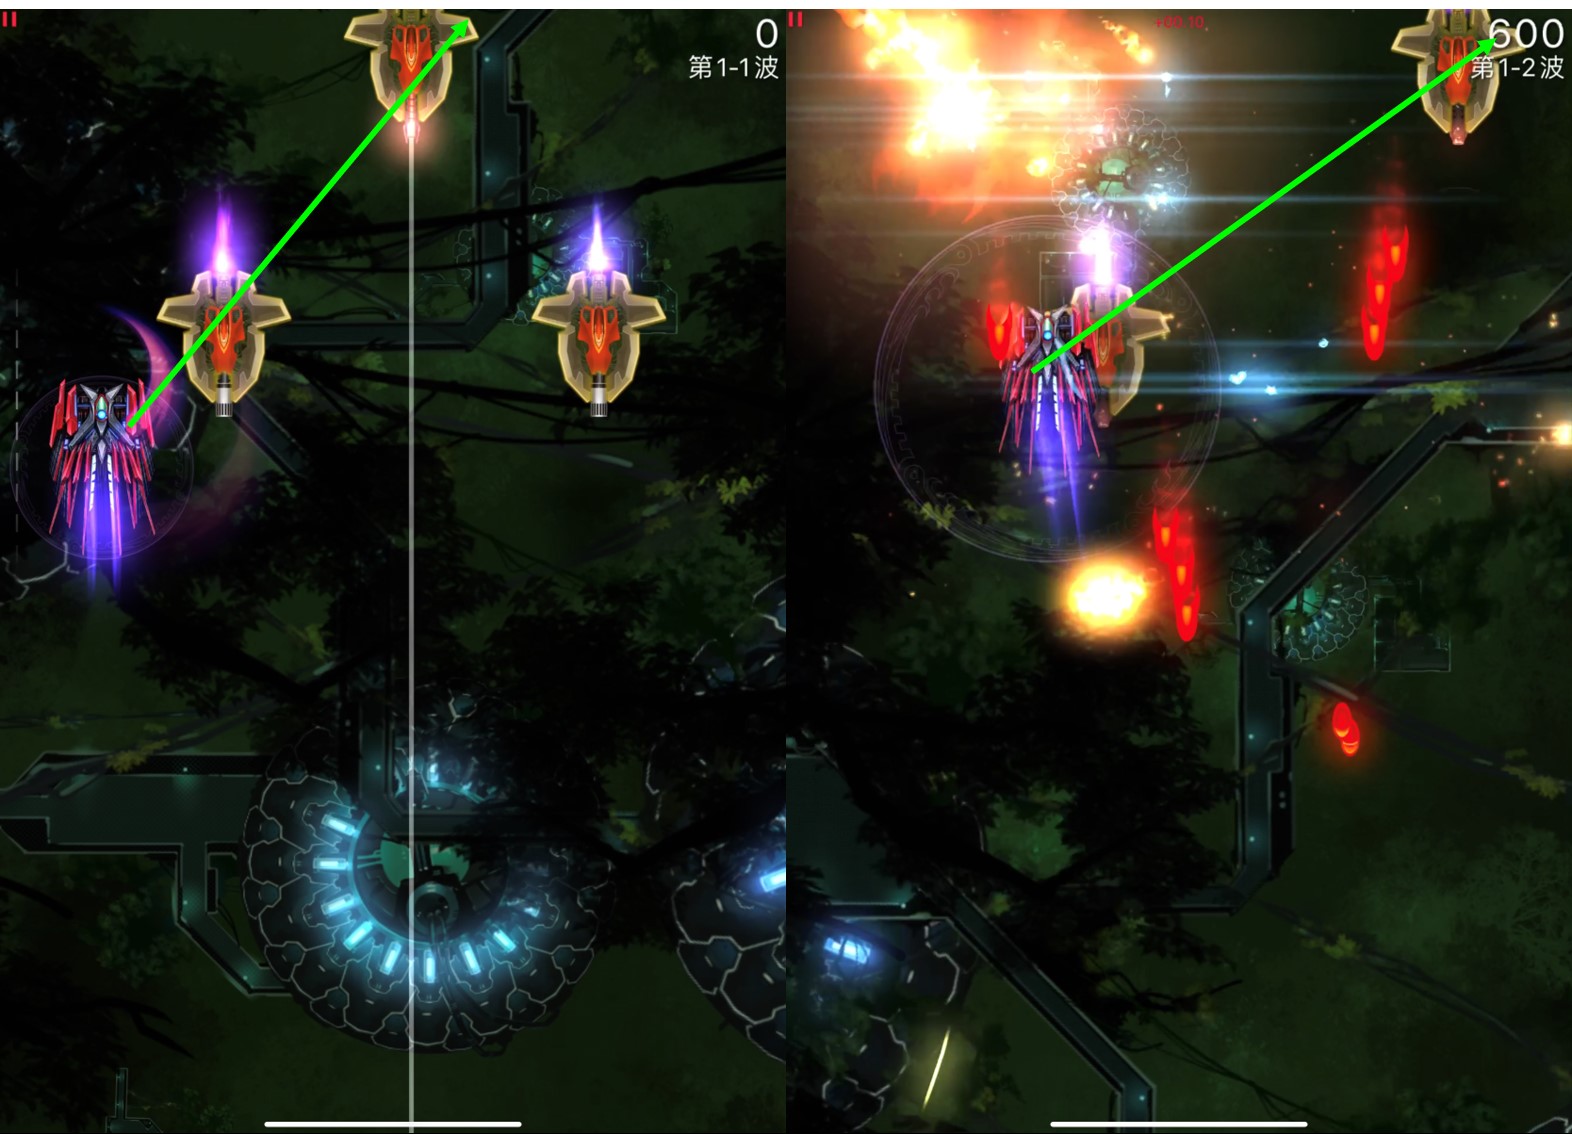
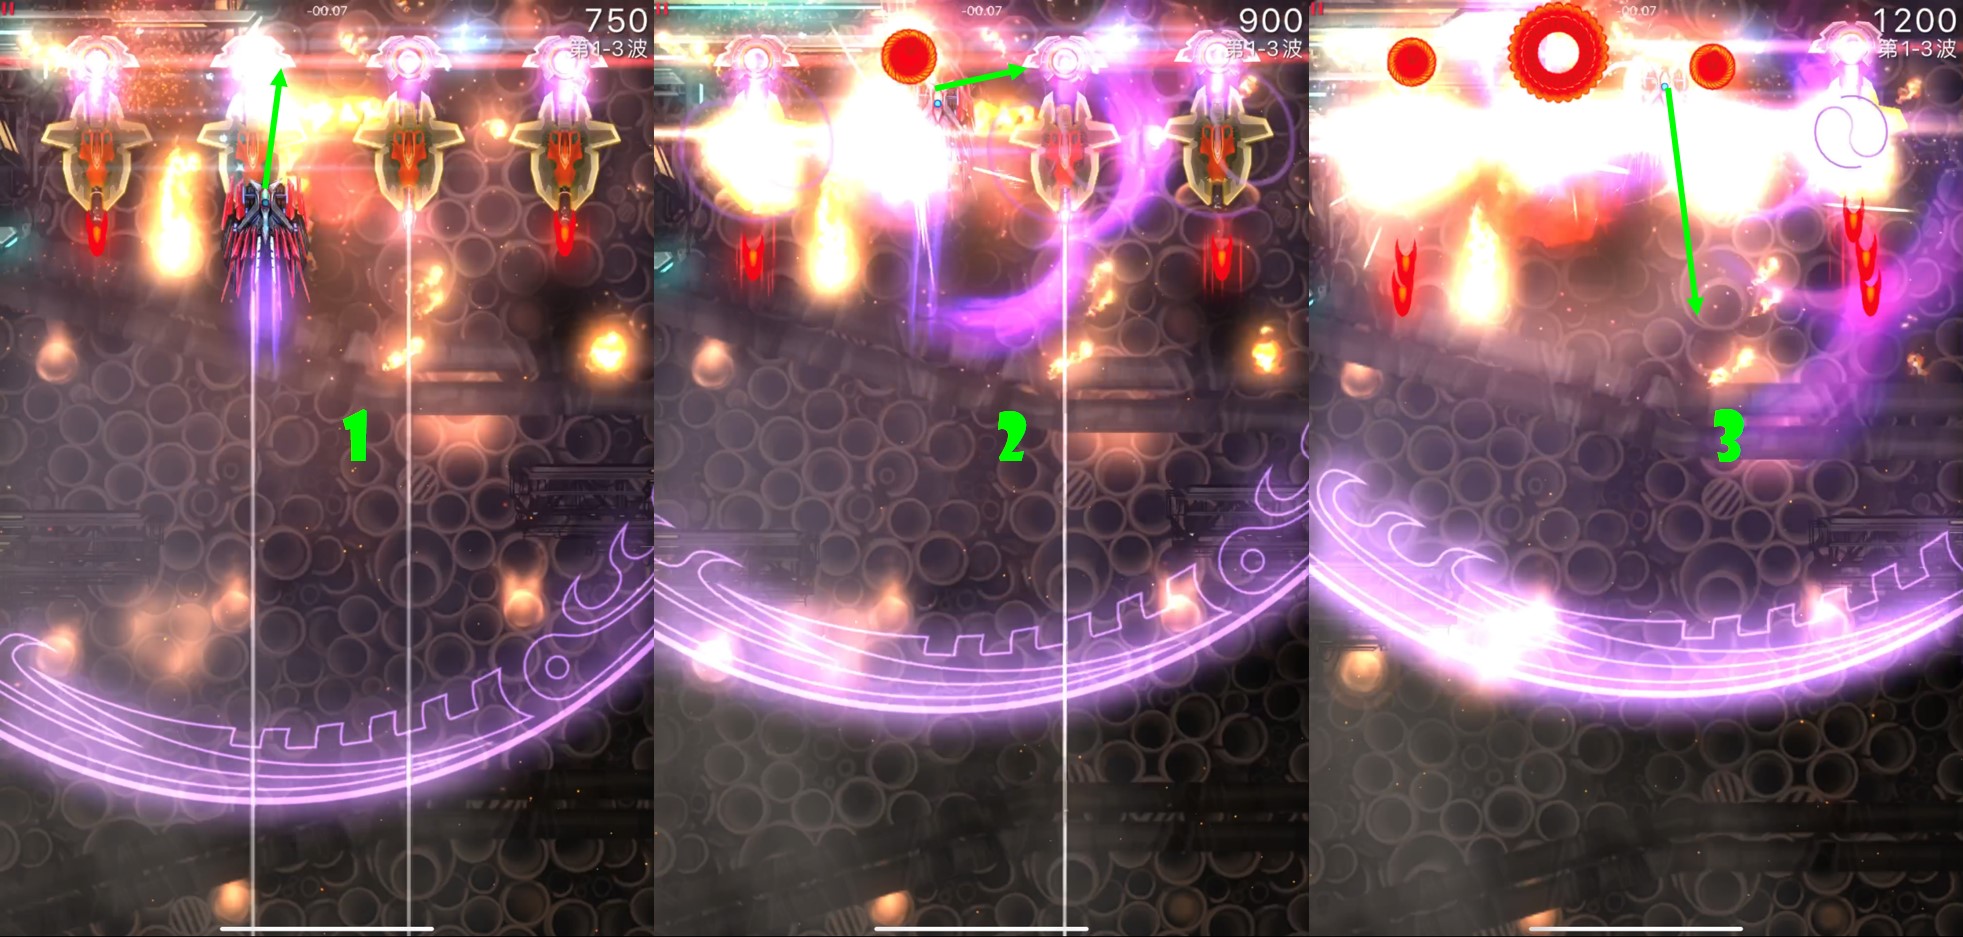
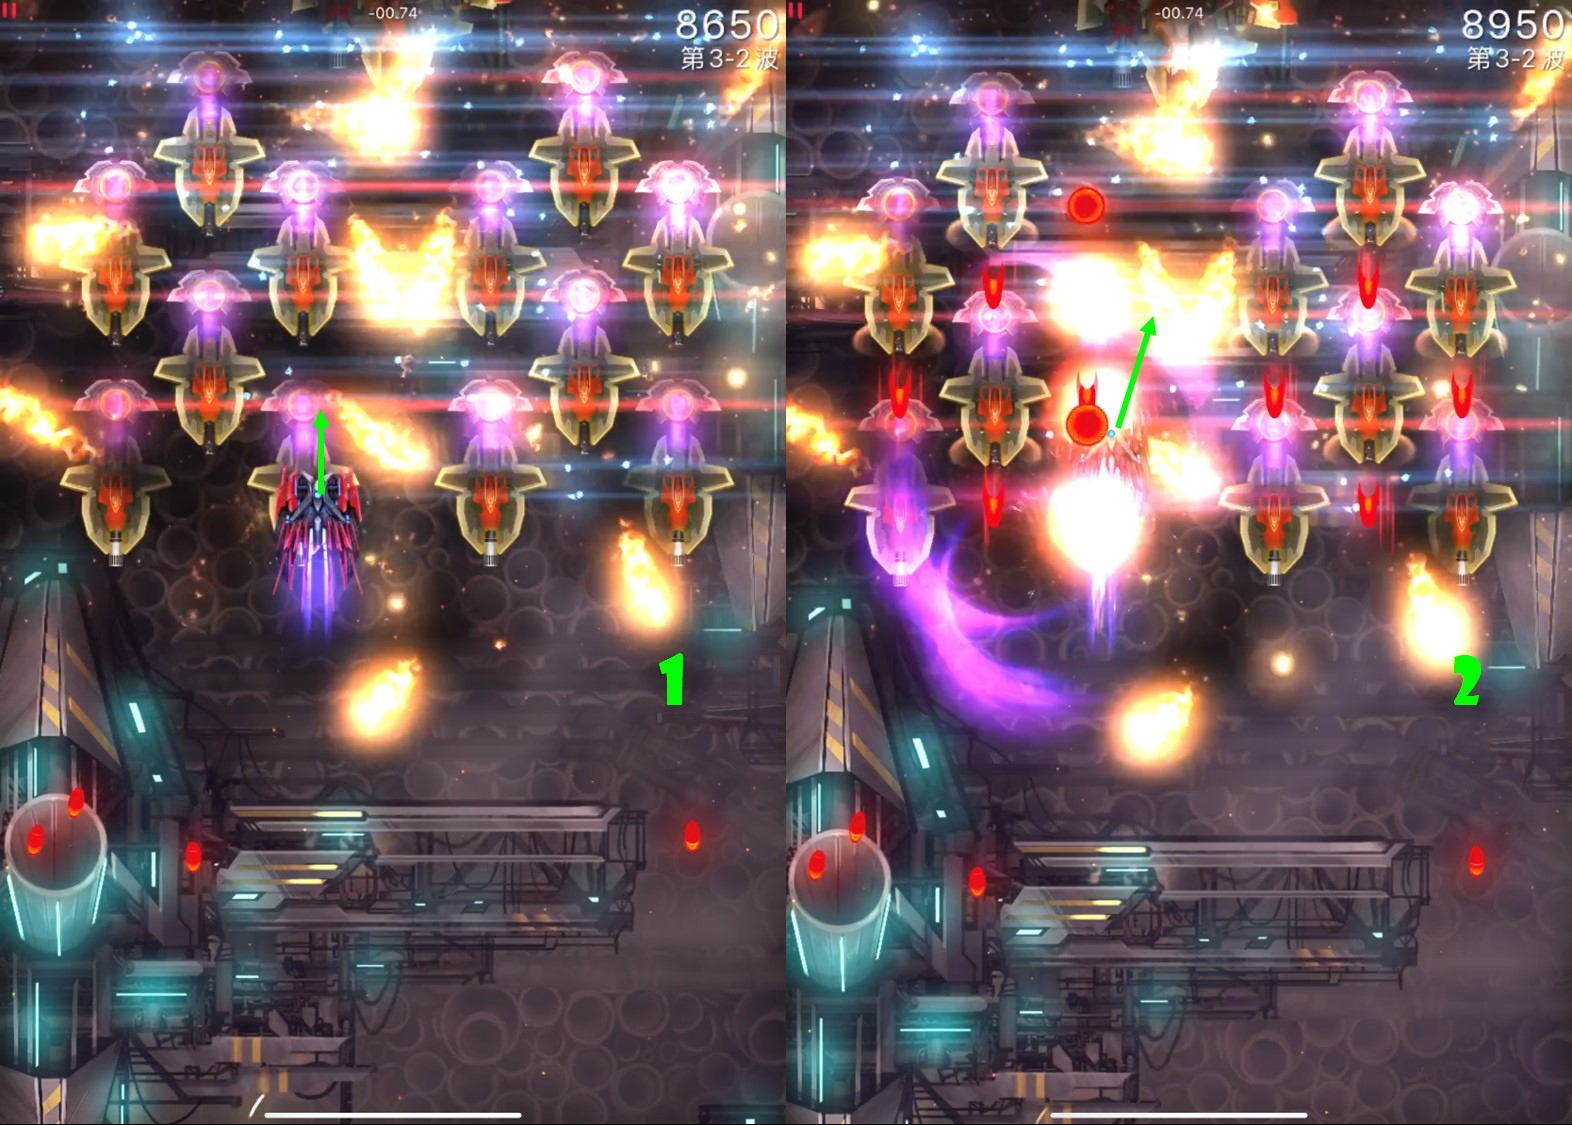
The mechanism of the main weapon is to instantly launch an attack on the locked target. If there is another obstructing target within the straight line range of the locked target, the damage will be prioritized to be distributed to the obstructing invader. Therefore, the first basic skill to master when playing Shogun is controlling the main weapon, especially the skill of killing two Sparrows with one slash. In the first act, when Sparrows are the main invaders, you need to find the most suitable position in advance, allowing your main weapon to eliminate multiple Sparrows at once.
-
Sparrows in triangle
This formation is relatively simple. For a regular triangular formation, we generally start from the left side, aligning the main weapon with two Sparrows. Then we use an additional slash to eliminate the remaining Sparrow. As for an inverted triangular formation, we need to use the first slash to deal with the Sparrow on the left side, and the second slash needs to be closer to the front row of Sparrows, making it easier to ensure finding a position aligned with the two Sparrows.
-
Sparrows in square
This formation is slightly more complex. Starting from the left column as before, align the right main weapon to target the two Sparrows on the left side. Then, it's important to note that since the trajectory of Sparrow movement is random, it's necessary to anticipate the Sparrow's movement path in advance and find a position that allows the left main weapon to align with the two Sparrows.
-
Raven with 4 Sparrows, Raven in the back
Typically, such a formation requires you to use two slashes to deal with the four Sparrows in the front row, and the remaining two slashes to eliminate the raven. The first slash still starts from the left side, and the second slash needs to be closer to the two Sparrows on the right side. You need to ensure that the main weapon hits the two Sparrows first. If you're lucky, excess damage can hit the raven in the back row, saving a slash.
If you can't control the main weapon well and learn how to "control slashes," it's impossible to become expert in playing Shogun in the long run. It's easy to notice that sometimes, at the end of each wave, the slight lack of damage always needs to be compensated for by waiting for the 1-second charge between main weapon rounds, which is called "stalling." However, this wastes a slash and the time waiting for it. For top players, especially skilled Shogun players, the 1-second interval between rounds not only affects the total time but also affects the smoothness and various subsequent connections. The issue of having one more or one fewer slash is quite common. Within one round, at the end of a wave, only slashing 3 times or even over-slashing with the first slash of the second round is a common phenomenon. If, before this, you could deal the remaining damage to other invaders, you could save one slash; or intentionally not utilizing this feature, slash one more. Both methods can ensure that the subsequent main weapon attacks are perfectly timed to form a round of four slashes, covering the 1-second main weapon cooldown time between waves or even between rounds, naturally ensuring smoothness. If you can control it, never waste a slash to attack Sparrows or Ravens; this damage shouldn't be compensated for with the main weapon.
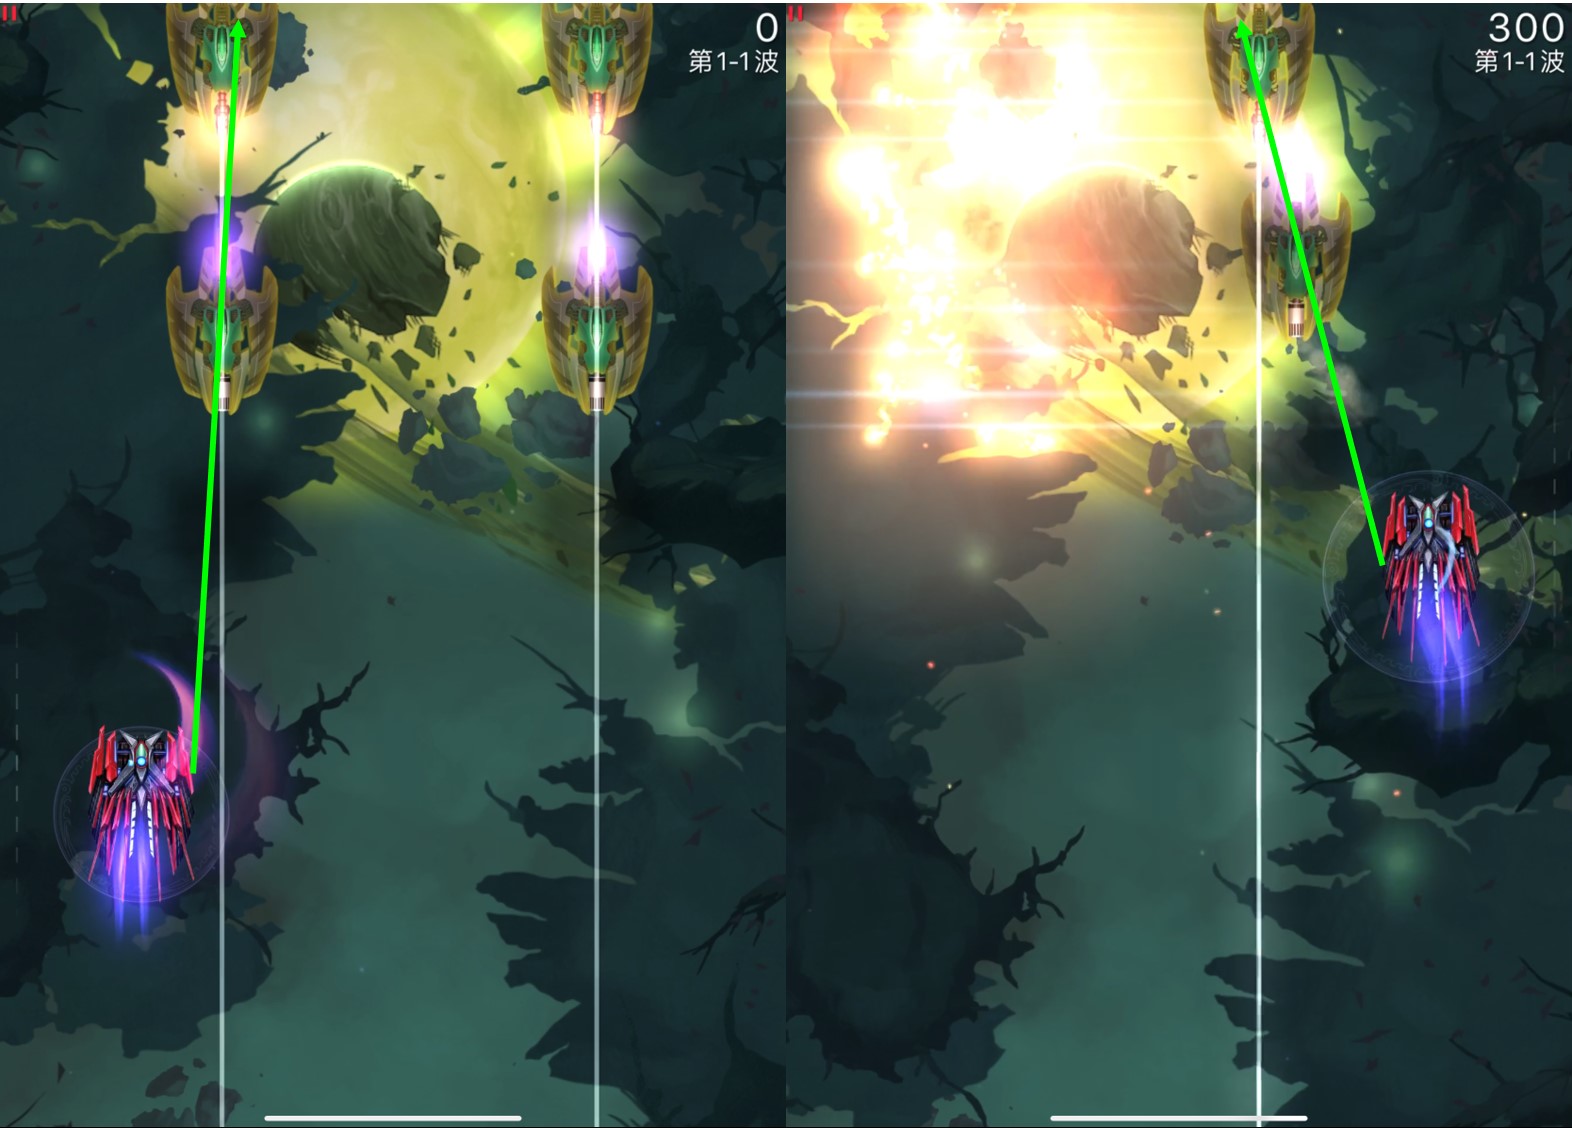
In the Proxymar Cookbook, we've previously discussed the mechanism for the main weapon to choose the next target for immediate targeting. Like Proxymar, the Shogun's main weapon also follows the principle of instant guidance, prioritizing the invader with the smallest turning angle. At the beginning of the game, the Shogun's main weapon defaults to facing forward, so the first locked target is the invader that causes the main weapon to deviate the least from the vertical direction.
Only when an invader is within the front 180-degree fan-shaped area will the Shogun's main weapon attack. However, the locking mechanism is not affected by this limitation. In other words, the logic of each attack is to lock the invader with the smallest turning angle → determine whether the angle required for the main weapon at this time is within ±90° → if the locked invader meets the attack conditions, launch an attack; otherwise, don't attack at all. Therefore, if the locked invader is behind, or even slightly below the Shogun's horizontal line, the main weapon will not be used.
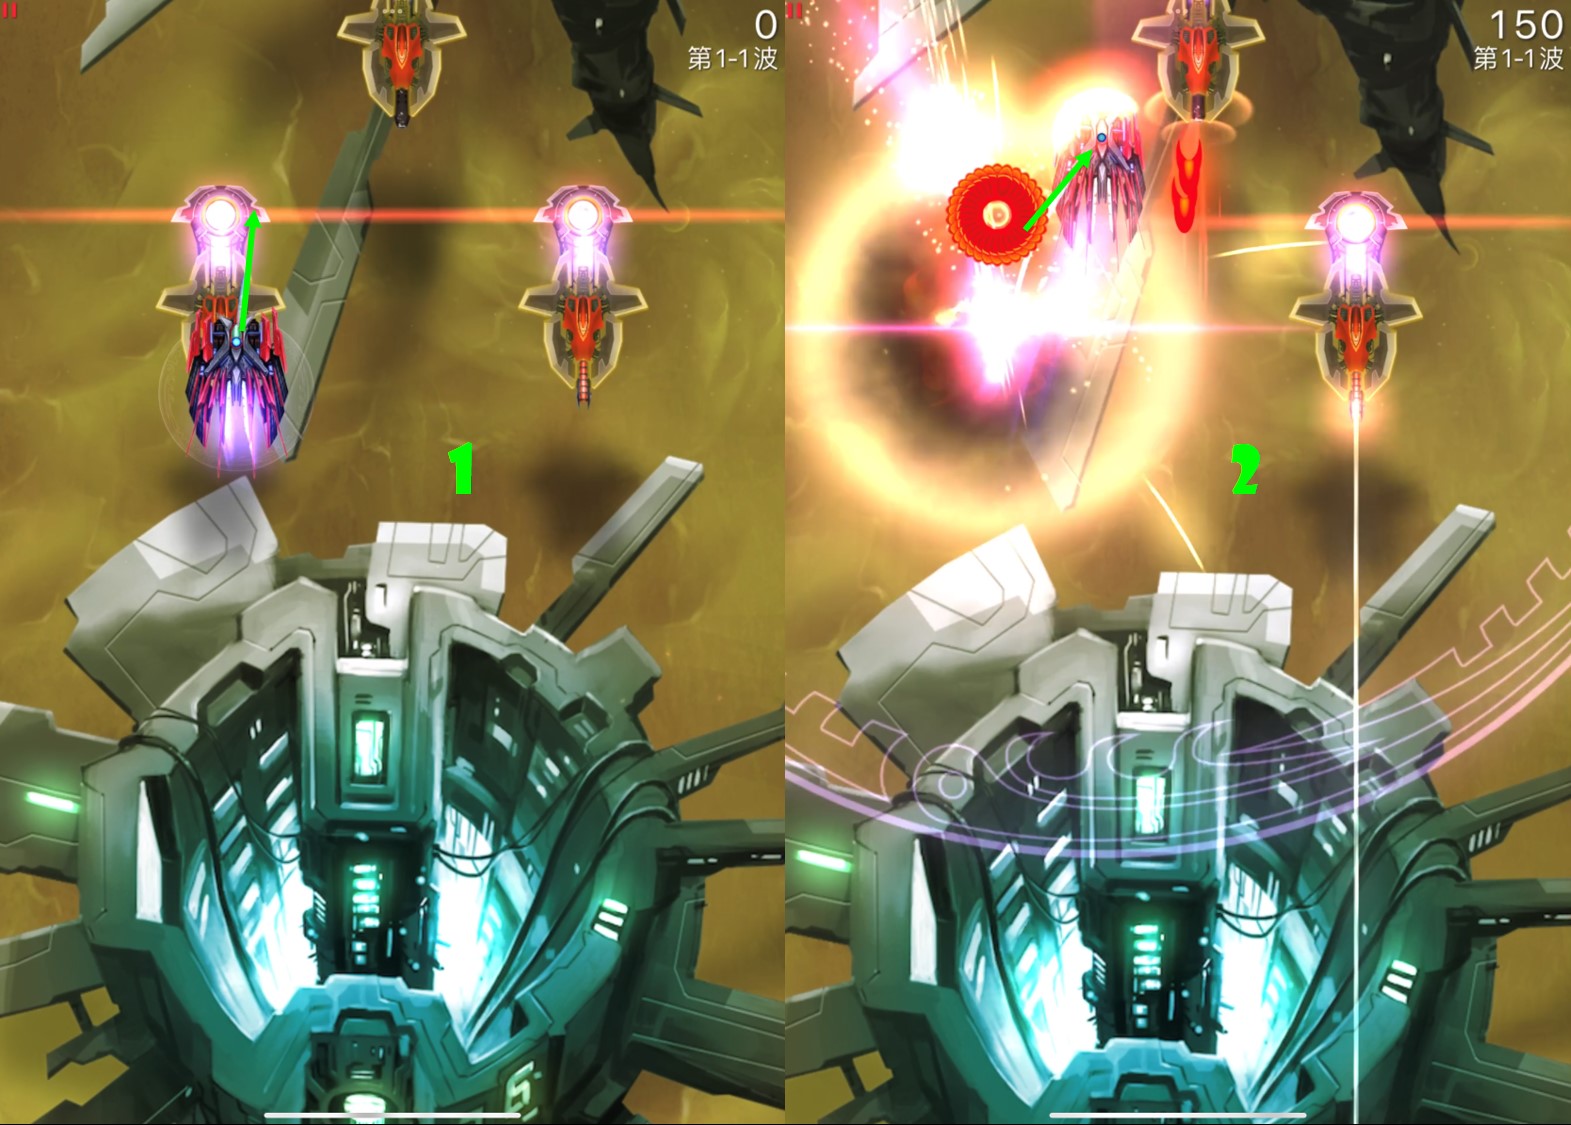
Aura
Blade Storm is executed with rapid and balanced momentum, striking all enemy turrets and cores within its aura. With a full aura and a complete slash, it can deal 100 damage in a short time. Unlike Missile Swarm, which requires waiting for missiles to fly, Blade Storm has a short output time and cooldown time between auras, essentially exchanging damage for speed. However, this also results in inadequate output against large invaders (Condor, Roc), making Shogun more suitable for missions where the main invaders are primarily herons, ravens, or sparrows.
The attack mechanism of Blade Storm is to target the attacking targets within the aiming range and then evenly distribute the damage based on the number of locked targets. It's worth noting that, like the main weapon, if there's another target blocking within the straight line range of the locked target, the damage will prioritize hitting the obstructing target first. Simply put, when the aura locks onto large invaders in the back row, the damage intended for the back row invaders will be entirely absorbed by the large invaders in the front row due to the obstruction. Additionally, if the allocated damage exceeds the remaining health of an invader, the excess damage will not be redistributed to other invaders, resulting in what we colloquially call "overkilling" or damage overflow. For example, if Blade Storm deals 5 damage to each locked target, but all the locked targets have only 4 hit points, each Sparrow will result in 1 damage overflow. To avoid wasting this output, you also need to consider the issue of multiple points being aligned; the simplest way is to position yourself close to the invaders to prevent excessive damage overflow.
The key to releasing Blade Storm lies in timing it just right. Using it at the right time, combined with the main weapon or Zen, can perfectly clear each wave of invaders. At the beginning of each wave, it's not advisable to use it the moment the invaders are in position; Instead, wait a moment to allow the Blade Storm indicator to cover and target all invaders before releasing it. However, it's not realistic to stare at the screen waiting for the perfect moment; Waiting too long will waste too much time and allow bullets to gradually occupy the upper part of the screen, leading to poor output conditions at the top and a dilemma of being unable to cover all invaders from below. Therefore, the timing of Blade Storm at the beginning of each wave also requires training. But in reality, it's not that difficult; there's plenty of time, and it doesn't require much practice. However, details may require more careful consideration in very difficult missions.
However, sometimes, a single Blade Storm in a wave can't clear all invaders, and a few remaining invaders need to be killed one by one with the main weapon. If there are too many invaders, or the total health of the invaders is significant, using another appropriately sized aura can clear them; but if there are only a few ravens or even sparrows, do you need to use another aura? Of course not. Killing them with the main weapon may directly lead to stalling or indirectly lead to stalling in the next wave, resulting in decreased smoothness. Therefore, at the beginning of each wave, you can let the main weapon slash once or twice before releasing Blade Storm. Ideally, everything can be cleared, and if a main weapon enters cooldown during the time it takes to clear the wave with Blade Storm, it will be ready for the next attack naturally. When releasing the aura, you don't need to ensure it's always full; clearing the invaders is sufficient, saving energy and time.
In addition, you also need to learn to control the size of the aura and the amount of energy on the field. This way, when facing large invaders, you can directly kill them with multiple Blade Storms instead of having to hit them down one by one after the aura is finished. This is also the embodiment of "just right".
Never be stingy with your aura while also ensuring it's "just right".
Zen
As a highly offensive ship, Shogun naturally cannot function without its multi-functional Reflex EMP. It is the Reflex EMP that enables Shogun to become an ultra-strong speedrunner that combines offense and defense. The Reflex EMP is released within a circular range of 225 after charging for 0.6 seconds, clearing bullets while dealing 20 damage to enemy ships. For Sigma Shogun, they possess a high-damage Reflex EMP, which can deal 30 damage, equivalent to the non-core damage of a Mega Bomb. With its high flexibility and speed, the Reflex EMP can quickly clear sparrows, and the high-damage Reflex EMP can directly eliminate unprotected ravens, sometimes even clearing the entire field. However, after release, there is a short cooldown period. The cooldown time starts at 0.6 seconds, then increases by 2 seconds, and gradually decreases from 2.6 seconds back to 0.6 seconds over time.
When combined with the aura and main weapon, the Reflex EMP forms an unstoppable force for Shogun. In the first act, it can be released as needed to choose the most appropriate wave. Due to the increasing charging time for repeated releases, in the first three acts, the Reflex EMP is generally only released 3-4 times, once per act. However, in the second or third act, a particular wave may be possible to use a Reflex EMP other than the first wave.
Generally, the Reflex EMP will be used in 1-1 or 1-2. If it's delayed until 1-3 or 1-4, it will result in a longer cooldown for the Reflex EMP in the subsequent second act. Whether it's released in 1-1 or 1-2 usually depends on whether 1-1 can be resolved within 2-3 main weapon attacks. For triangular sparrow formations (both regular and inverted triangles), it's possible to resolve them in two slashes, although it requires extremely precise main weapon control, so three slashes are also acceptable. As for the 4 sparrows in a line, it's recommended to release the Reflex EMP in places where the main weapon cannot aim, such as the ceiling, to avoid wasting the main weapon while directly clearing enemy ships. Another situation is the small square formation with four sparrows, where it's recommended to directly release the Reflex EMP, and if there are armored or shielded enemies, an additional slash of the main weapon can clear them.
Conclusion
The speedrun of Shogun mainly revolves around controlling the main weapon, releasing auras appropriately, and timing the release of Zen. If one wishes to become a skilled player of Shogun, the above content serves only as the foundation, which must be mastered through diligent practice. Furthermore, more advanced techniques are largely built upon this foundation.
Advanced
The advanced techniques of Shogun revolve around various grazing methods, especially when dealing with Caged Sparrows. Fully utilizing any bullet on the field can unleash the full potential of this ship. Unlike other speedrun ships, you must face a large number of bullets; the more bullets there are, the stronger Shogun becomes.
In the advanced part, we will introduce various small techniques for bullet hells, which will allow you to face the large volume of bullets more confidently.
MIRV Graze
As the opening of the advanced section, we first introduce the skill of grazing MIRVs. This technique is one of the most widely used grazing techniques, and almost all ships have the opportunity to use it. Therefore, for those of you stepping into the advanced section, mastering it is essential.
Before introducing the technique, let's review some characteristics of MIRVs. MIRVs are small orbs with collision boxes that activate and explode when the player approaches them within a certain range, releasing bullets or lasers in all directions. We won't discuss how to deal with laser MIRVs because they simply require finding gaps between the lasers. The focus of this section is on dealing with bullet MIRVs.
MIRVs are not activated immediately upon launch. For MIRV Shooter and MIRV Bloomer, the bullets they fire fly forward for a short period (0.4 seconds) before becoming activatable. In other words, newly launched orbs pose little threat. To fully utilize the energy these bullets can provide, we must get close, making this short period after launch the optimal time to approach the MIRV.
During this brief 0.4-second period, you simply need to stay near the MIRV and wait for it to become activatable. The moment the MIRV explodes, you can graze the energy equivalent to 30 bullets. At this point, you can quickly retreat and use Blade Storm to kill invaders.
A key point of this technique is not to fear the exploding MIRVs. As you practice Shogun, you will face increasingly dense bullet patterns. To apply the skills you've learned in missions, you need corresponding foundations to support it. During practice, we recommend that you approach to graze as soon as you encounter MIRVs. You need to achieve a level of relaxation like "skimming the water", which is also a practice of basic skills.
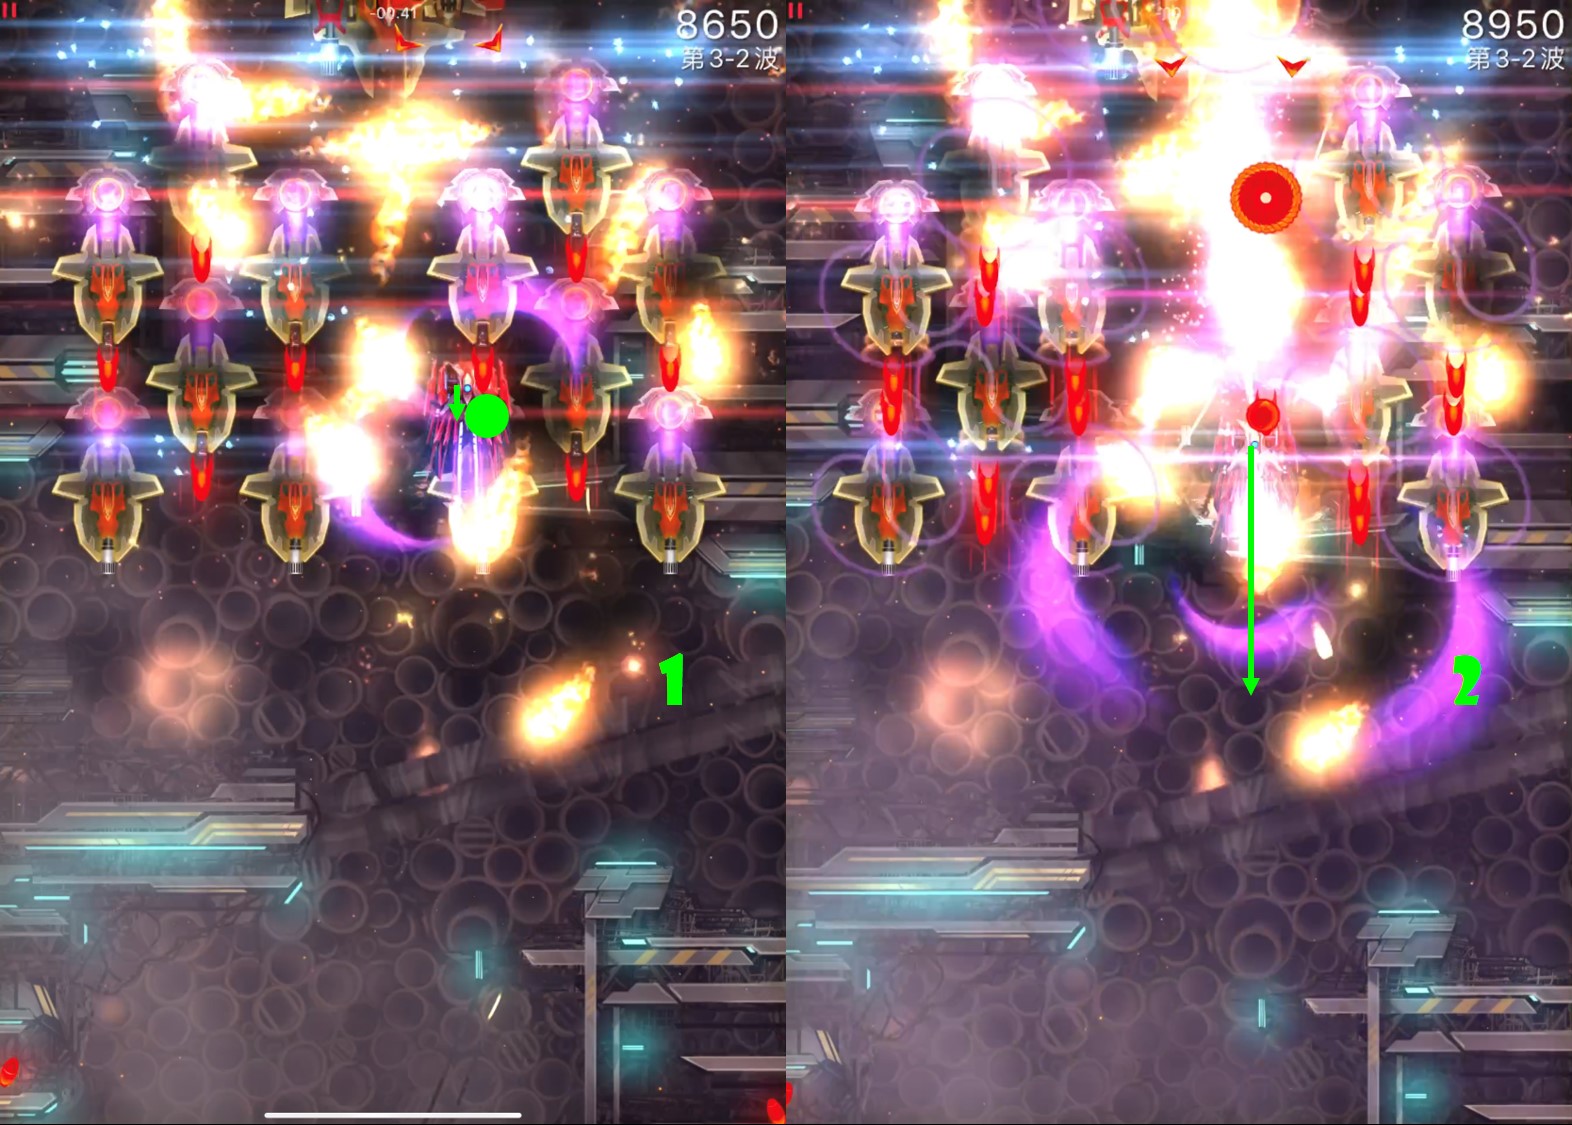
Caged MIRV Graze
This particular technique is one of the most commonly used among Shogun's many techniques because it is suitable for missions where Shogun faces armored invaders with Caged Sparrows, greatly enhancing the effectiveness of its grazing. Generally, you need to start grazing as soon as you start a wave, typically with full energy right from the beginning.
Grazing Caged MIRVs can be done in two ways: from top to bottom and from bottom to top, each requiring a different approach. Let's start with grazing from bottom to top.
First, stand slightly off-center facing the Caged Sparrow you want to graze, as you need to aim for the edge of the Caged MIRV.
Secondly, rush towards the Caged MIRV as your main weapon launches its attack. You need to ensure that at the moment the Caged MIRV explodes, your ship is positioned next to it, allowing you to graze all 30 bullets.
Lastly, it's important to note that grazing isn't just about collecting energy; it's also about ensuring you can safely use that energy. Therefore, the moment you finish grazing, you need to move off to the side to avoid bullets.
The above are the basic operations for grazing Caged MIRVs. There are several extensions based on this foundation. Grazing from top to bottom can be seen as an extension of basic Caged MIRV grazing. In this operation, since Shogun's main weapon cannot attack behind it, the method for destroying Sparrows becomes using Blade Storm. The key is similar: to graze the exploding Caged MIRV at the moment when Blade Storm eliminates the Sparrows to gain energy.
Another extension is the double grazing technique. This technique is rarely used and is mainly employed in the first act. Its goal is to save a Reflex EMP by using the energy obtained from the first grazing to eliminate remaining enemies, while simultaneously grazing another Caged Sparrow to maximize efficiency.
Its operation requires more precision. The first half is the same as grazing from bottom to top, but the second half requires you to use Blade Storm to eliminate the remaining Sparrows. The moment you successfully graze, immediately use Blade Storm and simultaneously rush towards another Caged MIRV to graze, achieving the effect of obtaining full energy twice in a row.
Usually, the application of this skill is not limited to the first act. Even in situations where enemy density is high, you have ample opportunity to use the Caged MIRV grazing technique to quickly recharge. Unlike the first act, where invader numbers and bullet density are lower, in subsequent acts, they significantly increase. Therefore, your movements need to be more precise. In such situations, grazing from top to bottom is more recommended because you don't directly charge into a sea of bullets.
This doesn't mean that grazing from bottom to top is not advisable; it's just that it's more challenging due to its difficulty.
Inside Graze
The inside graze is another common technique used in situations where bullet density is not too high, but there's an urgent need to gather a large amount of energy.
The principle behind inside graze is that there exists a blind spot between the invader's turret and the trajectory of the bullets. This means that even if you're right next to the invader's turret, the bullets fired from the turret will pass behind you without hitting yourself. Moreover, by getting close enough, you can graze almost all of the bullets fired. In situations with less dense bullet patterns, this technique can help you quickly recharge your energy.
There are two key points to master the inside graze technique:
- Identify the blind spot position for each turret.
- Rush to the blind spot position during the gap between turret shots.
Almost all turrets can be applied inside graze. Detailed instructions on selecting positions for inside graze will be provided in the Disaris Cookbook. Below, we list several commonly used turrets for inside graze, with demonstration images sourced from Disaris and other ships.
-
Darts
The fully upgraded Dart turret is the most common option for inside graze, as it offers high charging efficiency and its blind spot is easy to identify. Taking the T4 Dart turret as an example, its blind spot is located at the muzzle. When you need to perform an inside graze operation, simply rush to this muzzle position and wait for the next round of Dart.
Its application is extremely wide, and sometimes it can even help you avoid certain threats. If there is only one Dart turret left on the field, I highly recommend using the inside graze technique to continuously graze Dart and quickly kill the rest invaders.
-
Bullet Spinners
The blind spot of the Bullet spinner is located at the edge of the wheel, but its blind spot is not easy to identify. The operation is similar to that of the Darts, where you just need to wait at the edge of the spinner for the bullets to be fired. The T4 bullet spinner is easier to operate because its blind spot is more easily identifiable.
-
Shurikens
Don't be surprised, although the trajectory of Shurikens is not as fixed, the grazing of Shuriken turrets is not as difficult as imagined. When we generally refer to the inside graze of Shuriken turret, we are referring to the T2~T4 regular Shuriken turret and the T4 Shuriken Tide. Other tiers of turrets do not have such high efficiency, so they are not considered.
Regular Shuriken turrets have a comfortable feature: they can be approximated as even-number snipers. In other words, as long as you get close enough to the turret, when the Shuriken targets you, the Shurikens fired usually fly past you. This even eliminates the need to get close to the muzzle to find blind spots, because the turret collision is quite annoying. When there are not many Shuriken turrets on the field, you can boldly rush towards the Shuriken turret during the interval between two rounds of firing, and then a large number of Shurikens will graze past you.
T4 Shuriken Tides are a little more troublesome, as they also require you to be in the turret's blind spot. The method of finding it is the same, but this type of inside graze bullet is used less frequently.
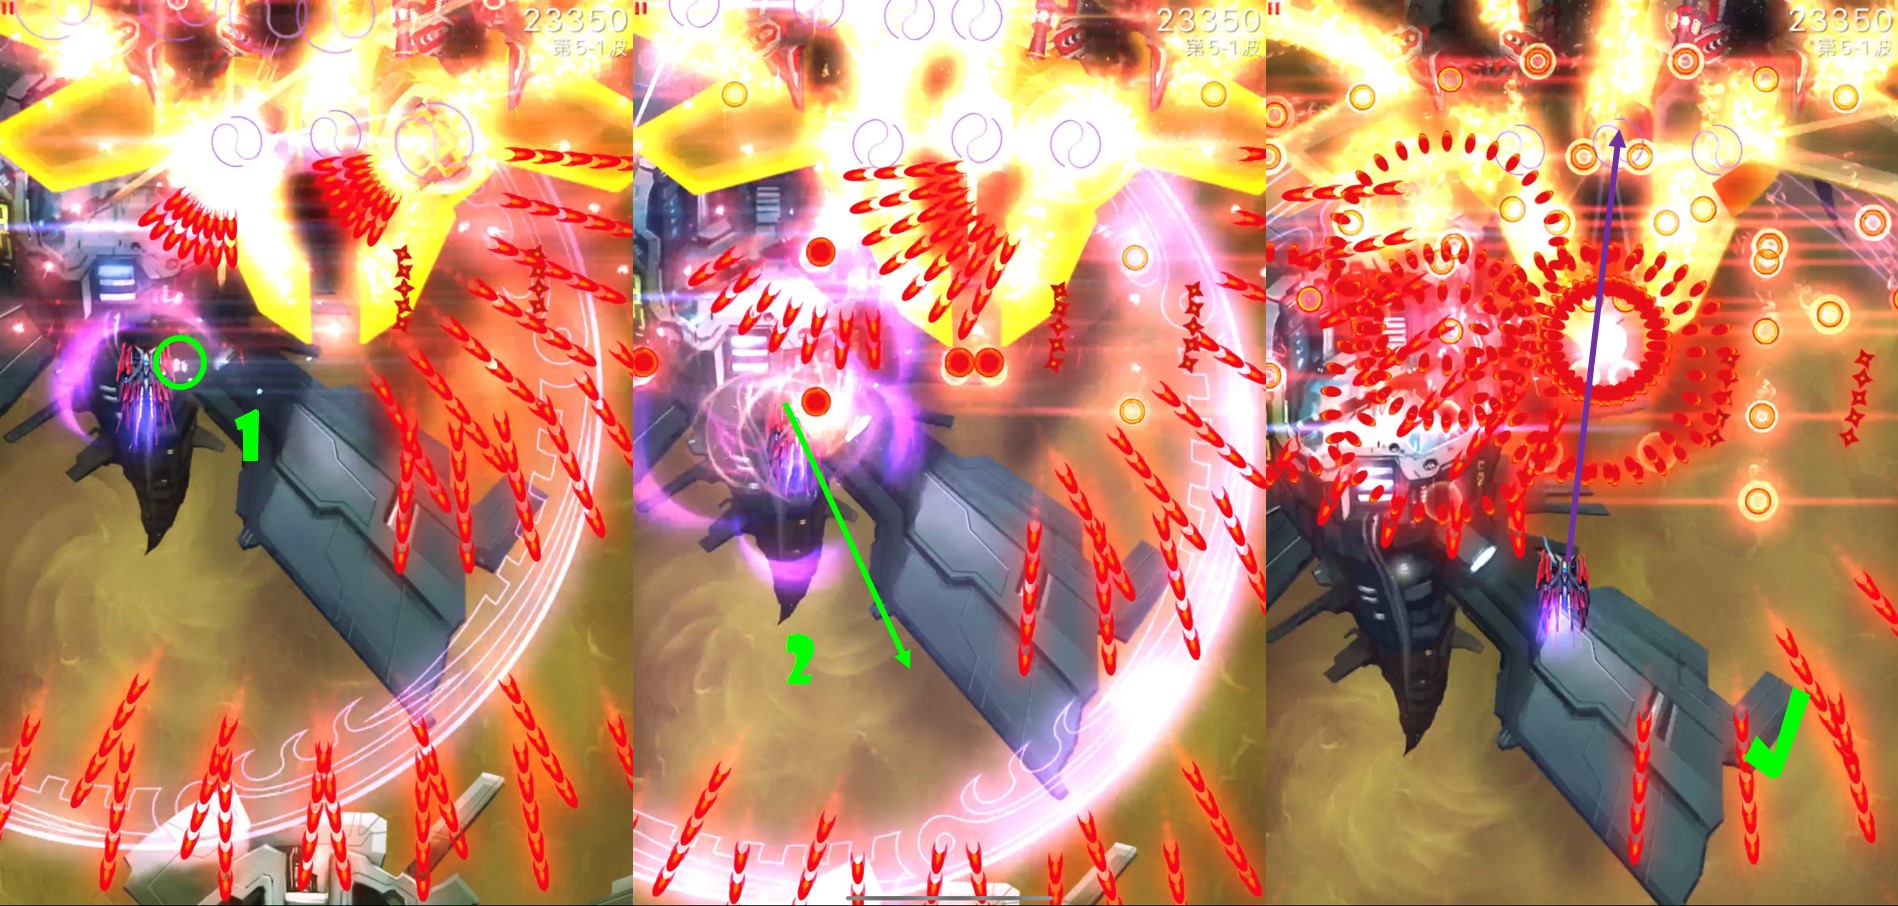
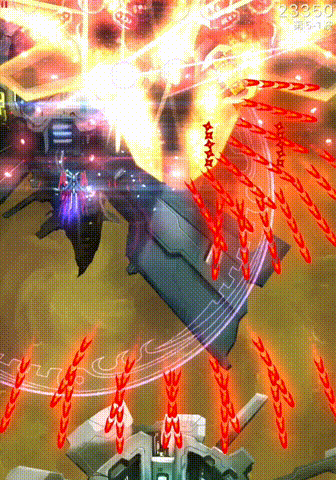
Reflex Graze
Reflex graze is a skill that is rarely emphasized because it is only used in the MIRV Spams. Specifically, it is used when there is a vulture with a MIRV Bloomer in the front row and many ravens in the back row.
The logic behind reflex graze is that I don't want to waste an opportunity to get a full aura by grazing MIRVs, but the bullets formed after the MIRV explodes are undodgable. Therefore, I need to eliminate these threatening bullets immediately after grazing.
Its operation method is very simple, just release the Reflex EMP at the appropriate time and position. The difficulty lies in choosing the right timing and position.
Typically, we would choose to reflect the first round of MIRVs. You can consider a rhythm like this: first release the Blade Storm, push upwards at the same time, and then release the Reflex EMP at the moment when the MIRV fires. One thing to note is that there is a 0.4-second delay from the MIRVs being fired to when they can be activated, while the Reflex EMP has a charging time of 0.6 seconds. Therefore, the best timing is to release the Reflex EMP just before the MIRVs are fired.
As long as the timing is right, you can once again gain a full round of energy, while almost all bullets are eliminated. With this energy, you are capable of destroying the vulture in front of you.
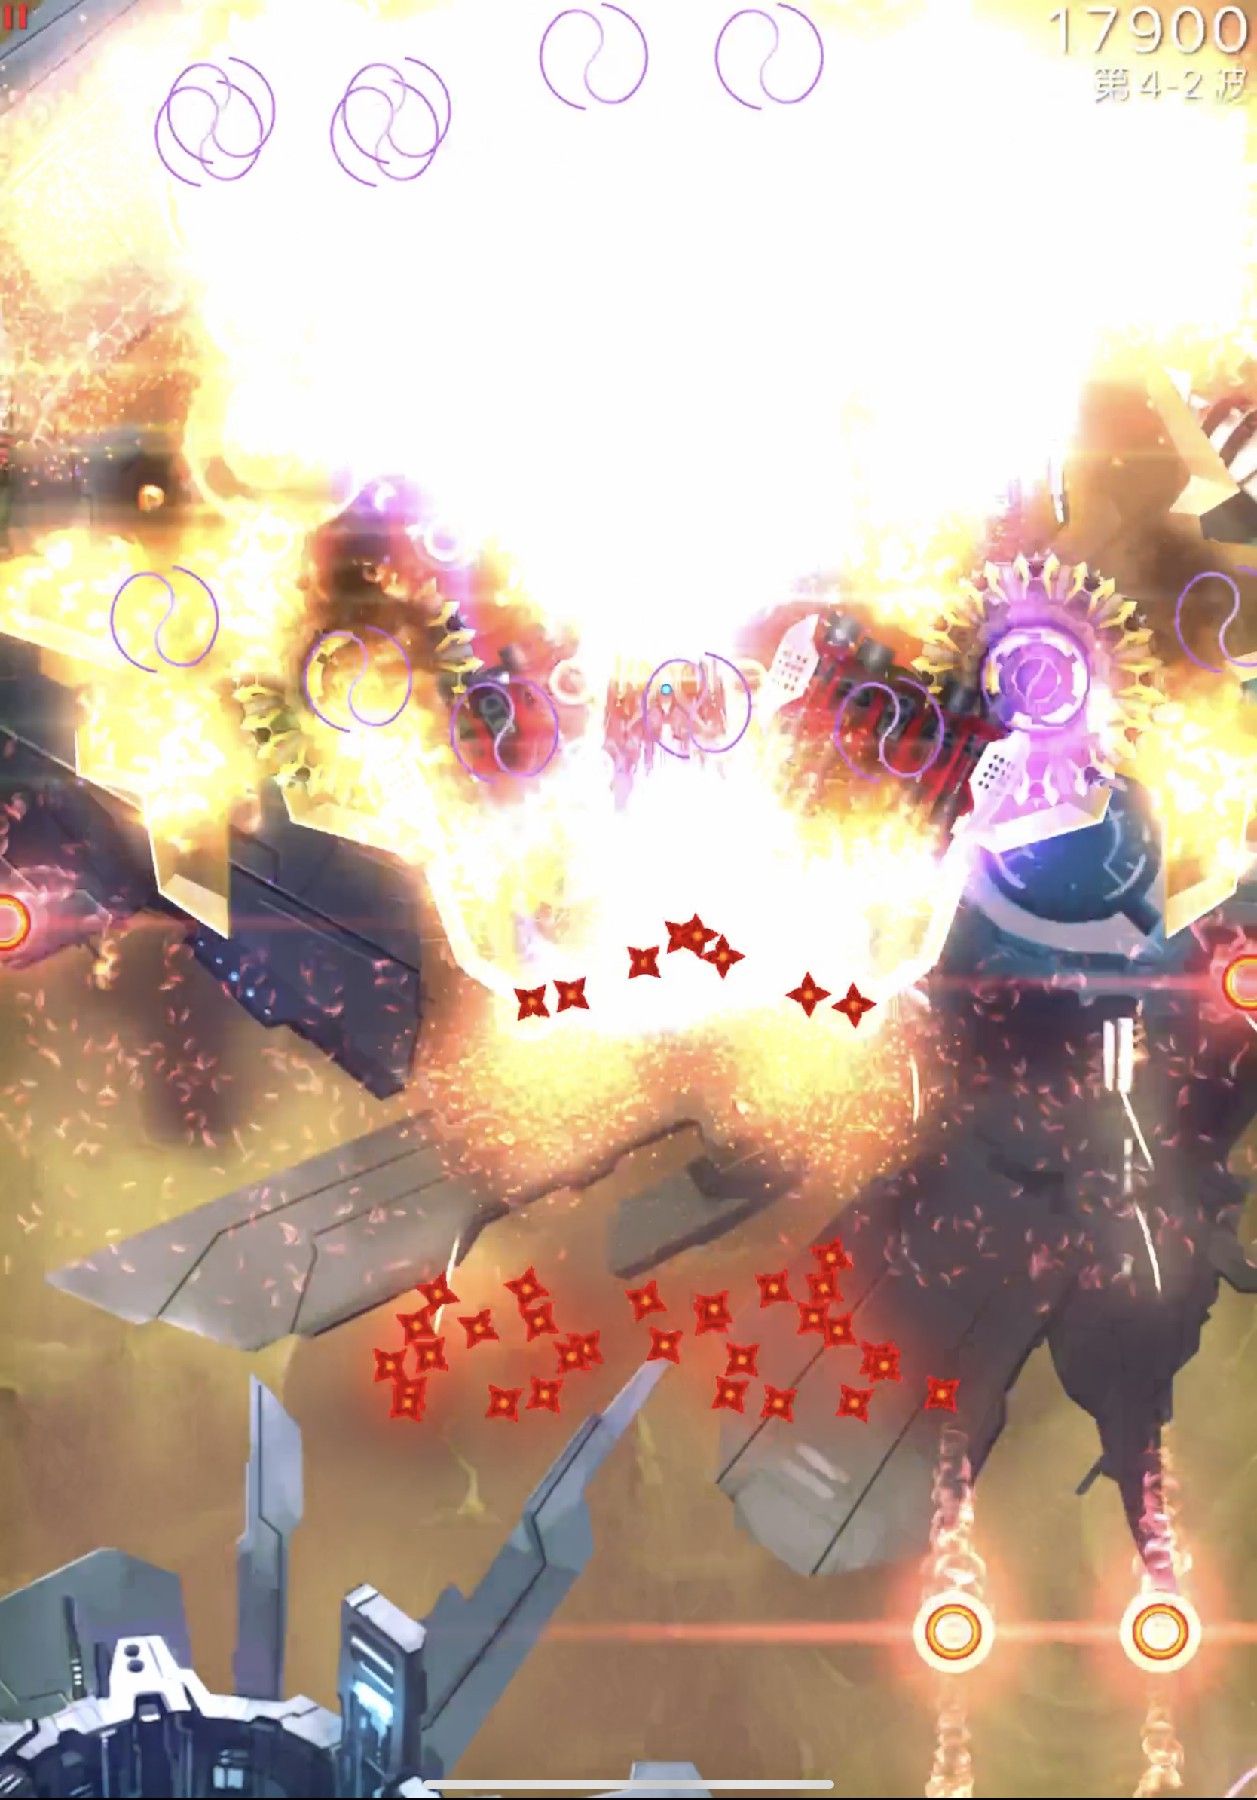
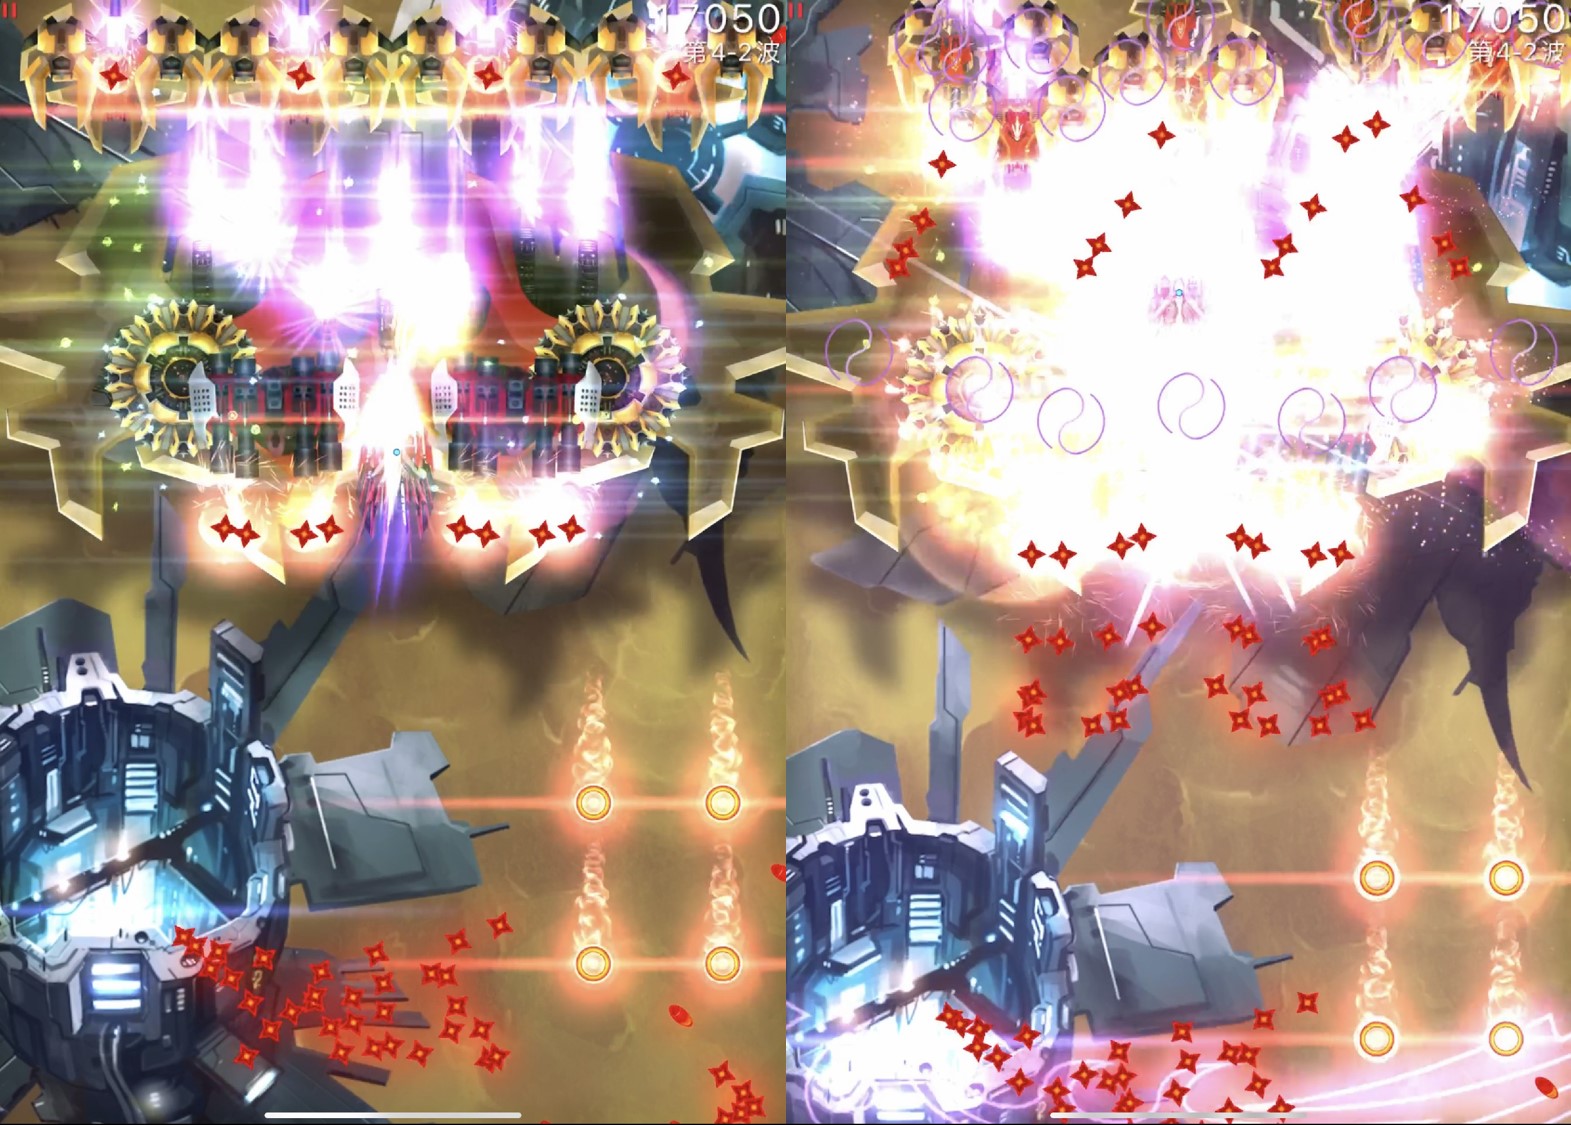
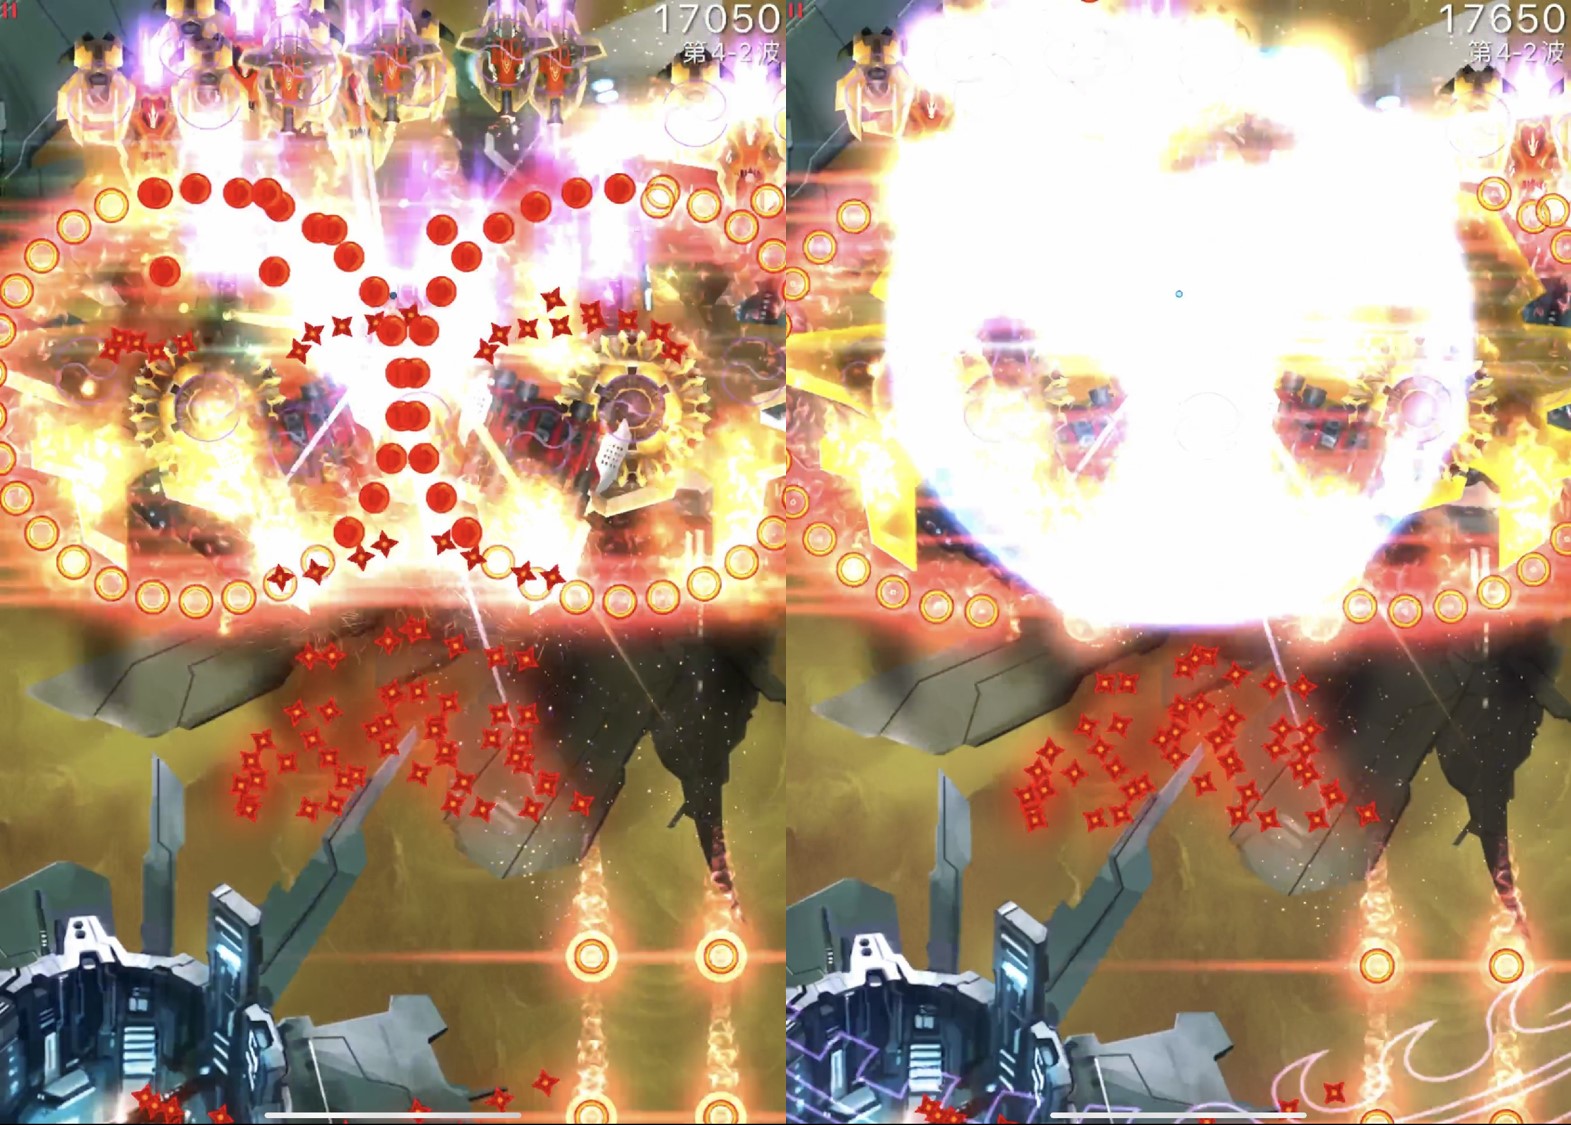
Let's have a full illustration:
Editor's Note: The reason it's often overlooked is because the scenarios where it's used are rare, but that doesn't mean its effectiveness is limited. If you're using Jeria (Vorpal Lance + Reflex EMP), this technique can also provide significant benefits, especially when facing the Roc. For example, when you're blocked by Shurikens, you can completely clear the way using the Reflex EMP. But before clearing the way, you can also take away some energy from the MIRVs, which can also relieve some pressure for you.
Doomsday MIRV Graze
This is a skill that has been overshadowed in the current version because the original Doomsday MIRV have been replaced by the more powerful Super MIRV. However, it's important to note that despite the upgrade in name, the graze technique for the Super MIRV is identical to that of the regular MIRV, so we won't elaborate further on it.
Since it's now rare to encounter the old version of the Doomsday MIRV, we'll only provide an introduction to this skill.
The attack method of the Doomsday MIRV is as follows: During the charging phase, multiple red dots appear around it, and after charging is complete, a MIRV that can explode immediately will be generated at the position of each red dot. Utilizing this characteristic, we can choose to wait near the red dots, graze as soon as the MIRVs are launched, and then escape.
In terms of details, it's highly recommended to judge the timing of the MIRV explosions based on sound cues, as there is a "ding" sound accompanying each round of MIRV production. You can move sideways in rhythm with the launch of the MIRV bullets to complete the graze.
Lastly, this technique is no longer applicable in the current version because the old version of the Doomsday MIRV has been completely replaced. Therefore, you won't have the opportunity to use this skill.
Conclusion
The speedrun of the Shogun can be said to be the ultimate in close combat and graze techniques. It requires maximizing the characteristics of graze to survive in difficult missions. The more bullets there are, the stronger the Shogun becomes. Therefore, when you encounter missions with extremely dense bullets, it's best to seize the opportunity to practice these skills.
We also provide you with some videos to learn from: