Proxymar
Ah~♥ It's cum ... com ... coming!
Author: KC1982FE
Proofreading: Flyingfish812
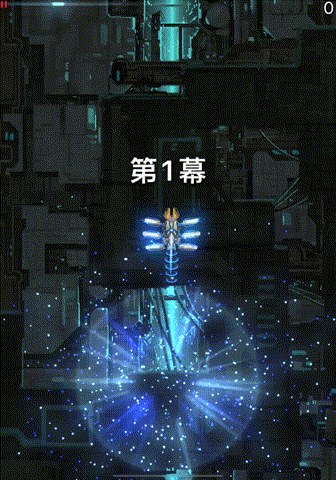
Introduction
Proxymar is relatively easy to handle among common speedrun ships. With the classic offensive skillsets of Missile Swarm complemented by Mega Bombs, it is capable of both single-target burst and area damage, performing well in daily shield and hull missions.
Although the Aura and Zen's configuration is consistent with that of Kibarrax (Crab), the automatic homing mechanism of Proxymar's main weapon eliminates the need for deliberate practice of main weapon release and control like Kibarrax, significantly reducing the difficulty of operation. This allows players to focus more on practicing positioning, grazing, barrel, memorizing invader settings, and other speedrun techniques. However, being easy to pick up doesn't mean it's simple and brainless. To become famous on the speed leaderboard, extensive practice is needed in insights into mission configurations, energy control, timing and positioning of Missile Swarm and Mega Bomb releases, and more.
In conclusion, Proxymar offers a high operational ceiling while also providing a certain level of gaming experience (at least not as blood-pressure-raising as Jeria's main weapon), making it highly recommended for beginners to practice as an entry-level speedrun ship.
Basics
This section will introduce some basic infos and mechanisms of Proxymar's three skills, as well as some simple operational techniques.
Main Weapon and its Mechanism
Proxymar's main weapon is of instant homing type. It fires two lightning bolts every 0.4 seconds, dealing 8.5 damage to invaders (4.25 damage per lightning bolt). Due to the automatic homing mechanism of the main weapon, it automatically locks onto invaders with each attack.
The main weapon is divided into two independent sides, and the attack rhythm on one side does not affect the other. Most of the time, the two lightning bolts attack simultaneously, but there may also be cases where they attack sequentially. Therefore, the two main weapons do not necessarily need to attack the same target; they can split their attacks.
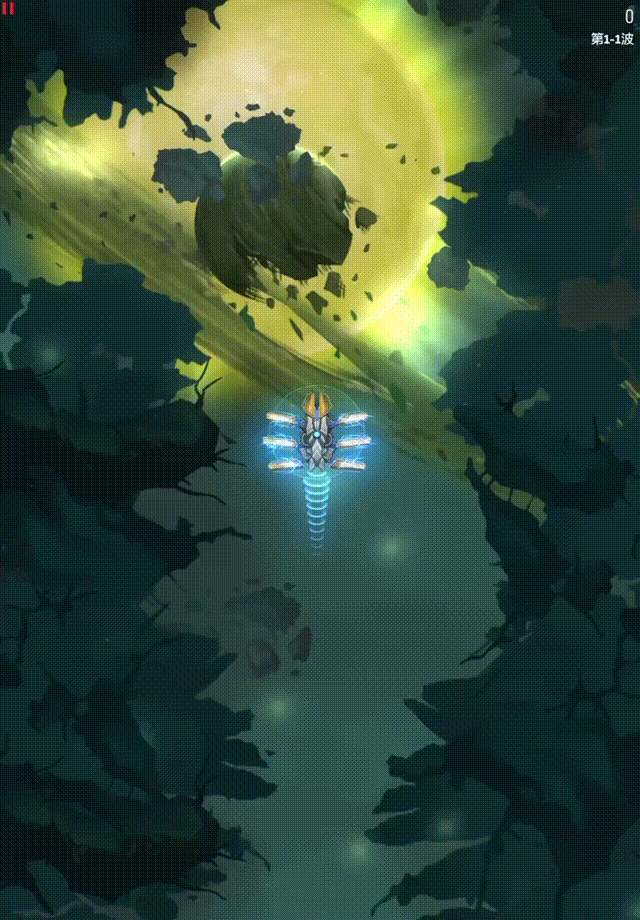
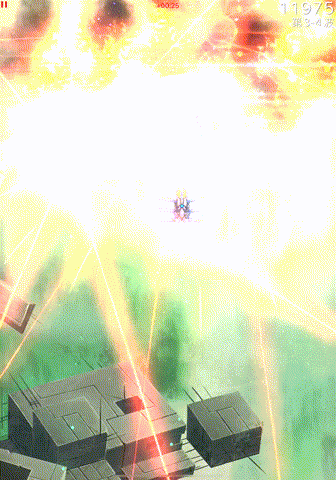
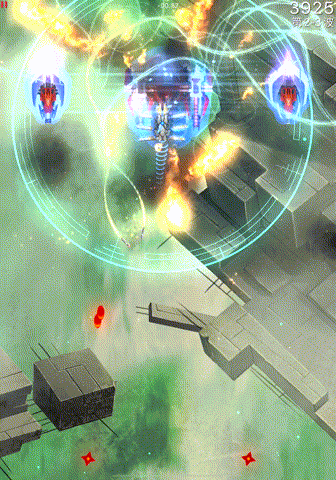
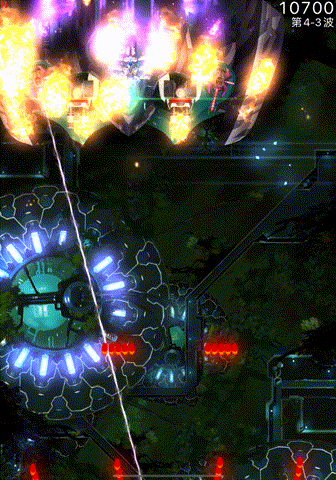
By utilizing the main weapon's splitting mechanism and combining it with the fact that the main weapon still locks onto invaders during the initial charging of Mega Bomb, the tactic known as "Main Leakage" is born. In Shield missions (limited to Shield missions only), such as 1-1 with only two Sparrows, you don't have to charge the Mega Bomb immediately at the beginning. Instead, wait a moment to let the main weapon "leak electricity" to take down the two Sparrows in 1-1, and then use the Mega Bomb to clear the invaders in 1-2, thereby improving the clearance efficiency, as shown in the gif below:
Additionally, the main weapon's targeting mechanism prioritizes the nearest invader. However, please note that "nearest" here refers to the invader with the smallest turning angle for the main weapon, not necessarily the closest in distance.
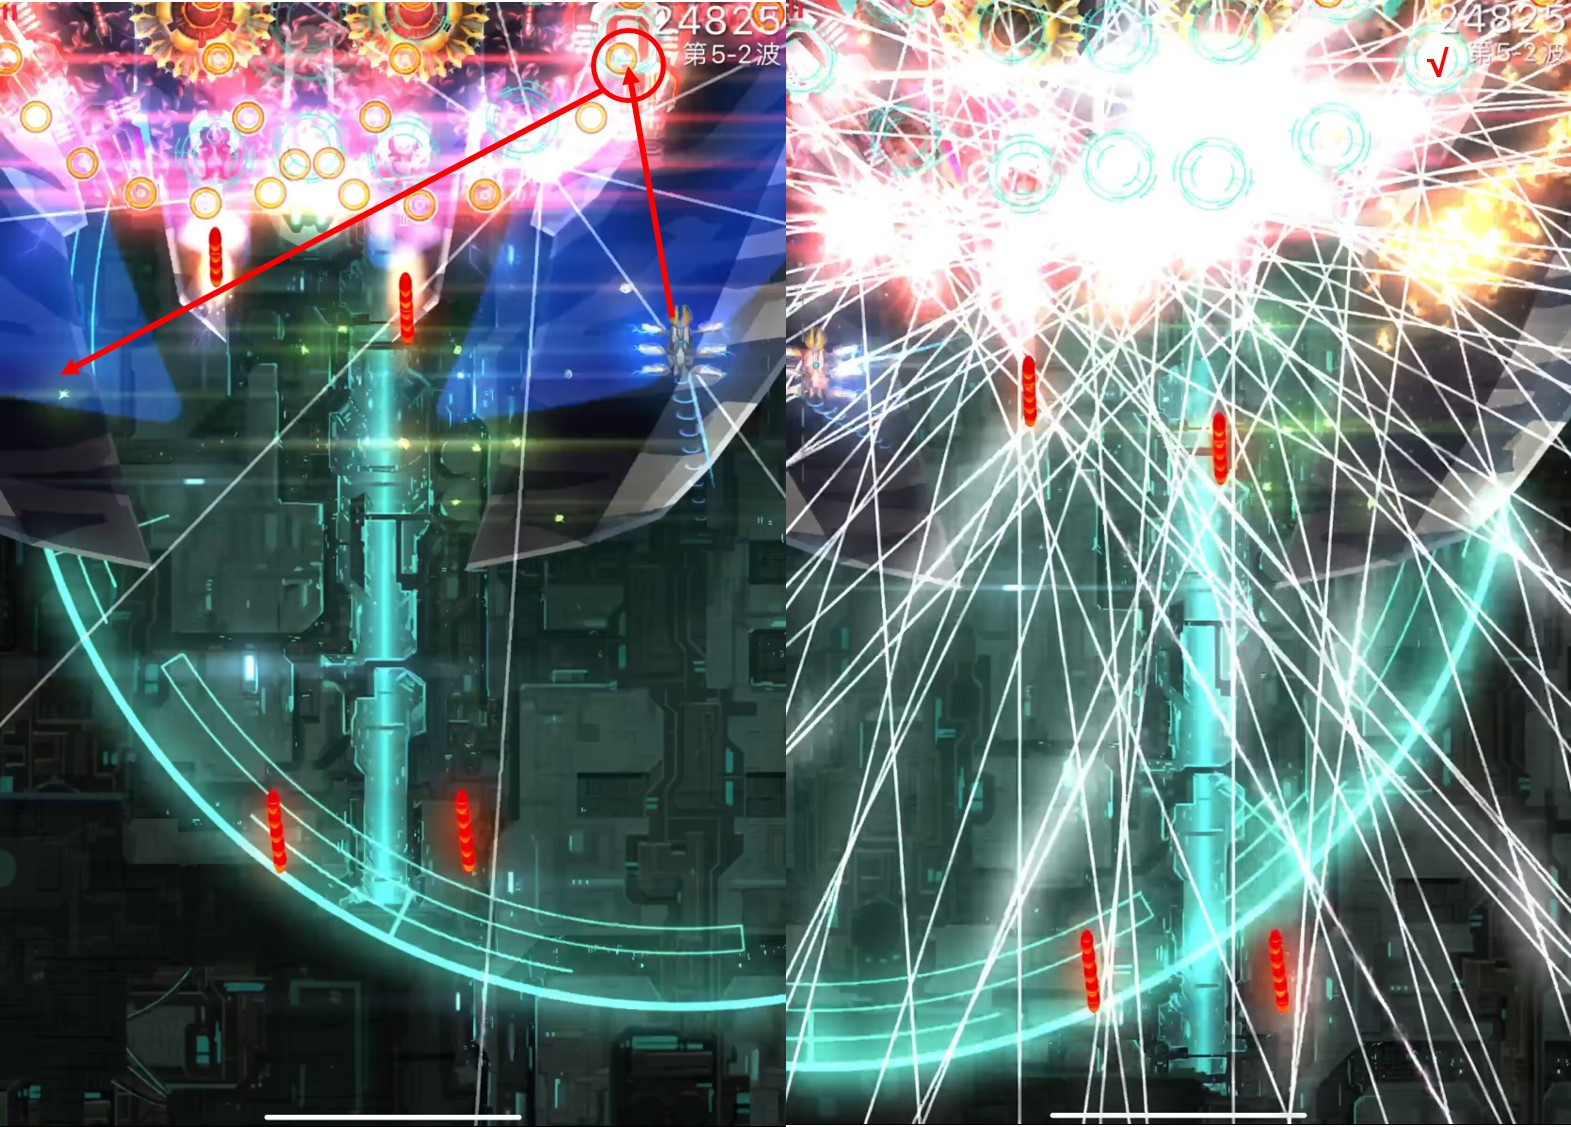
To better understand the concept of the smallest turning angle, let's take the most common configuration: four Sparrows forming a square formation. In the configuration shown in the gif below, Proxymar is positioned in the middle of the square formation, closer in distance to the two Sparrows in the front row. However, because the concept of "nearest" is based on turning angle, and the main weapon's initial orientation is default straight ahead, it is easy to see through simple geometric angle relationships that turning towards the front will prioritize targeting the two Sparrows in the back row.
This targeting feature of the main weapon means that it may not always prioritize attacking the closest invader, which is particularly important to note in later missions of the game. Sometimes your speedrun performance depends on whether the main weapon attacks different targets separately, and you may often find that the main weapon is simply wasting time by systematically killing invaders one by one. Therefore, when you find yourself unable to control the main weapon, consider what actions you can take to avoid the negative impact of this frustrating targeting mechanism.
Missile Swarm
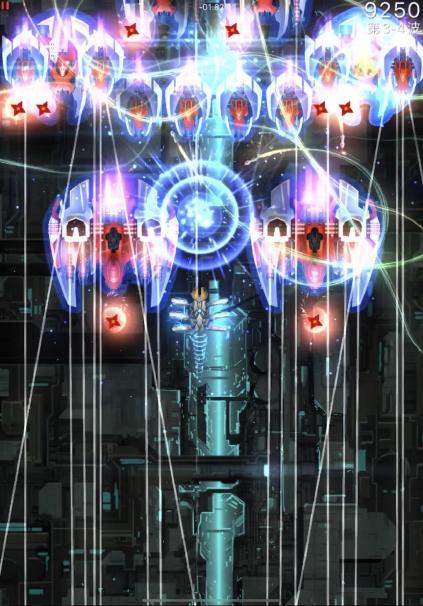
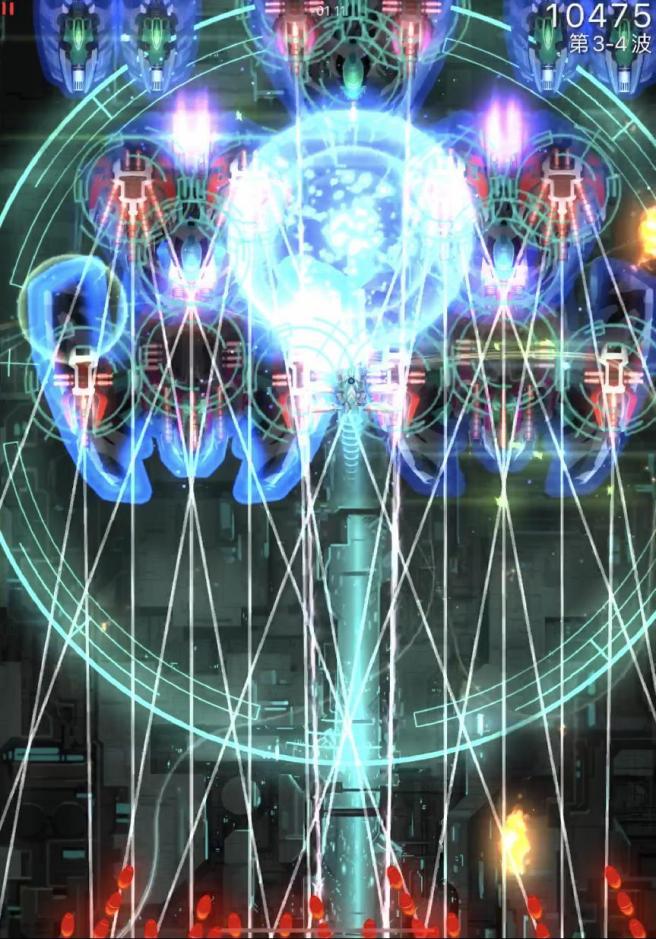
At full level aura, Missile Swarm will launch up to 46 "perfectly" homing missiles at all turrets or partially hulls within a maximum radius of 450 targeted by the green reticle, forming a fan-shaped spread in front of the ship, causing a maximum total of 138 damage. Only when all missiles from a round hit invaders or disappear can the next round of missiles be released. Releasing Missile Swarm requires attention to two issues: locking onto invaders and circling.
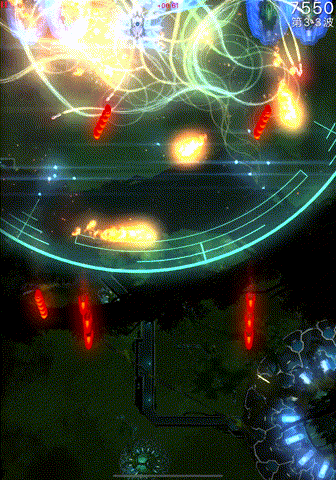
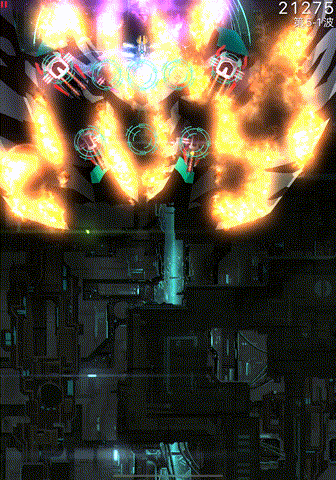
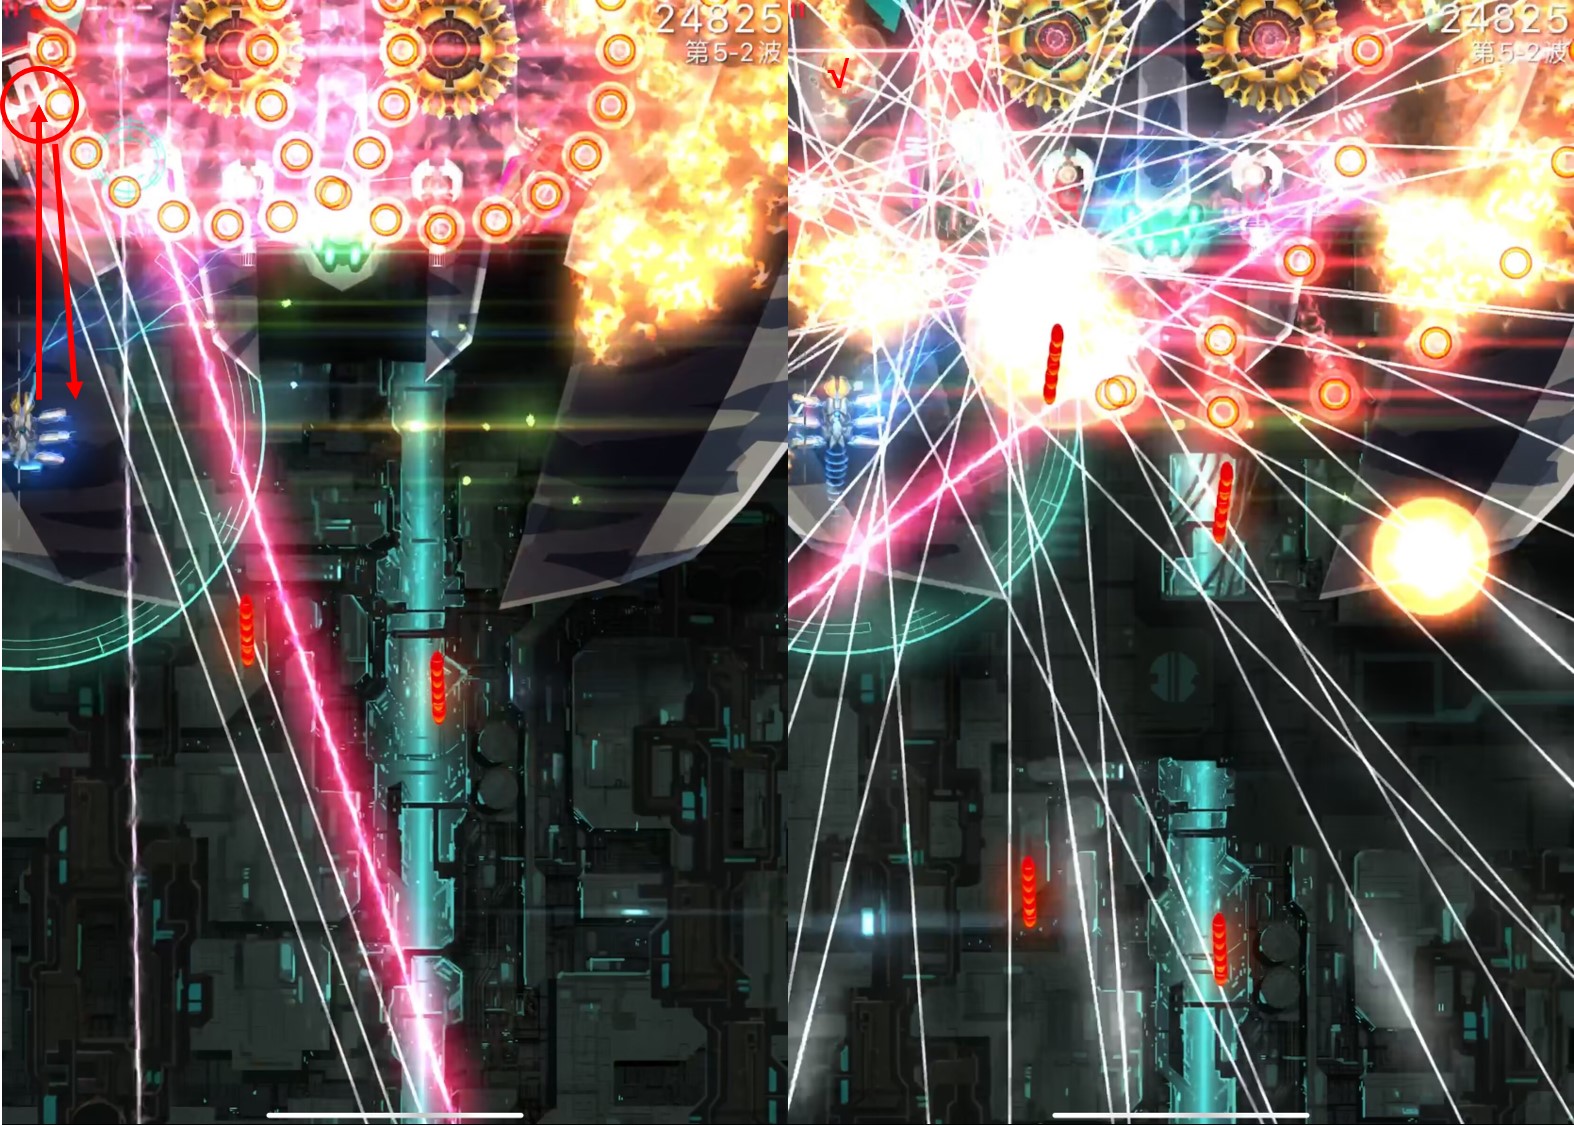
Remember, missiles will only fly towards invaders targeted by the green reticle. Units outside the aura range or visually within the aura but not targeted by the green reticle cannot be attacked by missiles. As shown in the figure below, only the Sparrows in the front row are locked on, so the missiles cannot attack the invaders in the back row.
The reason for specifically explaining this seemingly simple operation is because the automatic guidance of Proxymar's main weapon to some extent obscures the issue of missile release. Especially in the first two acts with fewer invaders, releasing Missile Swarm without waiting for the lock-on may seem to clear a wave, but in fact, some Sparrows or small invaders are taken out by the main weapon during the missile flight, leading to bad habits over time. The most obvious example is Kibarrax, you will always having a few invaders left when using the main weapon and the missiles. So, don't rush it. Wait for confirmation of the lock-on before releasing the missiles. This also avoids situations where using the missiles hastily during the downward movement of a vulture, they clears the front row too quickly and causing the vulture to not be locked on and the missiles losing their targets, wasting the aura.
As for the perplexing circling issue, it's a headache, especially when dealing with bosses (referring to Condor and Roc), affecting the release of the next wave of missiles, energy absorption control, survivability... Besides hoping for an early improvement in the missile mechanism by EL, practicing the "Barrel" technique can effectively avoid the circling issue. Barrel is a core skill that Proxymar and all MS ship players must learn, which will be detailed in the advanced section.
Mega Bomb
At full level Zen, Mega Bomb will cause 30 damage in a radial range of 400 (it is recommended to equip a Delta APEX here to increase the explosion radius to 500) to all invaders, in a spreading wave-like pattern, and will inflict an additional 40 damage to invaders at the fusion core, totaling 70 damage to invaders at the fusion core. There is much to discuss about the use of Mega Bomb, as its timing and position essentially determine the strategy of the speedrun, hence it will be detailed in the advanced section.
Advanced
This section will introduce the core techniques for Proxymar's speedrun, which require extensive practice to master proficiently.
Barrel
Barrel is a primary skill that all MS ship players must learn. Personally, I believe that Proxymar is the ship that best represents barrel, with the highest frequency of barrel. This is a skill that improves with practice. At the beginning of practice, there may be situations of low accuracy and missed missiles, as well as being elbow-bumped. As proficiency increases, it will become faster and more accurate. Depending on the method of use, barrel can be divided into two types: "Complete Barrel" and "Incomplete Barrel".
Complete Barrel
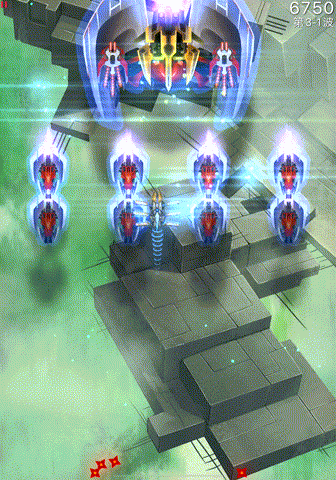
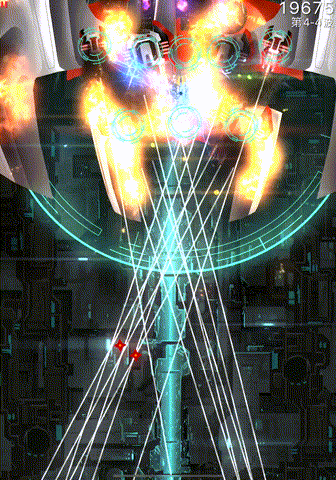
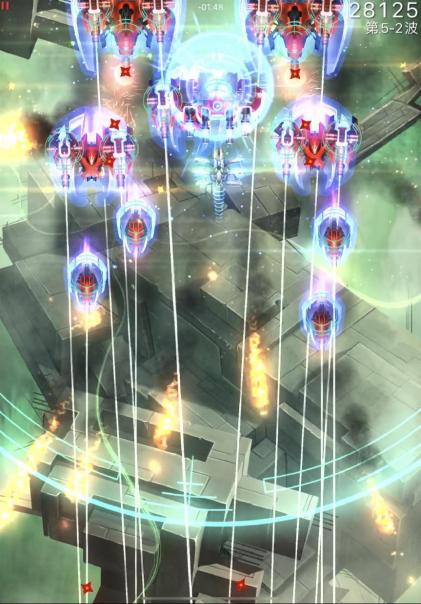
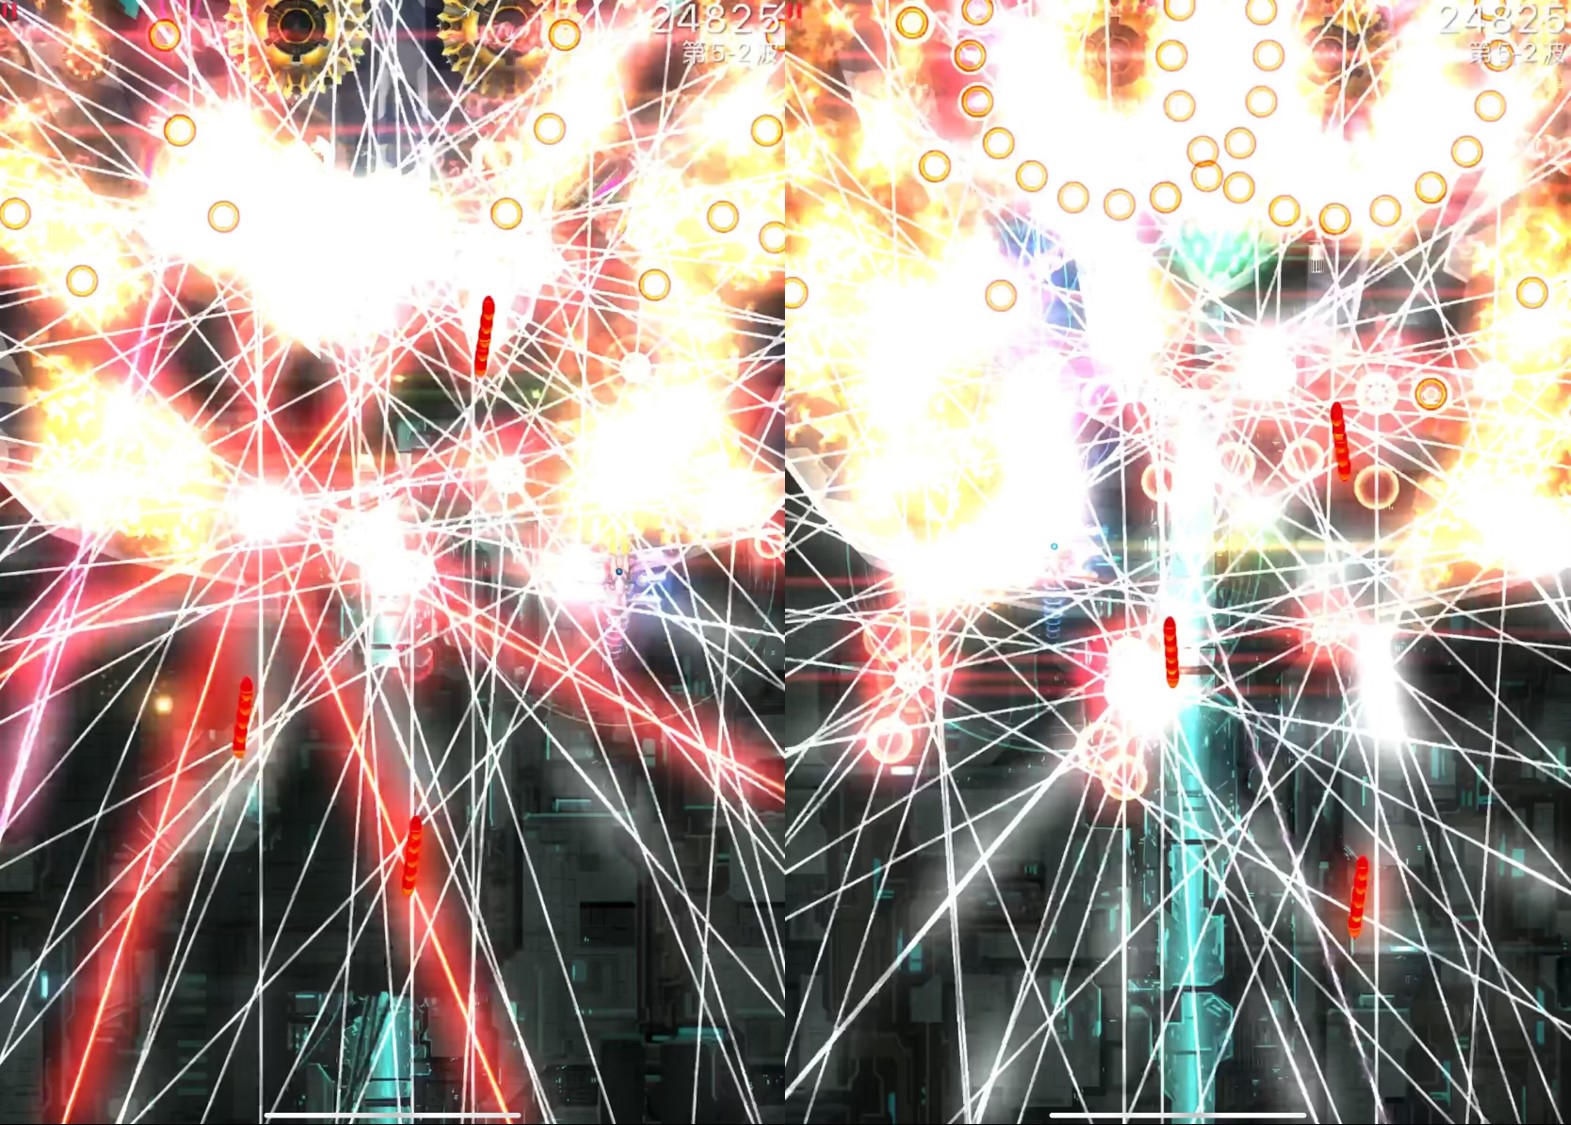
In other words, what we commonly refer to as barreling, is the action of using the mechanism to refresh the cooldown after all missiles hit. You need to align the ship's core with the invader to instantly deal damage. Theoretically, all positions locked by the green reticle (including the hull and turrets) can be barreled, but in actual action, the success rate of barrel on the center of the invaders is higher, and the success rate of barreling on the hull reticle is greater than that of barreling on the turret reticle. After becoming proficient, barrel at appropriate locations prevents missiles from circling aimlessly. For example, in the "Triple Barrel" maneuver shown in the figure below:
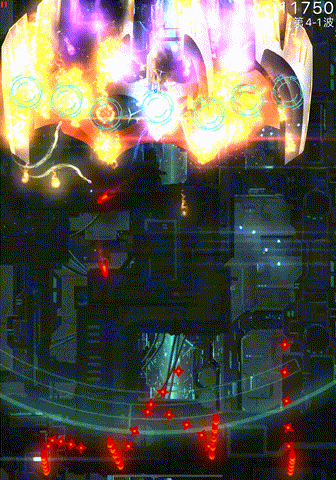
Encountering formations of eagles side by side can also result in the "Double Barrel":
When two herons are closely aligned and a single round of missiles cannot eliminate all invaders, performing a double barrel between the herons and then using the second round of missiles to clear the remaining invaders is the most efficient approach (this is Hi(Phase)'s habit), but this skill is somewhat difficult. It requires executing the barrel before the herons disperse, demanding both speed and accuracy, and needs more practice.
The action of barrel turrets is slightly more challenging. You need to ensure that the missiles are instantly refreshed after the barrel, without any missiles left behind. The key to this skill is to release the missiles with the ship's core aligned with the center of the green reticle. Due to the higher accuracy requirements, players need to practice until muscle memory is developed. Many times, this action is not easy to accomplish, so when practicing, approach it with a determination to ensure that the ship's core is accurately positioned at the center of the reticle before performing the barrel.
Incomplete Barrel
That is, deliberately letting some missiles miss based on the formation, selecting a main target (usually the largest invader), releasing the missiles near the reticle (but not directly on it), causing some missiles to deal instant damage to the main target, while the rest of the missiles fly towards the remaining targets. The underlying logic of this operation is still to avoid the situation where missiles circle aimlessly by releasing the missiles in a way that minimizes this. The following are several waves where this operation can be used:
-
Two ravens
-
Three ravens
-
One raven accompanied by several Sparrows
-
One heron invader accompanied by several Sparrows
-
One eagle accompanied by several Sparrows, which is the most practical wave, especially when the eagle is equipped with darts, speed lasers, MIRVs, Shuriken tides, or turrets that would interfere with the positioning for the next wave of Mega Bomb. Using incomplete barrel rolling is the most efficient and survivable method. If you use complete barrel rolling to clear the eagle first, and then use another round of missiles to clear the Sparrows, not only would it waste energy, but it would also shorten the time available for charging the Mega Bomb.
The formations listed above aim to provide ideas, and there are many other occasions where incomplete barrel rolling can be used. I won't list them all here, but the main idea is to seize every opportunity for barrel rolling. The more barrel rolls you perform, the lower the chance of missiles circling aimlessly, and the shorter the clearance time.
Immediate Particle Absorb
Immediate particle absorption refers to the skill of aligning the ship's core with the point where energy spreads from a single point to all directions after the explosion of a vulture or bosses, thereby fully absorbing the energy as aura charge at the moment of the invader's explosion. Unlike barreling, immediate absorption has fixed positions, generally in the upper middle position of the invader. The immediate absorption positions for different invaders are as follows:
-
For regular shielded Vultures, the absorption point is in the upper middle resembling the tip of a sword.
-
The absorption point for Sinister shielded Vultures is located near the thrusters in the upper middle section of the ship.
-
Similar to regular shielded Vultures, the absorption point for Sinister shielded Condors is also in the upper middle, near the thrusters.
-
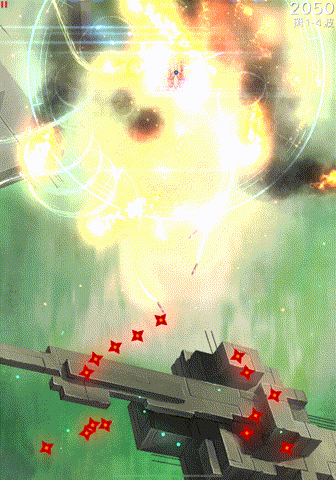
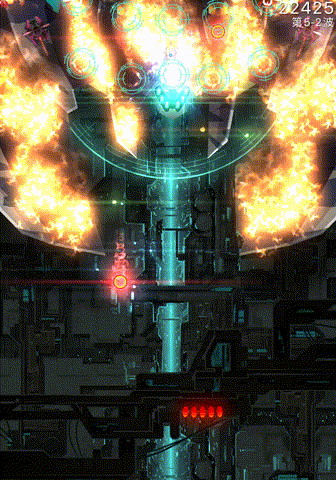
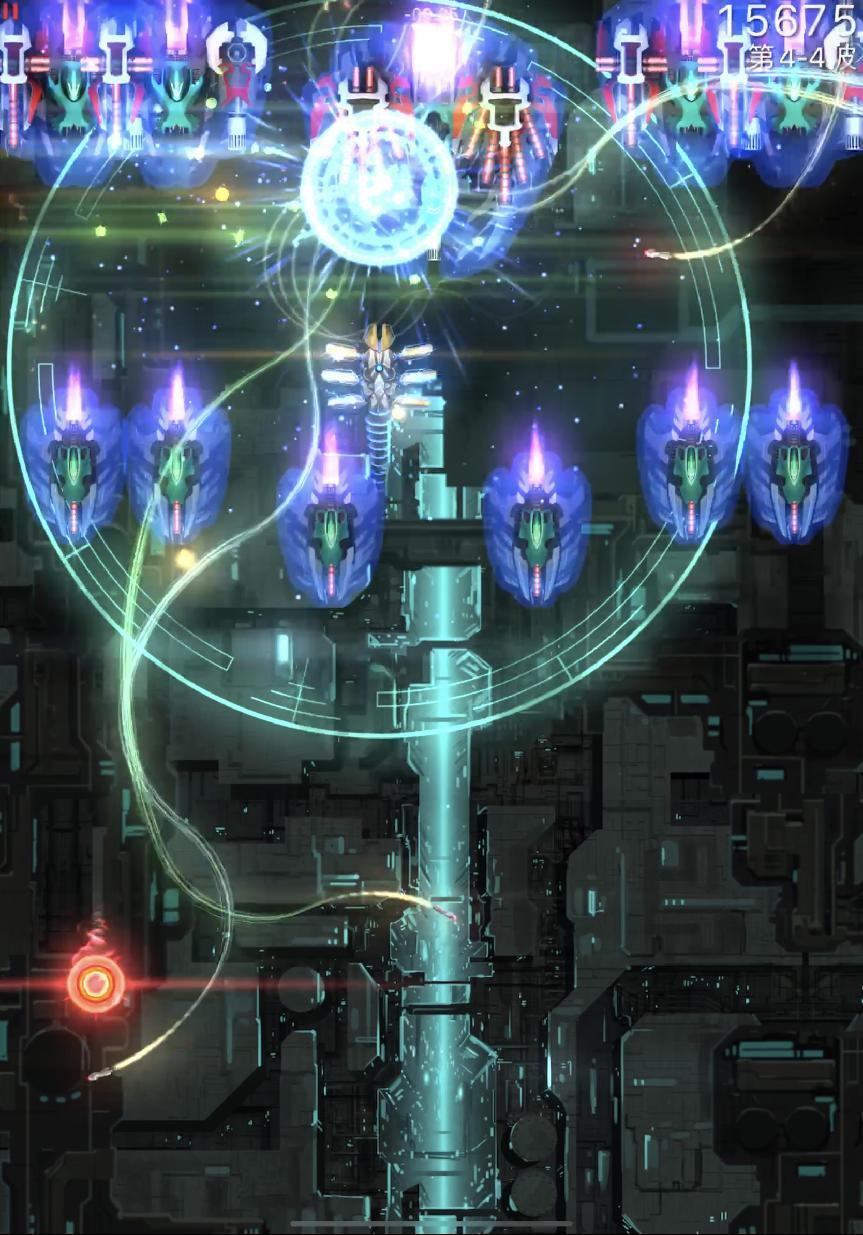
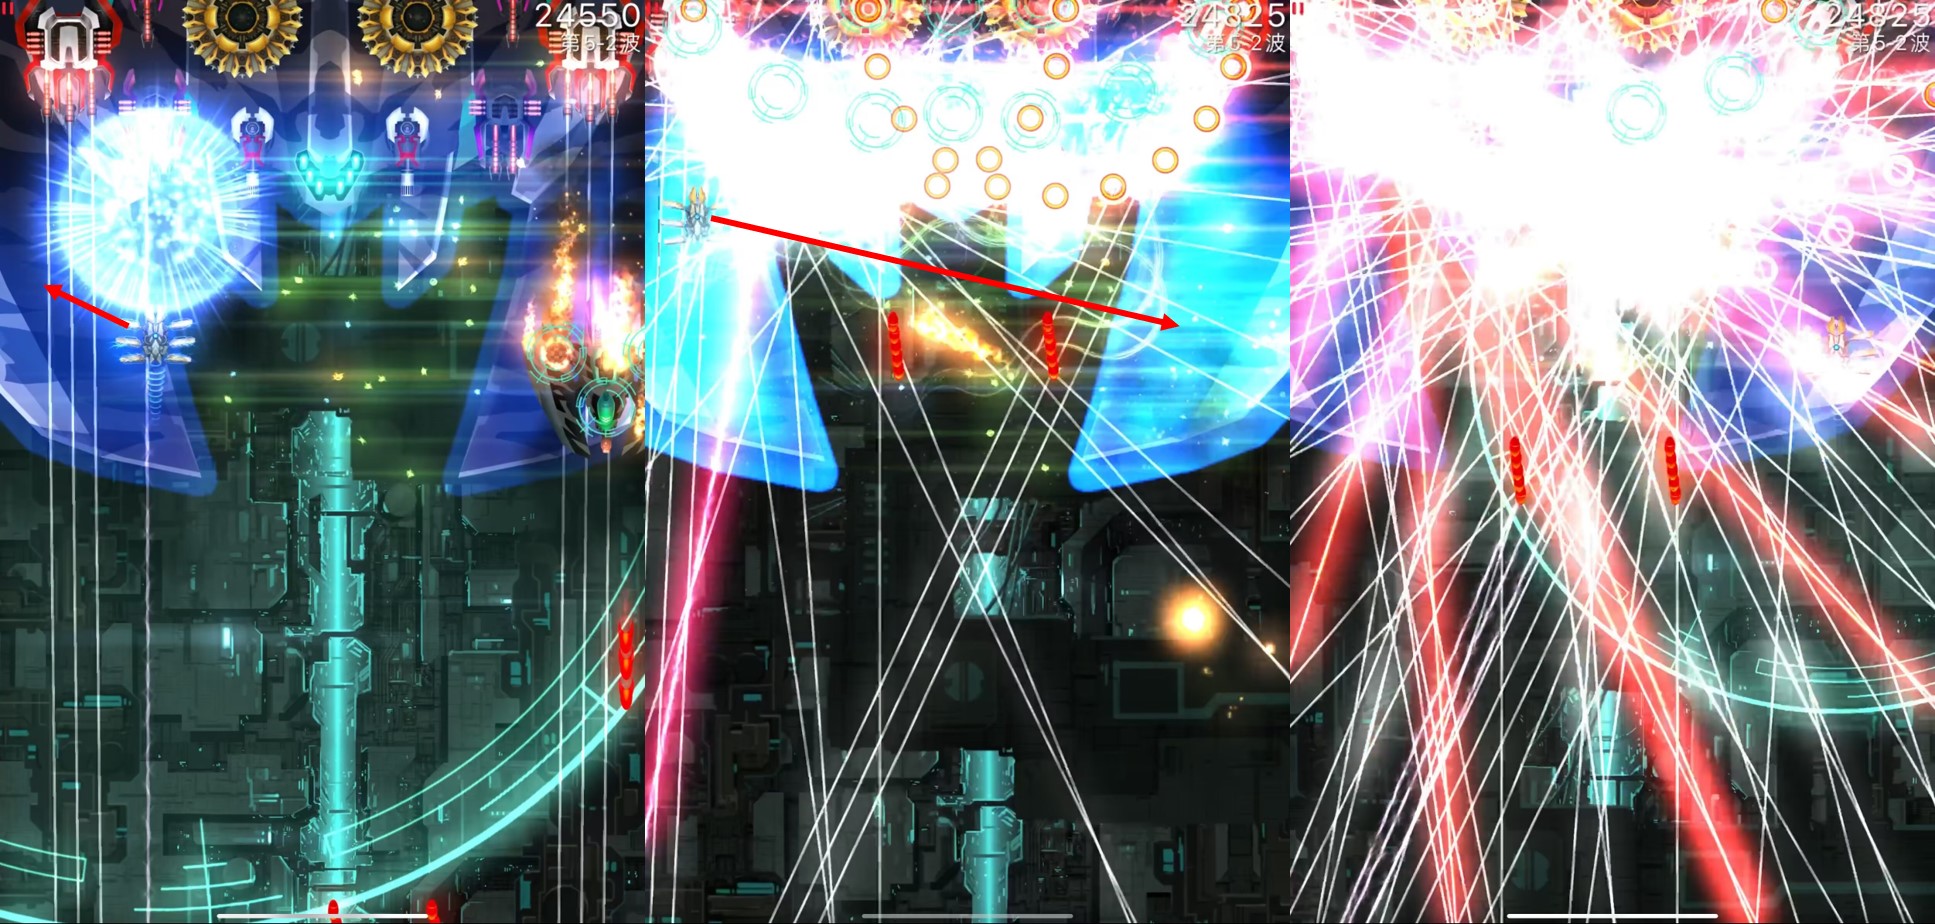
For regular shielded Condors, the absorption point is different from the above cases. It is at the uppermost part of the ship's hull that is targeted by the green reticle. This point can be shared with the last barrel roll, as shown in the figure below:
-
The absorption point for Sinister shielded Rocs is as shown in the figure. However, the opportunity for immediate absorption with Rocs is very rare. On one hand, most Rocs appear in the final wave, and on the other hand, there are few Roc turrets that pose a threat. Additionally, even if Rocs are front-loaded, the usual skill is to choose missile cleanup while charging the Mega Bomb simultaneously.
The absorption point for regular shielded Rocs has not yet been found in suitable material. It will be supplemented in the future. The positions for hull and armor types are not listed here, but can be inferred from the demonstrations above. The key to this technique is flexible application, as it has limited applicability. It should be used considering the connection with the next wave, typically in the wave before transitioning or when the next wave does not require charging the Mega Bomb.
Using Mega Bomb
The Mega Bomb is typically charged during the start, transition between waves, invader movement, and missiles' flight. Timing the Mega Bomb charging during missile flight requires players to anticipate the missile damage, ensuring that one round of missiles can clear all invaders in the current wave before using the Mega Bomb to clear the next wave. Since the Mega Bomb's damage pattern is a spreading wave, skilled players can release it slightly earlier before the invaders are in position (the exact timing depends on experience), considering that the spreading process also takes time. The underlying logic is similar to preparing main weapons for Jeria, where timing is crucial for optimal effectiveness.
The timing and positioning of the using Mega Bomb largely define the so-called "strategy" in Proxymar speedrunning. Specifically, it involves anticipating the right moment and position to release the Mega Bomb, considering factors such as the memorizing configurations of different missions and the cooldown of the Mega Bomb. There's no fixed template, but some guidelines can be followed:
-
The more and denser the invaders, the higher the payoff for using the Mega Bomb.
A typical wave is the Sparrow waves. Generally, the wave with Sparrows warrants the use of the Mega Bomb, but it's not absolute and depends on the specific situation. For example, if there are noticeably more invaders in 4-2 compared to 4-1, and there's enough energy to clear 4-1, you may use main weapon and missile barreling to clear 4-1 and save the Mega Bomb for 4-2.
-
Maximize the damage output of the Mega Bomb fusion cores.
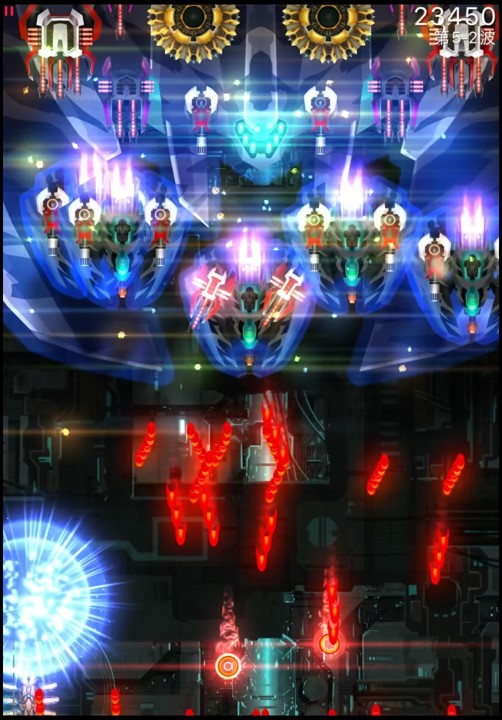
The positioning of the Mega Bomb charging and release depends on maximizing the damage output on the cores. For waves consisting of Medium-Small, Small, and Sparrow invaders, the Mega Bomb should be positioned where the cores are, as it can deal 70 damage, while Shielded Medium-Small invaders have 73 health. With the Mega Bomb hitting the cores and a few shots from the main weapon, you can clear a wave without using missiles. Here are some common charging positions:
In formations like the one below, it's advisable to use the Mega Bomb on one side to target the heron, while barreling on the other side to finish off the remaining invaders:
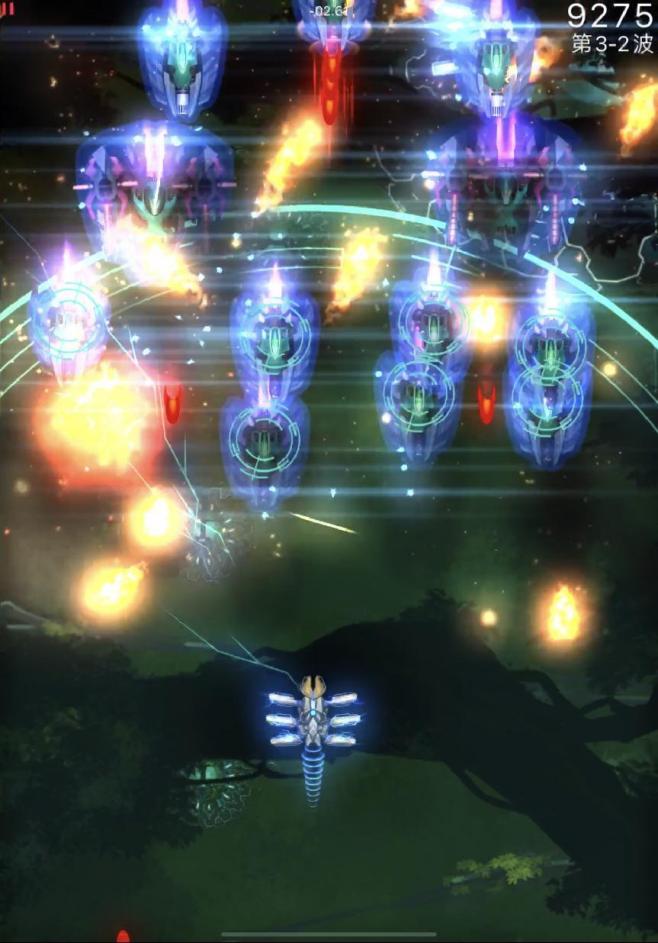
In waves with eagles and herons, prioritize positions for charging and using the Mega Bomb where it can hit more invaders with the fusion core. The more invaders hit by the fusion core, the higher the efficiency. For example, if you position the Mega Bomb correctly, the fusion core can hit five invaders, seemingly a tough wave, but one Mega Bomb and one round of missiles can clear it.
Waves with vultures can be divided into two situations: one vulture accompanied by several herons or Sparrows, where you should aim to hit the vulture with the fusion core; and another situation with one vulture accompanied by two or more herons or eagles. In this case, prioritize clearing the frontline or backline of invaders with the fusion core. It's important not to be fixated on the idea that the fusion core must hit the Large invader.
-
Exploit the CD of Mega Bomb
The recovery time calculation for the Mega Bomb is based on the time not used for charging, meaning that if the cooldown for charging is not completed and a new charge is initiated, the time in between will not be counted towards the cooldown time. This can result in wasting the time instinctively used for recovering the cooldown when attempting to use the bomb quickly but being forced to stop due to evasive operations caused by darts.
Additionally, the position of the fusion core is fixed the moment the Mega Bomb is charged, and you cannot alter the position of the core by instantly moving the ship. This aspect needs special attention, as the release position of the Mega Bomb should be decided before charging.
It's generally advisable not to use Mega Bombs continuously before the final act, as utilizing the intervals between waves and act transitions allows for buffering of the Mega Bomb's cooldown. However, when encountering particularly heavy waves, such as those with four eagles paired with two herons, or a vulture accompanied by eagles, or when facing bosses requiring the use of two or more rounds of missiles for clearance, the time of the wave is sufficient for the cooldown of the Mega Bomb, allowing for consecutive releases. Nevertheless, there are rarely situations where the Mega Bomb is used continuously for three waves before the final act.
Moreover, it's essential to flexibly utilize the time when vultures and bosses move downward. The time taken for them to move from the start to the formation is equivalent to a large portion of the act transition time. For instance, in wave 5-1 where there's a downward movement of vultures, it's advisable not to rush to charge the Mega Bomb immediately after the completion of wave 4-4. Instead, utilize a portion of the act transition time for buffering the Mega Bomb's cooldown, and then take advantage of the time when the vultures move downward to charge the Mega Bomb. In most cases, act 5 will require the use of the Mega Bomb three to four times. Having a bit more time for cooldown buffering will make subsequent charging feel more natural and smooth.
In conclusion, there are many aspects to consider when using the Mega Bomb, and players need to make reasonable judgments based on different mission configurations. An efficient way to practice is to first familiarize oneself with the mission configuration by memorizing them, then attempt to consider the Mega Bomb strategy independently. Afterward, share your gameplay videos with experienced players in the community or seek advice through private chats. This approach can help quickly develop a scientific and rational strategy for clearing missions.
Black Hole Mega Bomb
This refers to the phenomenon where invaders move towards the direction of the fusion core, as if they are being drawn in by a gravitational force similar to a black hole. In simpler terms, it's about clustering invaders together to ensure that the fusion core hits as many targets as possible, thereby increasing the output. This requires patience, perseverance, and proficiency in seizing opportunities. Getting to the point where invaders cluster around the fusion core is essentially competing for the BoB. Encountering situations like the one depicted in the image below is rare and unpredictable, so one must hope for favorable circumstances.
The formation depicted in the image below is another example of maximizing the benefits of charging the Mega Bomb when facing a vulture accompanied by several herons. Combining it with the black hole effect of the Mega Bomb can significantly accelerate the process.

Inside Graze
Inside graze is a technique commonly used by skilled players, and its essence lies in cleverly utilizing the gap between bullet shots and the turret to dodge bullets while grazing past them.
Do not underestimate the inside graze skill. Although energy shortage rarely occurs during Proxymar's speedrun, in situations where invaders are denser and heavier, your energy can quickly be depleted. In such circumstances, the ability to fully utilize the grazing mechanism to recover energy can become a significant gap between average and skilled players.
Detailed techniques for inside graze will be extensively explained in the Disaris' Cookbook. Here, we'll briefly outline the key points: After darts complete one round of shooting (usually by redirecting them to one side and waiting for entry from the other side), players need to move the ship quickly to approach the position of the turret. Specifically, the core position of the ship needs to align precisely with the edge of the turret. In this position, bullets will just be fired from behind the ship without hitting its core, allowing for grazing many bullets and acquiring energy simultaneously. The difficulty of this technique lies in mastering the distance between the dead-angle position and avoiding collision with the turret, requiring a certain level of muscle memory.
Here is an illustration of inside graze:

Bosses
Dealing with bosses requires calculating the health of the Condor and Roc. Here are the conclusions: The Condor requires one fusion core + three full MS, while the Roc requires one fusion core + five full MS.
During this time, the main weapon is continuously attacking, so under normal circumstances, the above damage is entirely sufficient. Handling bosses can be divided into two scenarios:
-
One scenario is when energy is insufficient (there isn't much energy left from previous waves, and you can't get energy through grazing). In this case, it's best to first use the main weapon to break the shield and then use the missiles to maximize damage output.
-
The other scenario is when energy is sufficient (there is enough energy left over from previous waves, or you can get energy through the turrets such as Pellet Walls, Laser Mazes, etc.). Depending on the formation and the turrets carried by the boss, there are various ways to handle it.
Many times, there will be sufficient energy sources when facing the Roc, or the turrets are not enough to pose a fatal threat to you. Even if you encounter a dangerous situation, you can choose to switch to another ship for the mission. However, in Specialist missions, especially solo missions, if you are required to use Proxymar to clear the difficult Roc mission, you still need to learn some advanced techniques.
Next, let's demonstrate how to kill the Roc in a real mission:
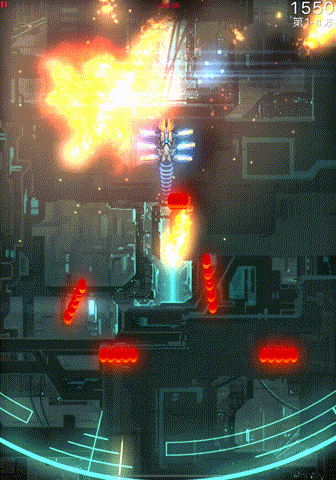
As shown in the image, the Roc we are facing is equipped with various laser weapons, among which the threatening turrets are the fully upgraded high-frequency MIRV Bloomers, fully upgraded Tracking Laser, and Tier 3 Speed Laser.
When facing this Roc, you need to consider which turret to pop first. Obviously, failing to pop a turret will result in large areas being blocked by lasers. Generally, we have two choices:
- Pop the Tracking Laser, as the lasers from the MIRV Bloomer do not turn, so you can find safe spots to dodge.
- Pop the MIRV Bloomer, as it can generate a large number of laser MIRVs to block paths.
The strategy we choose is to pop the Tracking Laser first because this maximizes the use of laser MIRVs to graze for energy.
Once the strategy is determined, we need to implement it into our gameplay. It's important to remember that for the Roc, one fusion core + two full MS + seven main weapon fire are enough to pop a turret. Therefore, our starting move is to use a fusion core to deal 70 damage to the shield.
One detail to note is that the Speed Laser will start charging after targeting you, so it's essential to activate it immediately at the beginning to prevent it from blocking your path while moving.
Then is the first round of laser MIRVs. We need to move from one side to the other to activate as many MIRVs as possible. Since we start on the left side and the Tracking Laser is aiming at the left side, this provides us with an opportunity to dodge the first round of MIRVs. Therefore, decisively move to the other side and find a safe spot to dodge. This shouldn't be too difficult because there will be larger gaps to dodge when you're farther away.
Then comes the crucial part of the strategy. Our second MS needs to pop the Tracking Laser in one go. Therefore, we need to wait until the second round of MIRVs is generated and can be activated, then rush up to pop the Tracking Laser in an instant. After popping it, since some laser MIRVs have already been activated, we need to move to the other side simultaneously to activate as many laser MIRVs as possible to prevent blockage. At this point, only lasers from one side will pose a threat to us.
At this point, half of our strategy has been successfully implemented. The other half is to pop the other Tracking Laser. Since most of the energy has been used up, we mustn't forget to graze for energy while dodging the second round of lasers. Only the minimum amount of energy is needed to pop the turret, so we need to find an area with dense lasers to graze. Next, when the third round of laser MIRVs can be activated, rush up to pop the turret and then descend, ensuring your safety.
When you pop both Tracking Lasers, it means the threat from the Roc has been largely eliminated. What follows is to perform left-right hops to dodge the patterned laser formations and the less threatening Speed Lasers.
Overall, dealing with the Roc requires precise control of numbers and solid basic skills to execute the maneuvers. It's challenging, so if necessary, practice more.
Finally, we present a video of this mission for you to learn from: