Disaris
Toy of new era, everyone loves it.
Author: Flyingfish812
Introduction
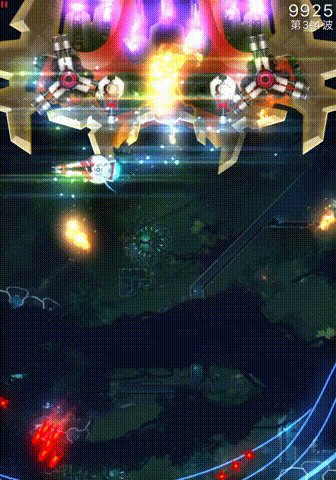
Disaris is the 100th ship in the game, and as one of the most distinctive ships, Disaris has a unique Bullet Detonator APEX, as well as an additional laser provided with the APEX. Generally speaking, Disaris's skill set is not enough to compete for the top spot, but because of the existence of the Bullet Detonator, it can shine in armored MIRV Spam missions.
In this guide, we will focus on the techniques of using the Bullet Detonator.
Main Weapon
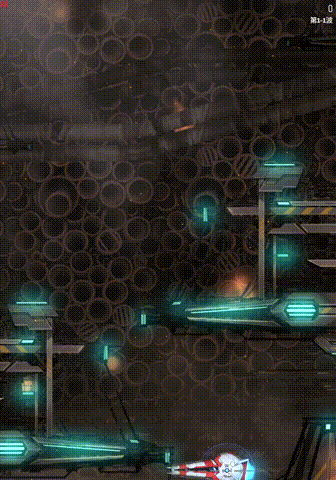
Disaris's main weapon fires five perfect homing spheres per second, each round of attack causing just enough damage to leave a small armored raven with a little health. Regarding the perfect homing main weapon, there isn't much need for extensive analysis, but here are two issues to note:
-
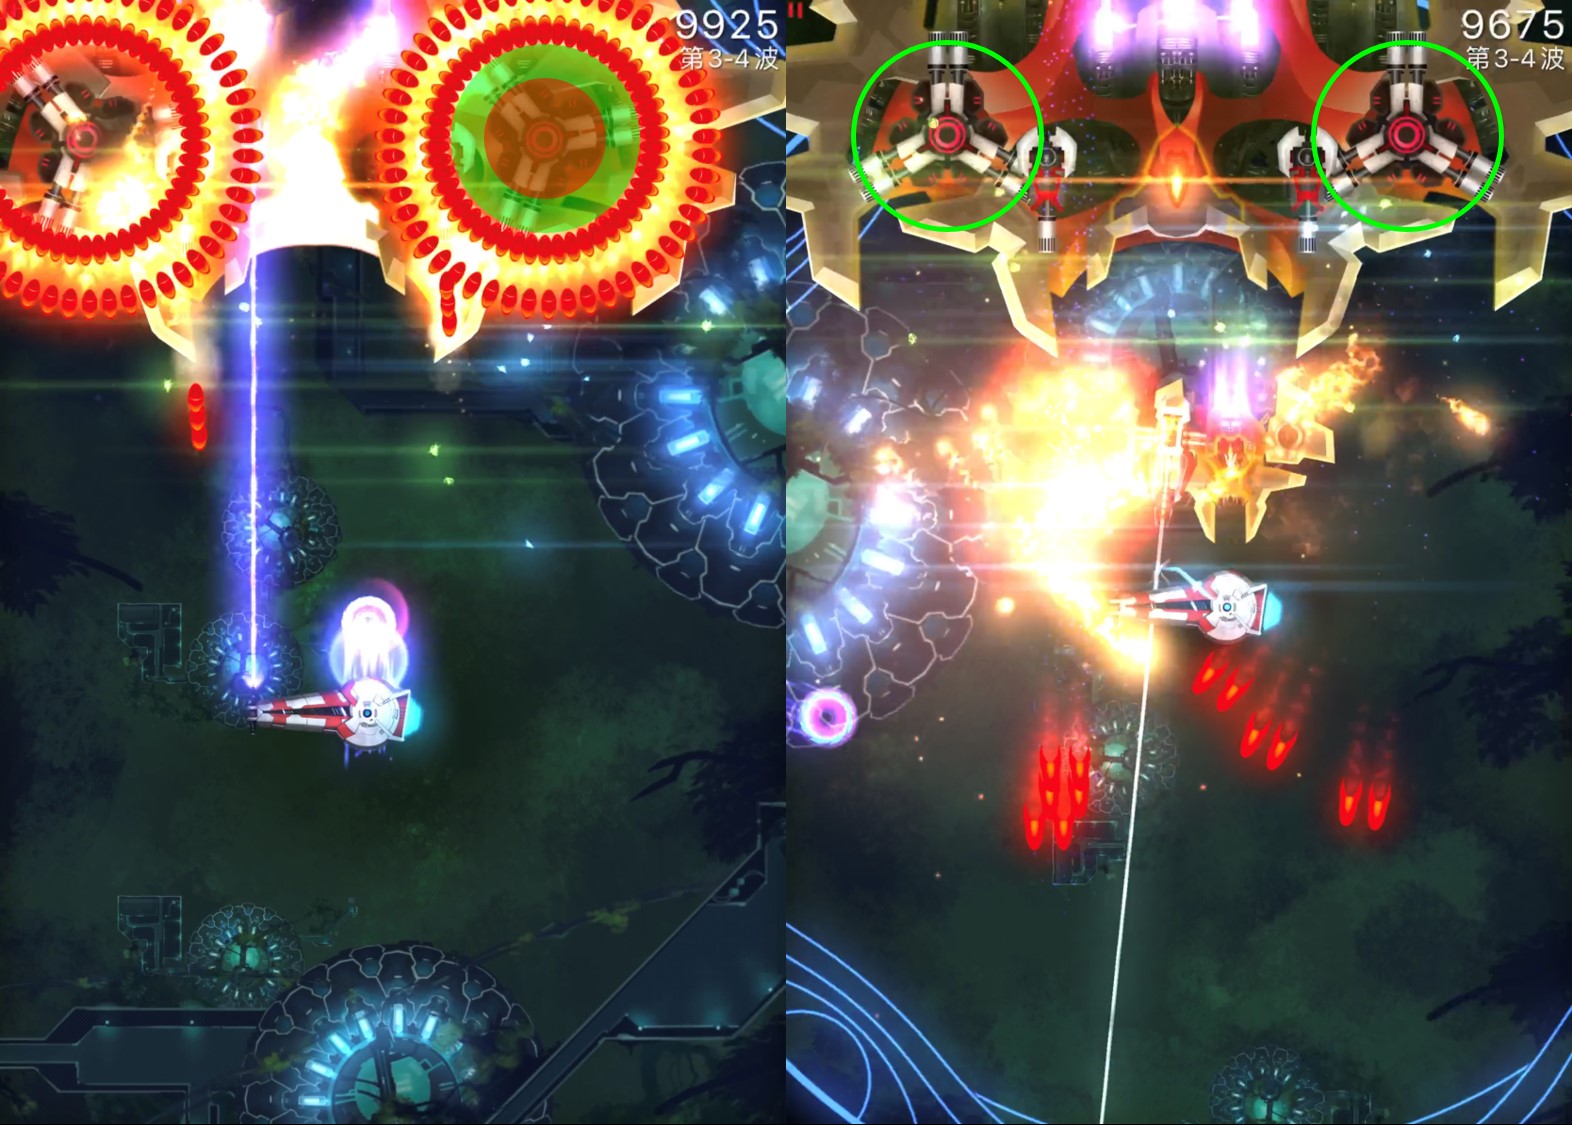
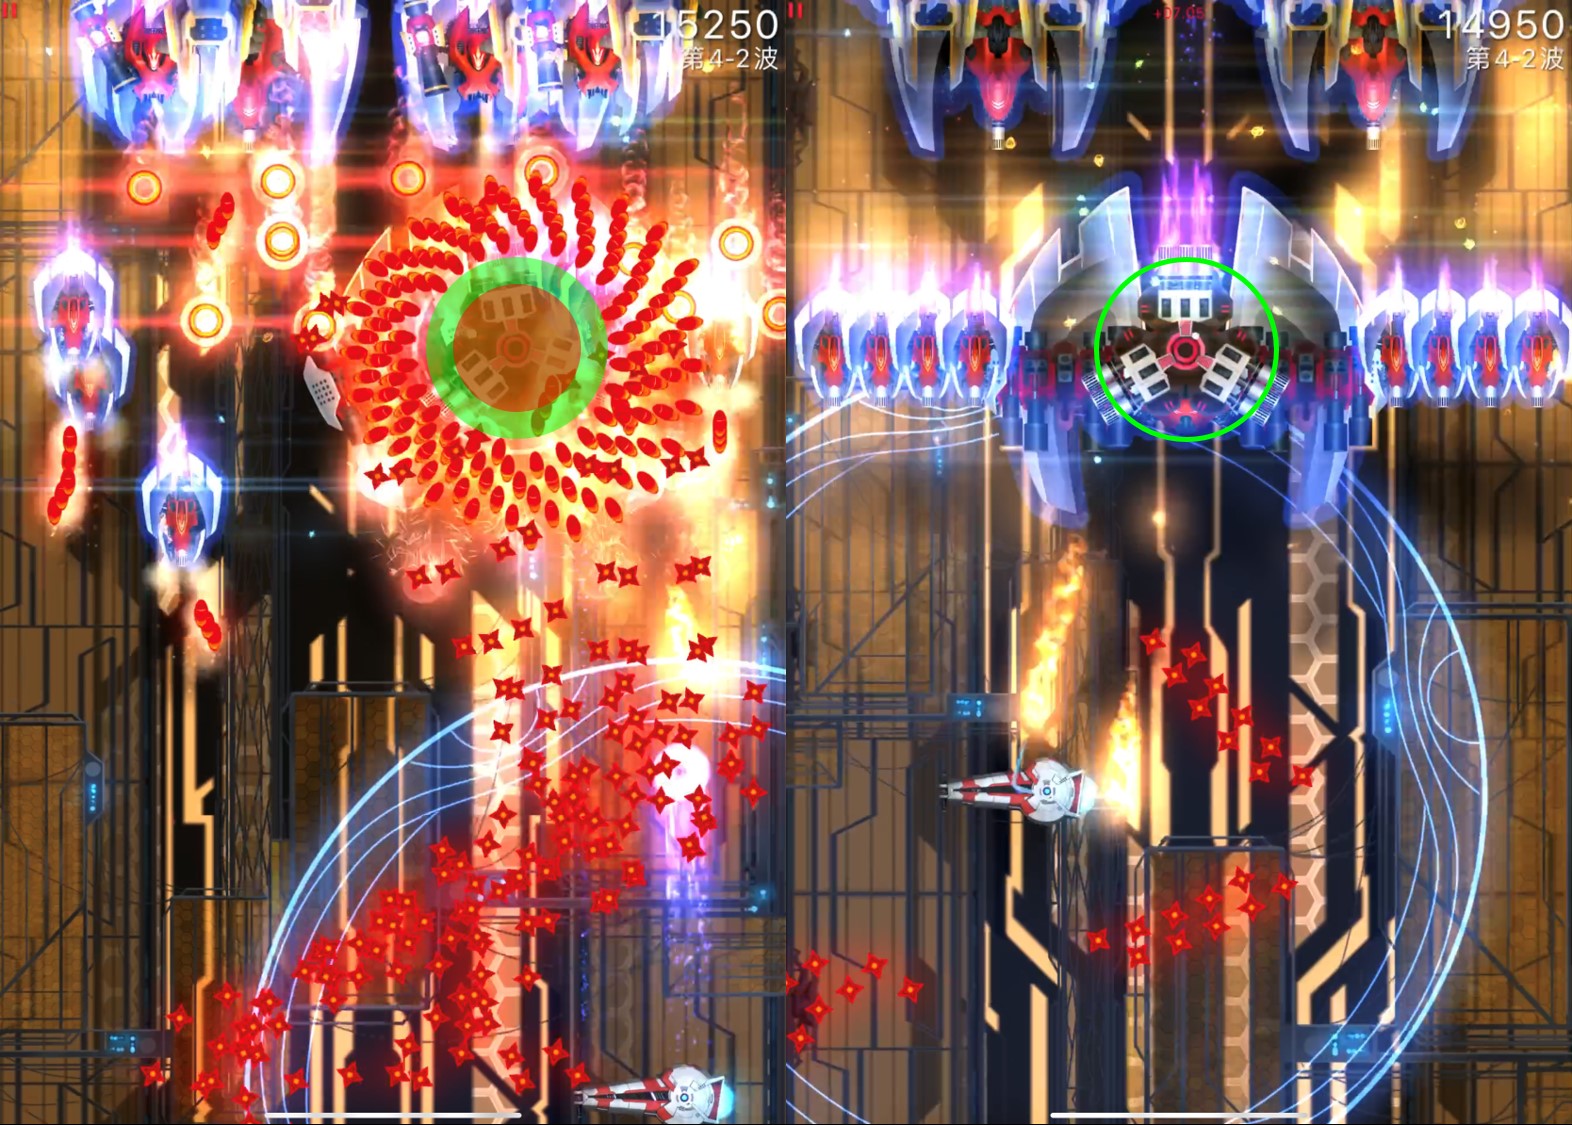
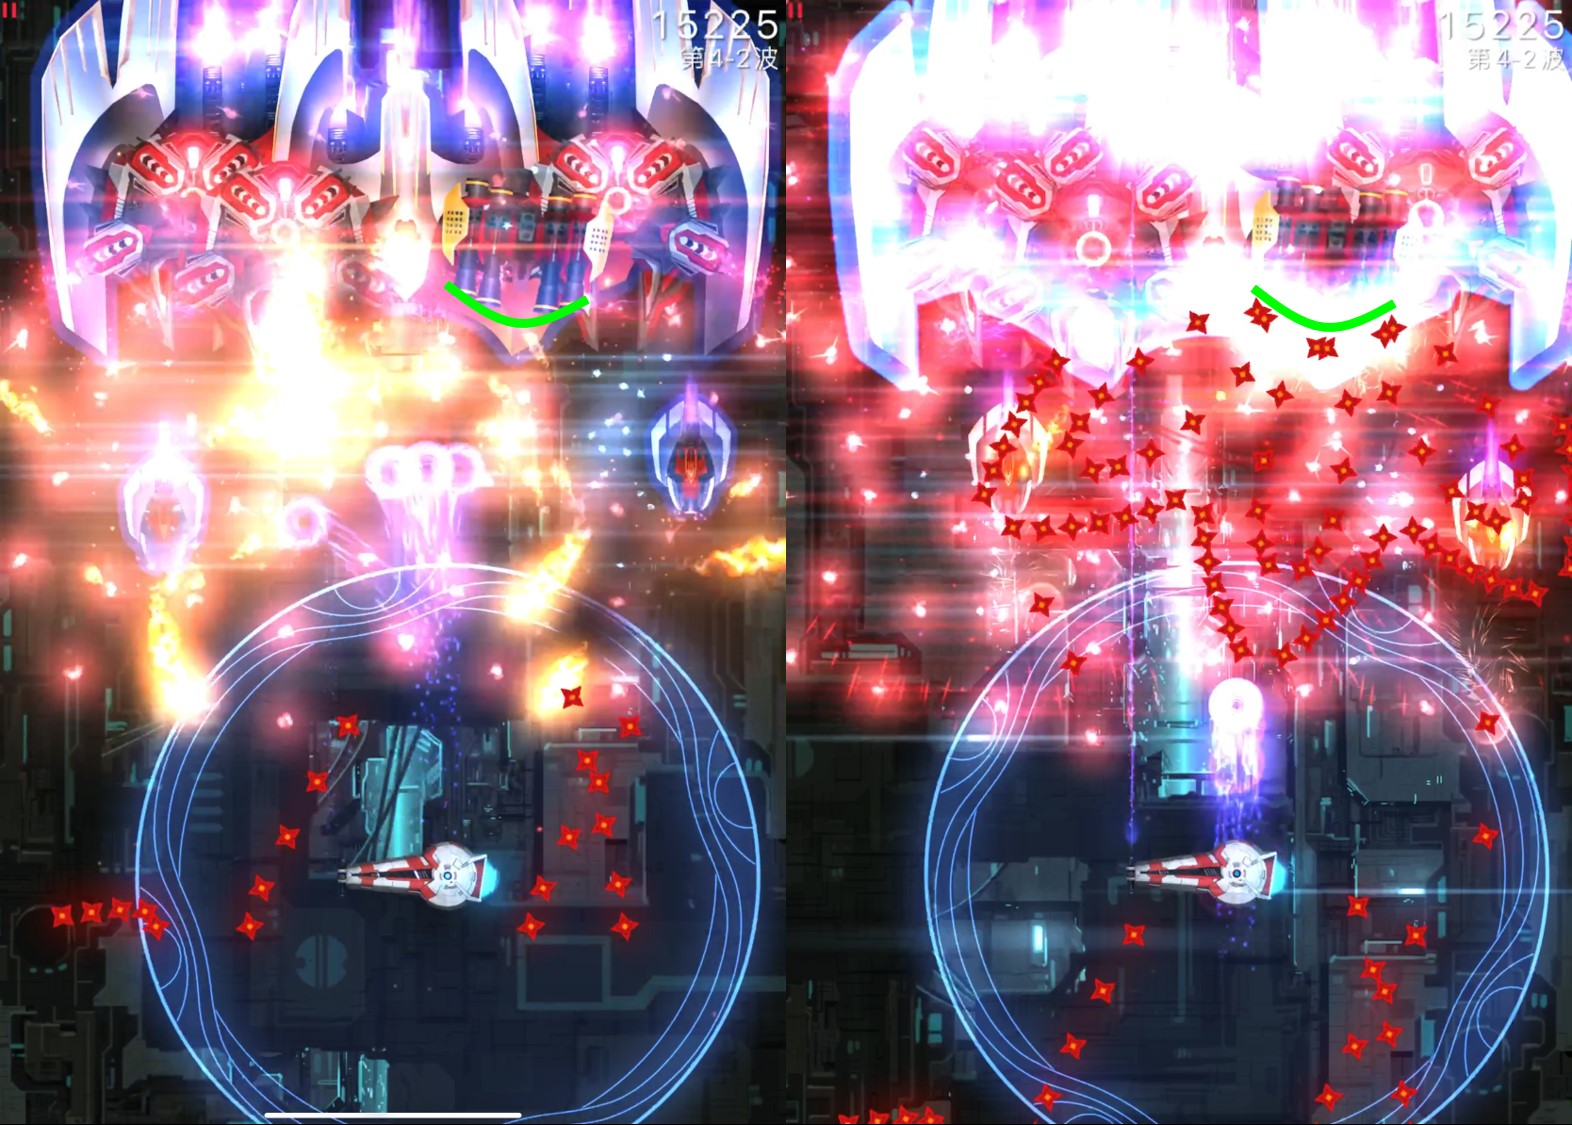
Since the five spheres from one round of the main weapon are fired from the same position, they are likely to hit the same spot, causing damage overflow (for example, if all five spheres hit a low-health Sparrow, theoretically only one sphere's damage is needed, while the remaining four spheres could track other invaders, but they might all hit the Sparrow).
To avoid this situation, it is not recommended to fire directly below invaders. You can aim for the gap between several invaders since the perfect homing main weapon will find its own targets. As shown below, firing directly below is more likely to cause damage overflow, but offsetting slightly can effectively avoid this situation.
-
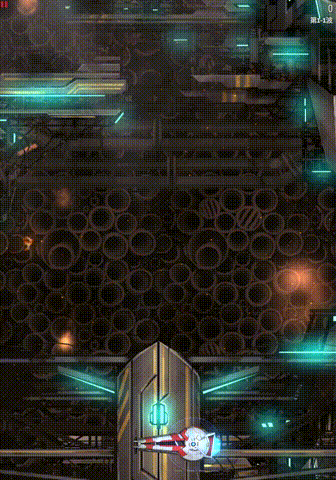
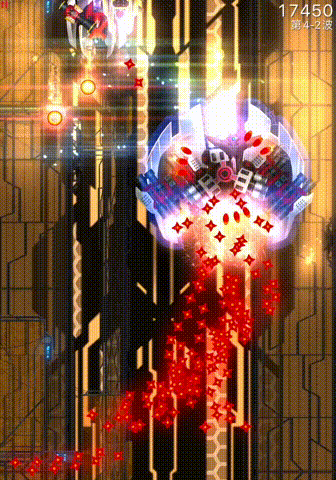
The additional laser provided with the APEX deals 2 damage per second. Just looking at this number doesn't mean much, but what if I told you it can exactly terminate the raven after one round of the main weapon?
Although the additional laser is on the left side of the ship, this qualitative change should not be underestimated. If given the chance, you should pay more attention to where this laser is aimed, since apart from Focus Lance, this small laser is the only thing this ship offers for aiming. In the demonstration below, we can see that with the laser's supplementary damage, only one round of the main weapon is needed to eliminate a small armored enemy ship.


Bullet Detonator
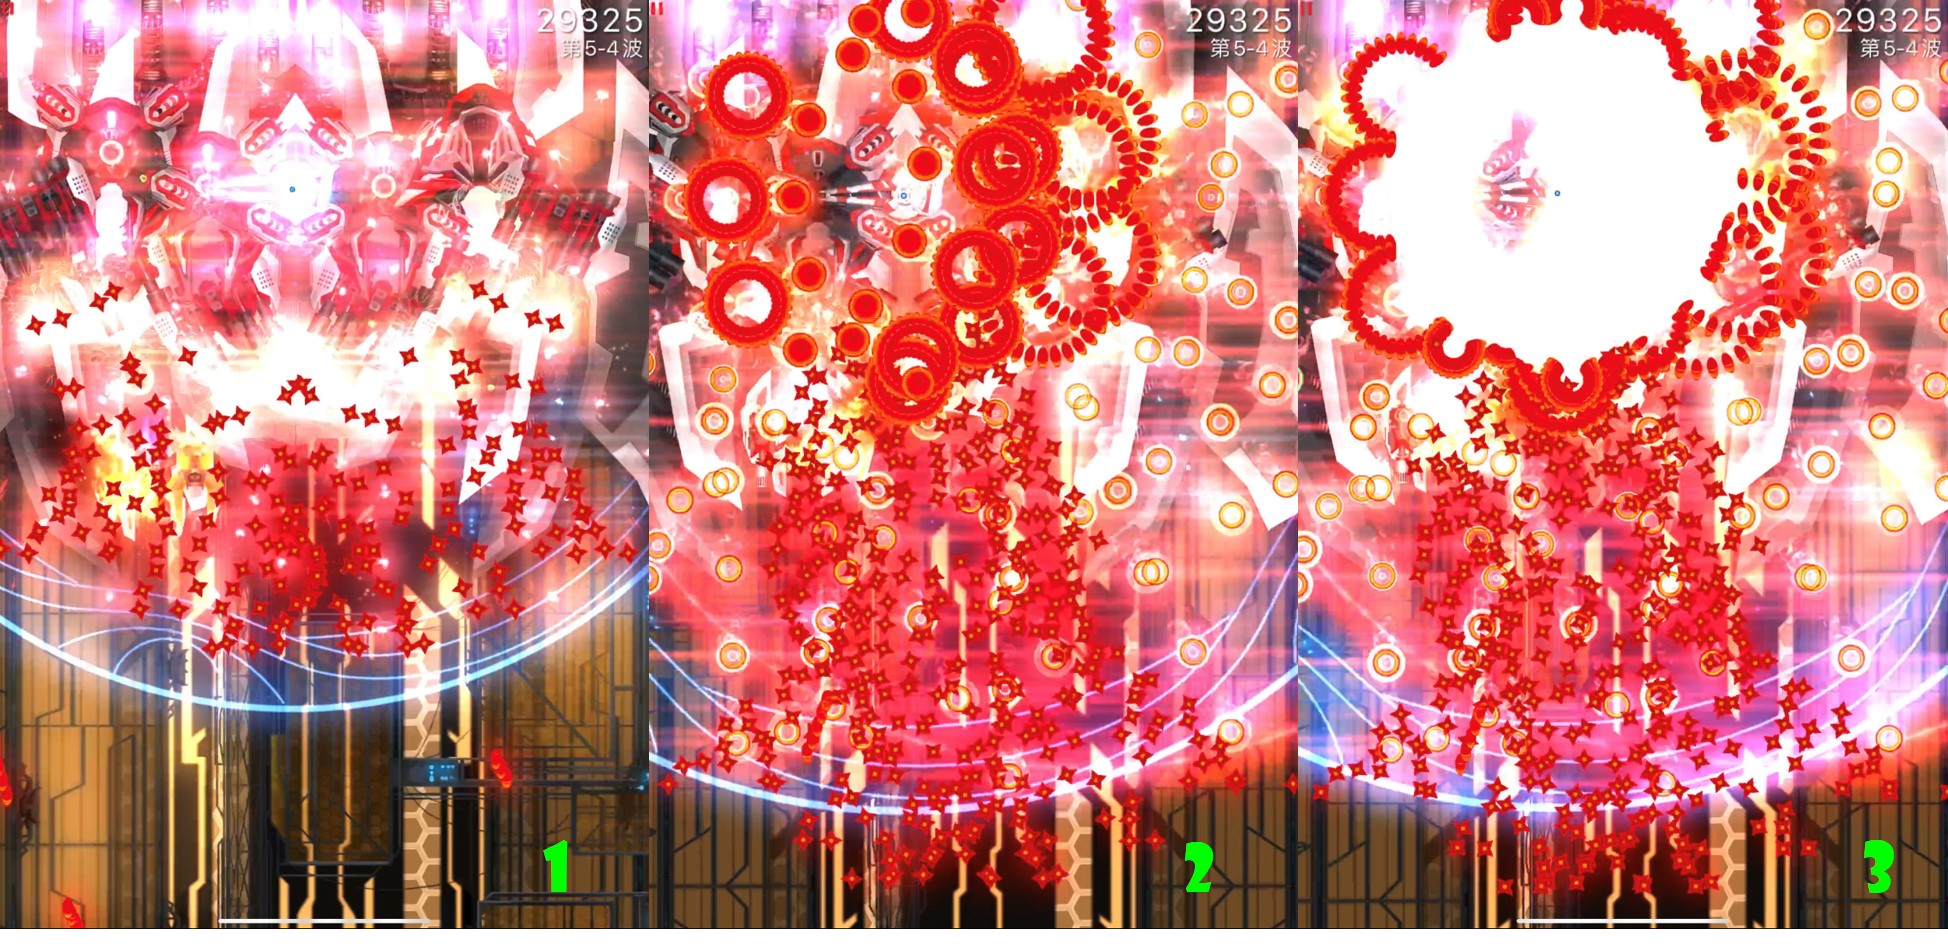
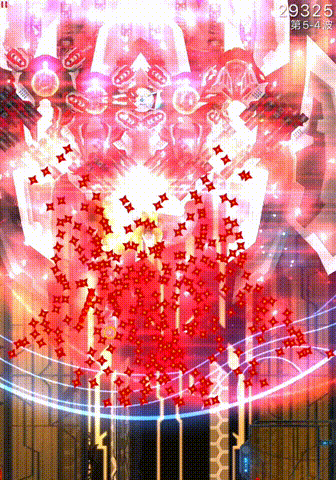
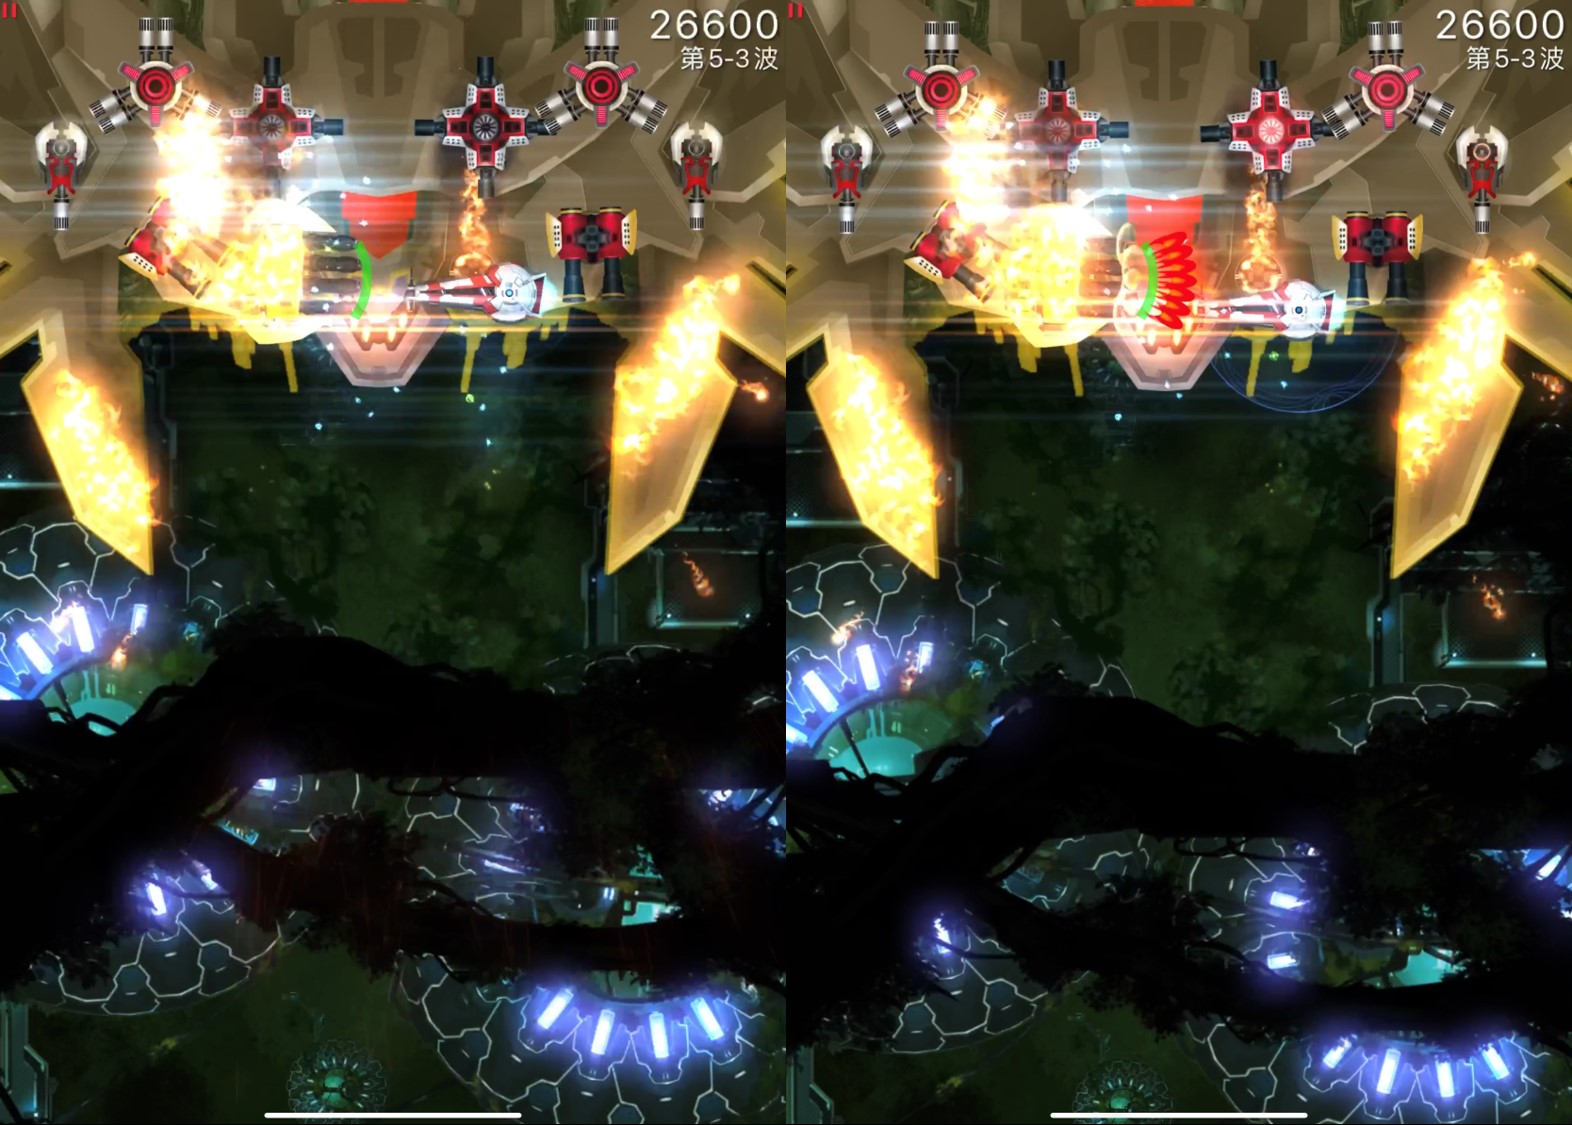
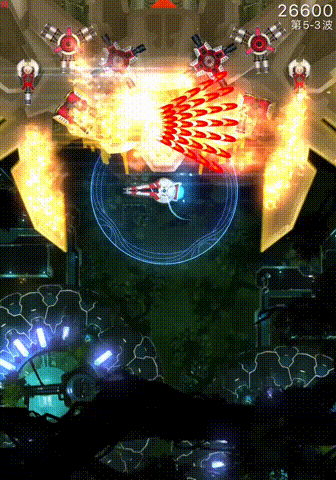
The Bullet Detonator was initially used for Point Defense skills, causing 2 damage to invaders at the position of each eliminated bullet. Generally, this damage is AOE damage, meaning all invaders at that position will suffer from it. The power of this skill in Point Defense is strong. After being grafted onto the Bullet EMP, it opens up many interesting gameplay possibilities. This is mainly because the Bullet EMP is a range bullet-clearing skill with no limit on the number of bullets, thus it can cause extremely massive burst damage.
This burst makes Disaris very useful in bullet-dense missions. You just need to rush into the midst of invaders, let their bullets fill the entire screen, and then use the Bullet EMP. Typically, while the bullets are cleared, the invaders are also cleaned out.
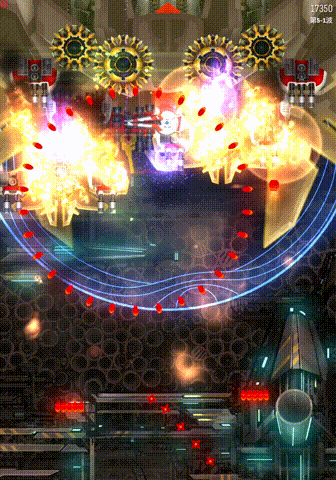
Which type of mission has the most abundant bullets? Of course, it's the MIRV Spam mission. Therefore, we will introduce many practical tips for MIRV Spam missions here, allowing you to fully enjoy the joy of this ship.
Deep into the invaders
This can be considered the principle of using the Bullet Detonator. Regardless of the aura, it has a maximum radius, so using the Bullet EMP in a corner is no different from wasting energy. In MIRV Spam missions, all MIRVs take some time to detonate and pose a threat to you, so you can confidently rush into the invaders to activate more MIRVs, and then use the Bullet EMP when the MIRVs explode. This can bring greater rewards and also provide you with a safer area.
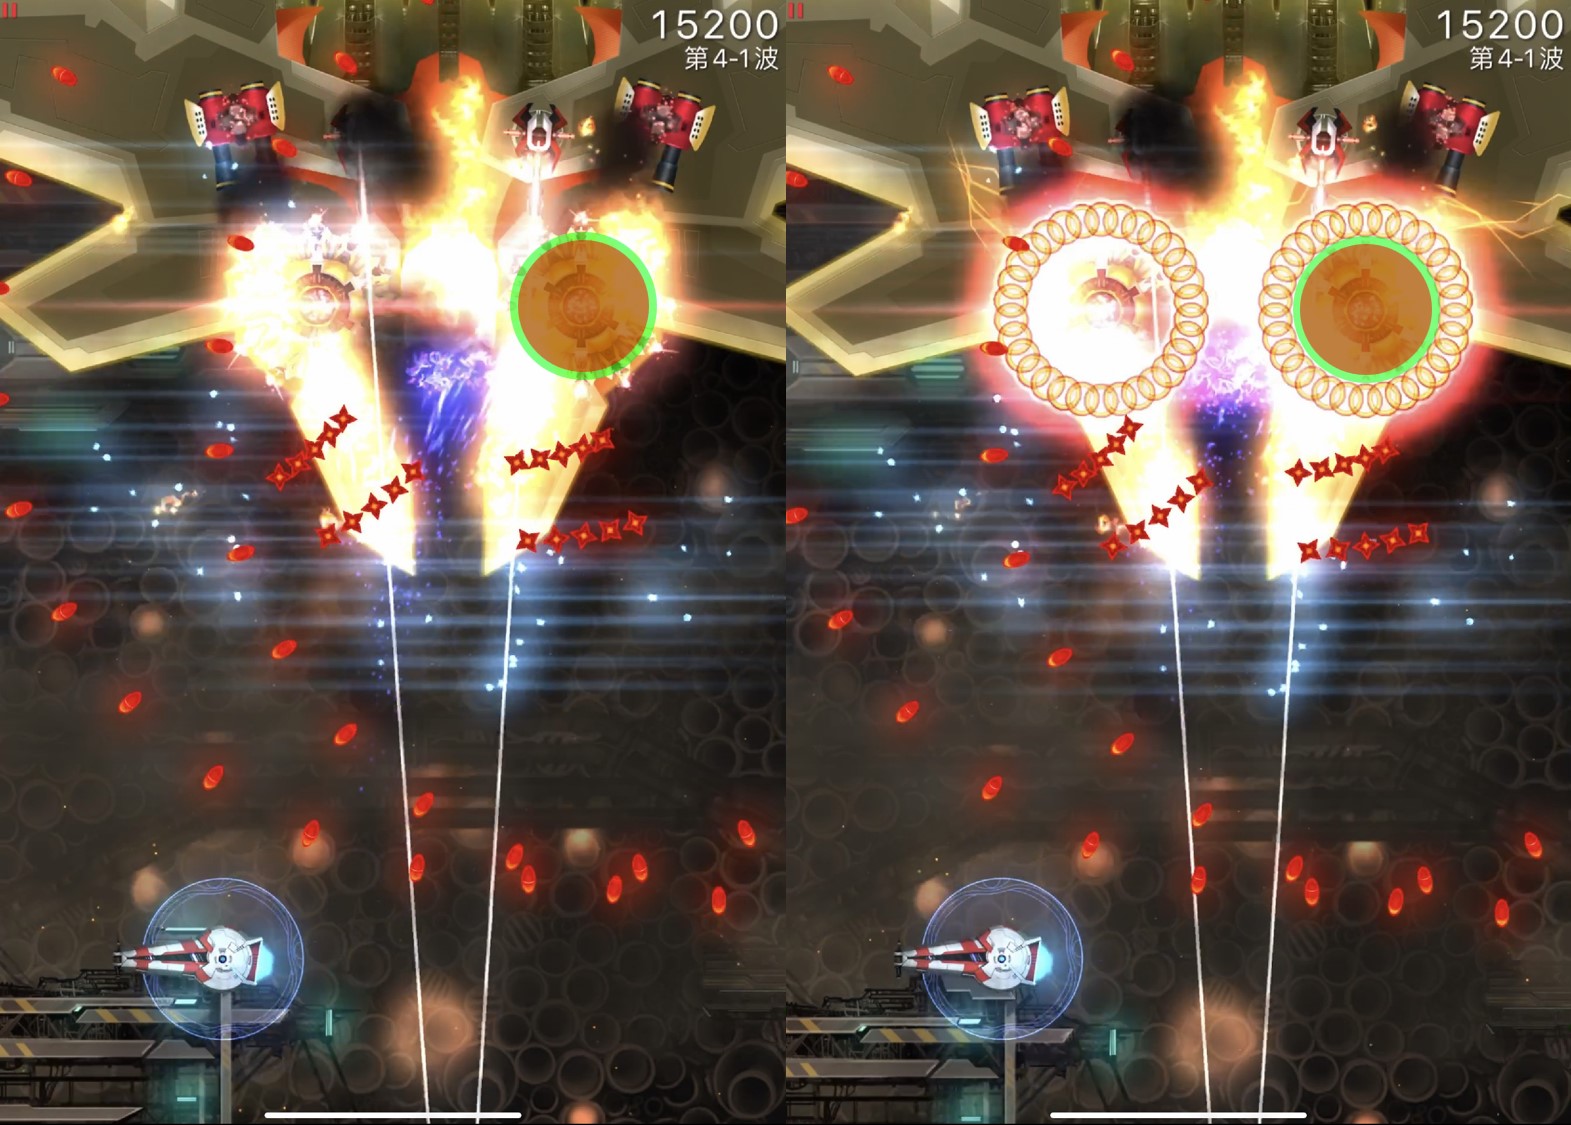
MIRV Graze
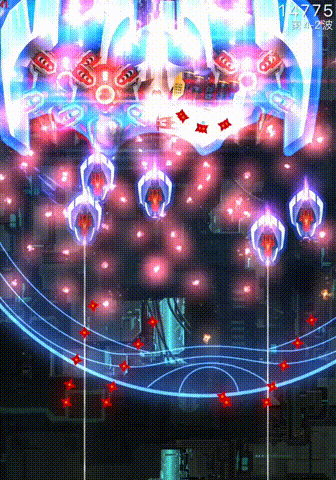
Grazing MIRVs is a very practical skill, especially the most basic one: double MIRV Bloomer graze. Compared to other graze techniques, the difficulty of this graze is much lower, and the rewards are also very considerable: your energy can be instantly replenished, and if they are counters, they can basically all be filled.
This skill is usually used for two MIRV Bloomers at the same height. Specifically, you need to be in the position between the two MIRV Bloomers, waiting for a round of MIRV firing. The advantage of two adjacent MIRV Bloomers is that you can clearly see the gap between the two rings of MIRVs. Just position yourself in the middle, and you can easily complete this graze operation.
We have provided a demonstration of this operation below. This operation is one of the simplest techniques among many, so the editor hopes that players can proficiently master this skill.

The most satisfying "one-shotting roc" is based on this simplest technique, allowing you to fully experience the joy of one-shotting bosses.
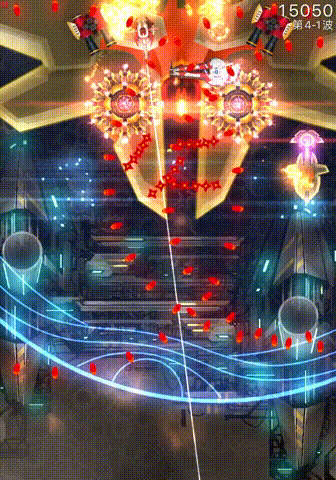
Doomsday MIRV Graze (No longer available)
The reason it has become no longer available is that in the current version, the Doomsday MIRV Bloomer has been replaced with the Doomsday Super MIRV, so this skill only exists in the recordings. Here, we will briefly describe how to use this technique for everyone.
Players familiar with the older versions may still remember that the Doomsday MIRV Bloomer's attack method involved generating multiple rings of MIRVs flying outward from all sides, and the positions where the MIRVs spawned were marked by red dots. Based on this characteristic, we could find positions where no red dots appeared before the Doomsday MIRVs were launched, and then use the Bullet EMP at the moment the MIRVs were launched.
The difficulty of this skill lies in precise timing of the Bullet EMP, when the MIRVs explode but have not yet hit the player's core. If too few MIRVs are activated, it won't be possible to kill big invaders like the Vulture.
A demonstration of this skill is shown below, but since this particular turret no longer appears, this technique has become useless.
Inside Graze
Inside graze is an advanced technique primarily used for dealing with spinners. One major characteristic of bullet spinners is their principle of never missing a shot even at the cost of some misfires, as they indiscriminately fire a large number of bullets in all directions. Conveniently, almost all turrets in the game have a blind spot, and spinners are no exception. Therefore, we can fully utilize the large number of bullets generated by this turret through inside graze, both to graze energy and to eliminate invaders on the field.
The key of inside graze is to wedge into the blind spot position. Being too far outside will result in being hit by bullets, while being too far inside will result in being hit by the turret itself and not grazing any bullets for energy, thus posing a significant positioning challenge for players. If players need to practice this skill, the editor recommends recording their gameplay and reviewing it later. Carefully analyze and determine the blind spot position of each turret, then practice repeatedly. The payoff is quite significant, providing not only ample energy but also avoiding the threat of a turret.
-
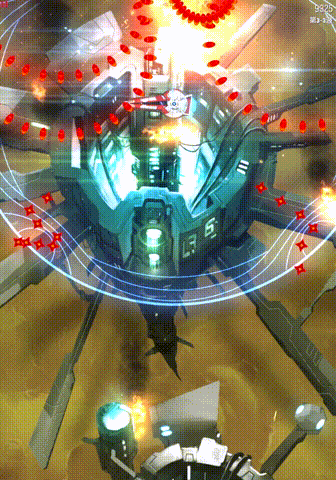
T3 Bullet Spinners
This type of bullet spinner can fire a ring of bullets at a time. Its blind spot is located at the muzzle, specifically in the black hollow area of the muzzle. In the illustration below, we roughly marked the safe position. When positioned at the green location, you can effectively graze bullets to obtain energy.
Video demonstration:
-
T4 Bullet Spinners
This type of bullet spinner spirals out multiple rings of bullets in all directions. Its blind spot is also located at the muzzle, making it somewhat easier to locate compared to the T3 spinner. In the figure below, we roughly marked the safe position. When positioned at the green location, you can effectively graze bullets to obtain energy.
The following video demonstration uses another ship, but it still effectively demonstrates the technique:
-
T4 Darts
The potential benefits of inside grazing darts are often extraordinary. One significant characteristic of dart turrets is their fast bullets. If you complete a full inside graze of one round of dart bullets, typically your aura energy will be completely recovered. This is excellent news for Bullet EMP because you can achieve an infinite loop of inside graze → Bullet EMP stun → inside graze. Even better news is that the time required for one loop is not enough to allow the speed lasers to fire, meaning that almost all other threats can be ignored.
Although the benefits are immense, finding the blind spot position of dart turrets is challenging. Its muzzle position forms a short arc, with little room for error, often requiring muscle memory to complete this operation. In the figure below, we roughly outline the safe area:
Video demonstration:
-
MIRV Bloomers
Surprise! MIRV Bloomers are also targets for inside graze!
If you thought that grazing MIRV bullets mentioned earlier was all there is to handling MIRV Bloomers, then let me tell you that you've just seen the tip of the iceberg. The logic behind inside grazing MIRV Bloomers is that outside grazing doesn't fully activate all the MIRVs, making it impossible to kill big invaders in one go. However, inside grazing, as the name suggests, is positioned inside a ring of MIRVs, making it easy to activate more MIRVs. This ensures that you can kill invaders in one graze, saving you a lot of trouble.
Finding the blind spot position of MIRV Bloomers is quite challenging; it's located at the jagged muzzle edge of the MIRV Bloomer, and the area is very narrow. If you ever find yourself in a situation where you have to use this skill, it's best to review your gameplay recordings to help you better determine the position of this blind spot.
Video demonstration:
-
T4 Shurikens
Shuriken turrets can also be grazed inside, and it's no exaggeration to say that this is a very important turret characteristic that can bring you significant improvement.
As we mentioned on the turret page, there is a gap between the four shurikens fired by a T4 normal shuriken turret. Standing in the middle of this gap ensures that you will not be hit by the shurikens. This is an excellent position for grazing energy while also avoiding a large number of shurikens blocking your path.
As a video demonstration, here is a gameplay using another ship. Although Disaris focuses more on the benefits of MIRV Bloomers in MIRV Spam missions, it's still important to pay attention to the threat of shurikens in missions such as Boomerang Spam.
-
T4 Shuriken Tides
Not done yet? Can you believe it? You can also graze inside Shuriken Tides?
Of course you can. Although compared to the previous types of turrets, inside grazing with Shuriken Tides may seem somewhat unnecessary. But when you play with other ships, you might actually find it useful. Its blind spot position is also not that easy to find, roughly located between the two barrels, neither too far inside nor too far outside.
Video demonstration (Cannot believe that someone do want to practice this?)
Let the Bullets Fly
This is an advanced skill for Disaris, usually requiring a lot of gameplay experience and keen observation to discover and optimize.
-
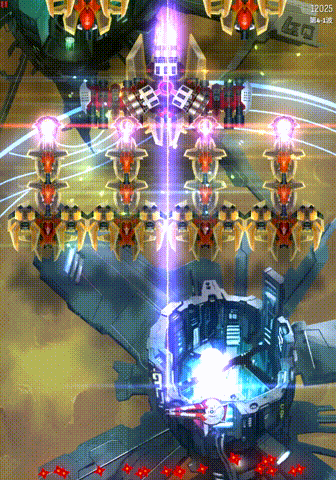
MIRV Bloomers
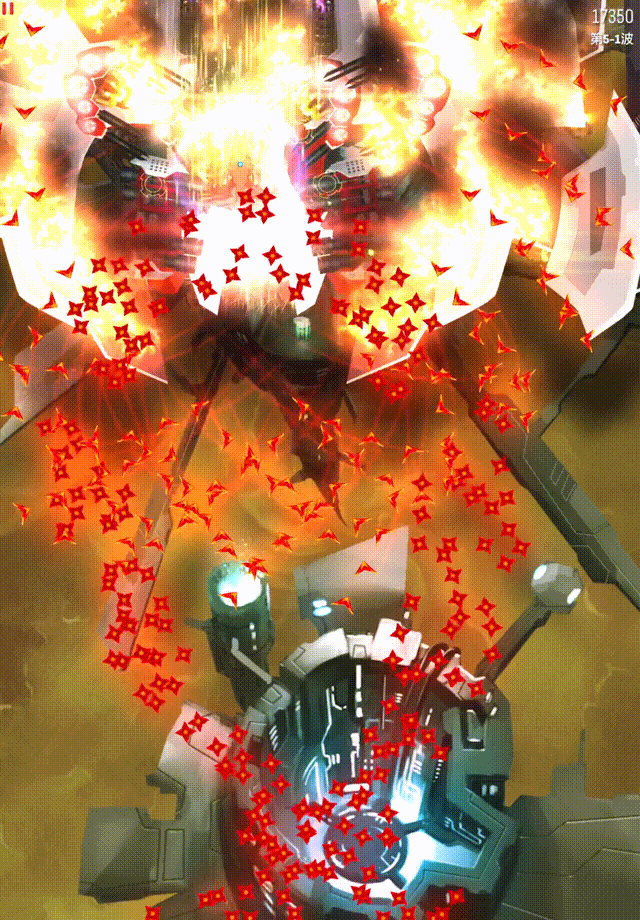
We all know that one round of MIRV Bloomers can produce a large number of bullets. Specifically, one MIRV Bloomer releases 30 MIRVs, each with 30 bullets. Even if only half of them explode, there are still over 400 bullets covering the screen. Such a large amount of damage is somewhat wasted if used only to kill a vulture. We can fully utilize this damage more effectively.
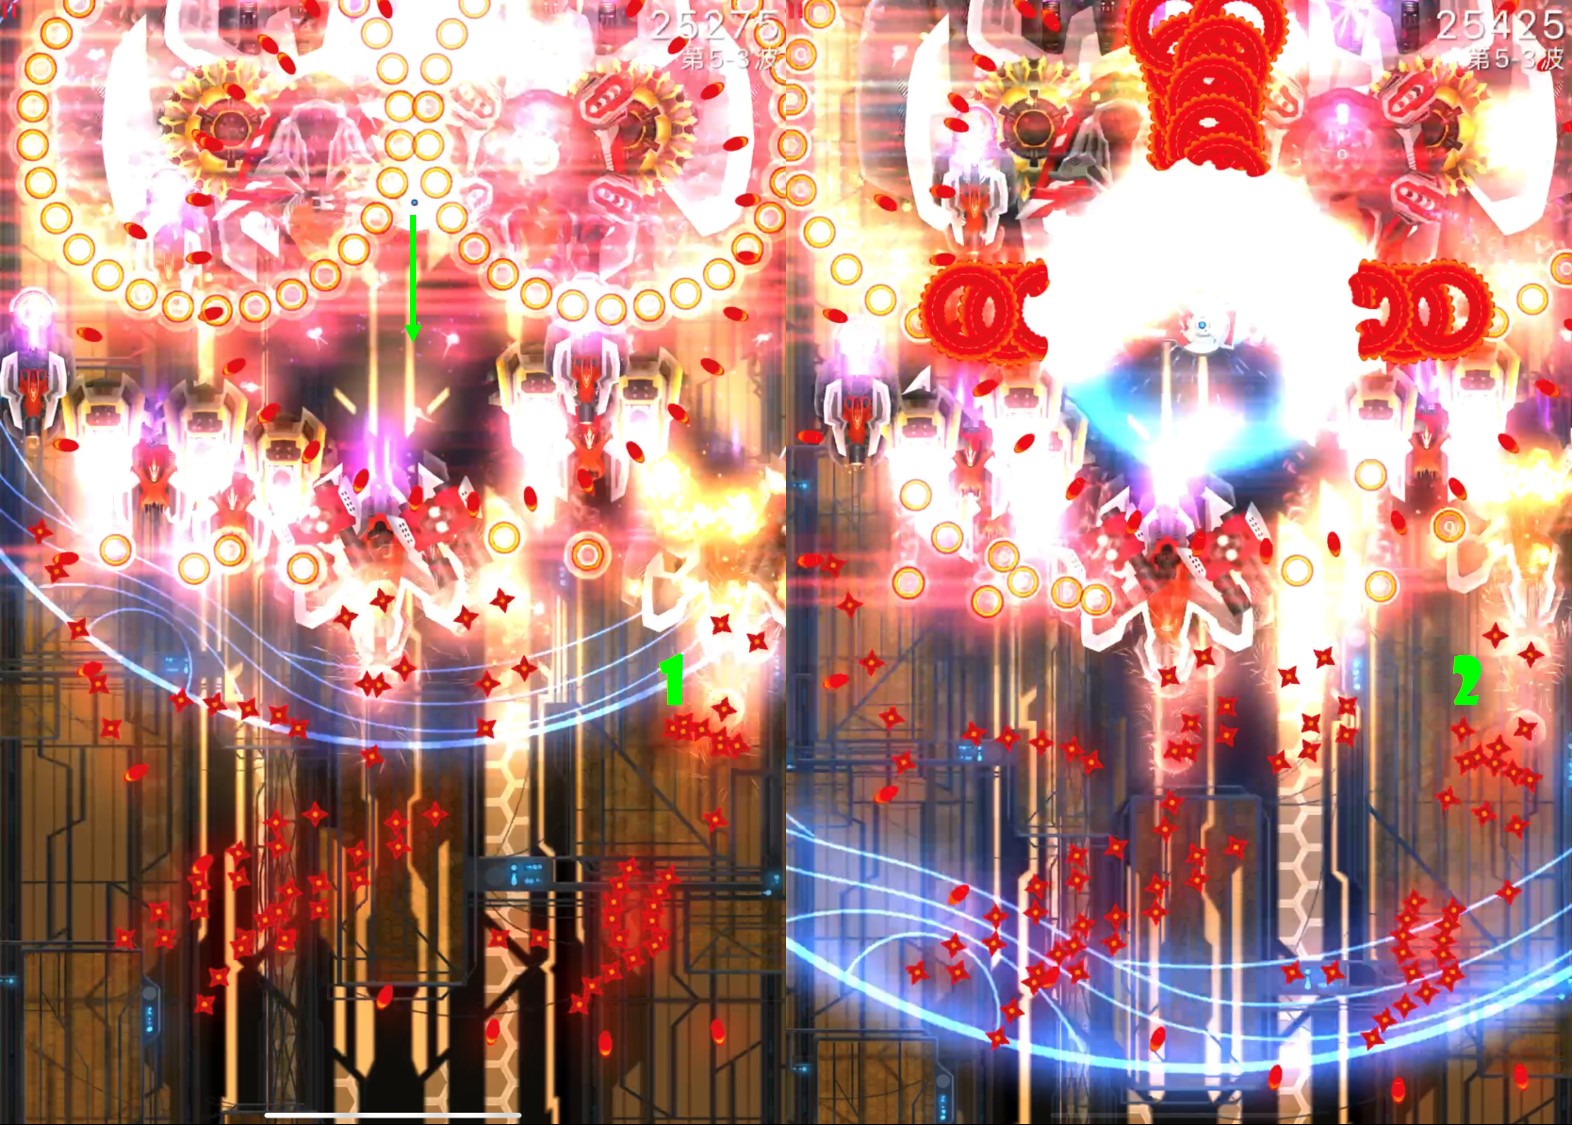
Specifically, if in a wave (excluding X-4) there is a vulture with a MIRV Bloomer in the back row, there is no need to directly graze to kill it. Instead, we can activate only a portion of the MIRVs to lower its health enough. The optimal situation is when the next round of MIRVs has just been launched, and the main weapon kills the vulture, covering the incoming wave of invaders with these MIRV bullets. Then, using the Bullet EMP can quickly clear the field.
As shown in the video below, we don't eliminate the vulture in 3-3 but leave it with a little health to release another round of MIRVs for 3-4. Then, while eliminating all these MIRVs in 3-4, we also destroy all the invaders. Finally, use a lance to finish off any remaining invaders.
-
T4 Spinners
The logic behind this turret is that it is equipped on eagles, which usually also come equipped with two T4 regular shuriken turrets in MIRV Spam missions. On one hand, there are a large number of shurikens, and on the other hand, there are the overwhelming bullets that follow, making it difficult for us to eliminate all threatening units at once.
Therefore, our strategy is to use the Bullet EMP twice. The first time it's used, avoid the bullet spinner to prevent it from resetting, and only eliminate the bullets in the front row. Usually, this generates enough energy to use the aura again. Then, when the bullets from the spinner completely cover the remaining enemies, use the Bullet EMP again to eliminate all enemies.
Conclusion
Most of Disaris's techniques focus on how to fully utilize bullets. For all players, mastering these techniques also requires understanding the mechanisms of various turrets, enabling you to stand out when using this ship.