
Mega Bomb

Deals considerable AOE damage to all the invaders within range.

High skill offensive Zen. Wipes out crowds with relative ease (or with absolute ease in the case of Hull invaders). The long charge time and no bullet clearing capabilities mean that MB can be hard to pull off quite often, thus it is not for the intermediate and below skill players.

The details of this skill are listed as follows:

Level12345Ultimate
Damage30~~~~~
Radius300325350375400400
Charging Duration (s)2~~~~~
Charge Time Increase (s)0.4~~~~~
Charge Time Recovery (s)Average (4.5)~~~~~
  • Ultimate: Adds a Fusion Core damage of 40. This means that any invaders are underneath the blue glowing orb when MB goes off receive 70 damage compared to other invaders that are not underneath the glowing blue orb which will receive the normal 30 damage.
  • Score: 9.18 / 10
  • Useful Levels: 1, Ult
  • Priority Level: 1 / 8
  • Illustration:

Comments

  • Editor: Gorgeous explosion, ultimate damage.
  • ☀🐕: A very potent offensive Zen. Damaging wise it’s significantly more efficient than ML. Downside would be that Darts (T2 Darts excluded) limits MB positioning and spamming greatly. Though wave compositions are rather simple in the current version of the game so it’s not that hard to maximize its damaging potential.

Usage

The only change in MB as you upgrade it is the increase in radius. Thus, there is actually not much change in gameplay from a level 1 MB to a level 5 MB. Due to its long charge time at all levels and also having no bullet clearing capabilities (Discounting the MBc BEMP apex), MB is a very hard Zen to use that heavily emphasizes risk taking. You must also be able to quickly decide when firing your main weapon / Aura might be more beneficial instead. Generally, if there are only Eagles or larger on field, it might be a better idea to cancel if your MB still has more than 1s left to charge finish. Due to its inability to clear bullets, it is extremely risky to charge MB without being at the bottom of the screen. There are many exceptions however, such as your ship having a defensive Aura to aid your exit from MB, or invaders having no dart tracking turrets to shoot you at point blank. MB is almost always charged between wave or Act transitions.

When ult, the risk vs reward factor becomes even more apparent, and there is even more reward to charge MB upfield. Not all MB ships are able to utilize this ult properly however. MB requires prior knowledge of every wave so as to land the MBc on the most appropriate invader(s). This comes with grinding and experience. The general rule of thumb is to land MBc on larger invaders, such as 2 Herons / Eagles, or the Vulture. It is usually extremely dangerous and thus not recommended to land MBc on a group of Shield / Armor Ravens due to the point blank range of their turrets to you. Hull Ravens die instantly from the MB explosion itself so there is no need to land MBc on Ravens.

It is important to note that the epicenter of MB is based on the center of the Fusion Core, and not where your core is. The AoE is thus dependent on the position of the Fusion Core, and not your core.

MB is always pulled off once per wave, since there is simply no point to pull it off a second time due to the charge time increase, as well as almost all of the smaller invaders being dead, leaving the larger ones remaining which can never be so many to justify the use of a 2nd MB. The MB is better left to cool down since using 2 MBs in a row mean the current wave will get wiped out too fast, and the next wave which is almost always more beneficial to charge MB will no longer have the chance to pull of MB due to the massive charge time increase. The only exception to this rule is if you have the SB MB apex, since consecutive MB blasts have even higher DPS than your main weapon itself, even with subsequent long charge times.

Obviously, due to the huge AoE MB has, it is extremely effective against dense waves. However, the inability to kill off most types and affinities of invaders limit it's usefulness to simply being nothing more than a tool to deal damage, instead of being able to directly deal with the threats from bullets. Particularly, Shield / Armor Ravens hiding behind a Vulture will prove a problem as they cannot be destroyed instantly and will pump in lots of bullets. In such cases, it may sometimes be more advantageous to charge MB all the way upfield and land MBc on these pesky Ravens or Herons, and proceed to use your main weapon to eliminate the rest of them hiding behind the Vulture before heading back down to deal with the Vulture and other invaders in front. Shield Ravens are particularly problematic since they will regenerate their shield after the MB if you leave them alone to deal with the Vulture, decreasing the usefulness of MB. (However, the SB MB apex completely eliminates this problem, which is a massive boost.) With Armor Ravens, the problem is not as severe, but nevertheless, an issue with these Ravens continuing to pump in bullets and lasers into the field.

MB is probably the most versatile offensive tool against daily missions. It can be used in all types of waves, from light, to dense, to heavy waves. It can be abused at any opportunity possible. Particularly, in dense or heavy waves, many of the tracking turrets only fire a single bullet per burst, which are likely misaimed since most fire quickly once the invaders land on field. This means it is quite safe to charge MB so long you pick a spot where you aren't directly under a turret. However, it is most useful in dense or heavy waves since light waves are better reserved for MB cooldown.

APEX 1: Fast Range

  • Game Description: High efficiency charge algorithms charge Mega Bomb more quickly.
  • Numeric Interpretation: The charging time decreases from 2s to 1.75s, the charging time recovery decreases from 4.5s to 3.5s.
  • Score: 3.80 / 5
  • Ships with the APEX: Baqlor (Lambda), Jn'dur (Gamma), Juggernaut (Delta), Mistral (Lambda)

Editor: One more look at you and I will explode.

This apex decreases the initial charge time of MB by 0.25s, from 2.0s to 1.75s. Other parameters are unchanged.

It goes without saying that this apex is very useful due to the absolute ease in setting up MBs. For some ships, you can even charge a consecutive 2nd MB before your deployed defence goes down since the charge time of the 2nd MB is near identical to a normal MB, although there is honestly no point in doing that.

APEX 2: Extended Range

  • Game Description: More potent energy particles increase the blast range.
  • Numeric Interpretation: The max radius increases from 400 to 500.
  • Score: 3.18 / 5
  • Ships with the APEX: Buhloo (Gamma), Jn'dur (Epsilon), Kibarrax (Epsilon), Proxymar (Delta), Wraith (Lambda)

Editor: Do you feel like this screen is big, empty, with nowhere for you to go?

This apex increases the range of MB from 400 to 500.

This apex benefits ships that have trouble positioning themselves to charge MB, usually ships that have very little to no defence/those without a defensive aura. You can then charge MB all the way at some corner of the screen or at the bottom of the field and still be able to reach some of the invaders behind. This helps in later waves such as those in Act 5, or even Act 6 in community missions. Unfortunately, this apex is very situational even for these ships as it only works for certain waves and not others (those with Ravens and/or Sparrows all the way upfield, in the corner). All in all, it helps, but not very much. It can however, make a difference in the world of speedrunning, since speedrunning ships have nearly none or no defence and it's not always possible to charge MB further upfield.

As dense and heavy waves often push invaders so far upfield and force you to be at the bottom of the screen, the Extended Range really helps to hit the invaders all the way upfield.

The range of normal MB is shown on the left, while the range of Extended Range MB is shown on the right.

APEX 3: EMP Core

  • Game Description: Fusion Core also destroys enemy bullets.
  • Numeric Interpretation: The bullets within a range of 100 will be cleared.
  • Score: 1.73 / 5
  • Ships with the APEX: Krillou (Alpha), Proxymar (Beta), Qhelqod (Beta), Veil (Beta)

Editor: One step closer to you and I will melt.

This apex eliminates bullets inside of the MBc only after MB is released.

The elimination of bullets above your core allows you to push up slightly to deploy whatever Aura you have, making the Aura effect generally a bit more worthwhile. However, this apex will not save you from dying, and should not be relied upon to get you out of your MB charging since there is some distance between MBc and core, which means if the bullet made it too close to your core, MBc will not eliminate that bullet and you will still die. Since the bullet density in community and specialist missions is not as much as daily, this apex provides very little assistance.

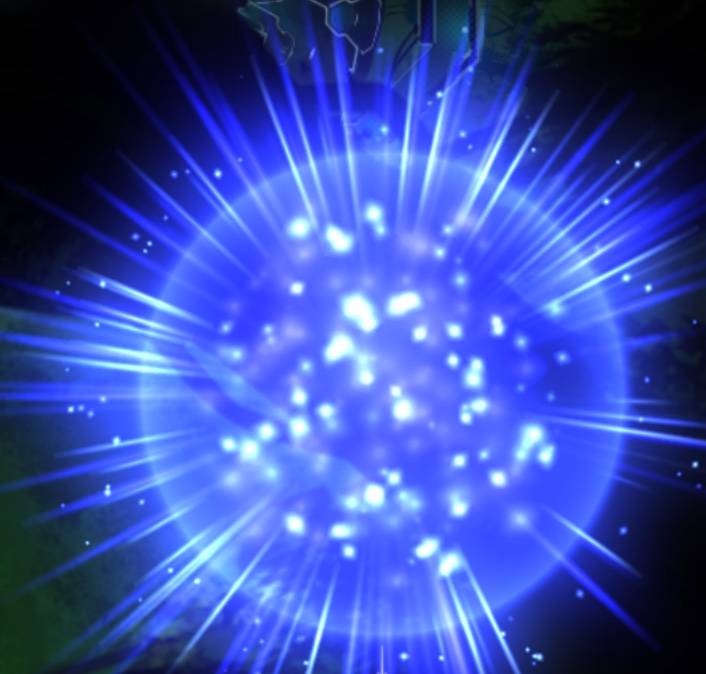
APEX 4: Shield Breaker

  • Game Description: Mega Bomb explosion is extra effective against shields.
  • Numeric Interpretation: Mega Bomb deals 2.5x damage against shields (Fusion core not included).
  • Score: 4.64 / 5
  • Ships with the APEX: Baqlor (Phi), Veil (Sigma)

Editor: You who is heading towards me makes me restless.

This apex makes the MB explosion deal 2.5 times the damage of a normal MB, but only on Shields, similar to an SB weapon. However, MBc still does normal 30 damage (not accounting for armor damage reduction, if applicable). The shockwave damage (with the 2.5 times damage to Shields) is applied first before the normal MBc damage.

This apex wipes out Shield Ravens completely in its MB blast, making it already very powerful. In very dense waves, just wave goodbye to the gazillion Ravens, and it is even viable to charge SB MB for 3 consecutive waves. The 2.5 times damage to shields mean that many invaders' shields go down very quickly after MB is released, making this apex very powerful. Herons and Eagles immediately get stripped of their shields, while Vultures only require a bit more damage to strip their shield. For a Condor, 2 consecutive SB MBs strip its shield immediately, while for a Roc, 2 SB MBs spaced out by about 4s of non-SB main weapon damage strip its shield. The speed boost by this apex is very significant, which increases both speedrunning and survivability. In the case of survivability, you can immediately get to popping turrets off, meaning less bullets on field to contend with.

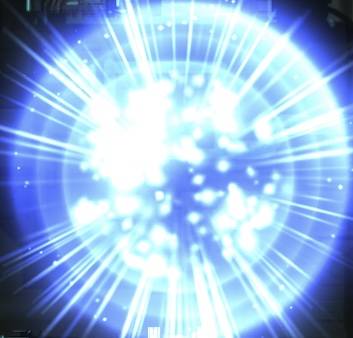
The picture on the left below shows the normal MBc which is blue in color, while the Fusion Core for SB MB is a deeper, royal blue as shown in the picture below on the right:

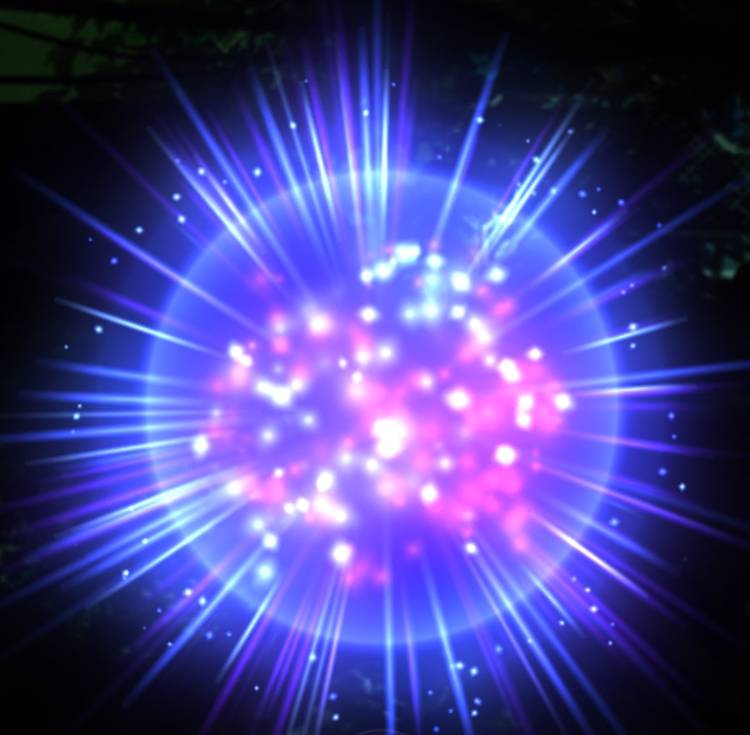
APEX 5: Compressed Blast

  • Game Description: Energy compression mixes Fusion Core and regular blast into a singular heavy explosion.
  • Numeric Interpretation: The damage increases from 30 to 70, the radius decreases from 400 to 200.
  • Score: 2.73 / 5
  • Ships with the APEX: Kada Veni (Gamma), Krillou (Gamma), Valkyrie (Delta)

Editor: Concentration is the essence.

This Apex severely decreases the radius of the MB to 200, half the radius of a maxed MB, however, all invaders in that reduced range now take 70 damage (before armor damage reduction).

Unfortunately, this apex is not very useful in community and specialist missions as you do not instant kill anything new other than armor and shield Ravens, which are severely overkilled. The decrease in range and thus allowing more invaders to escape the MB usually means that less total damage is usually actually dealt to invaders. Swap over to daily missions however, where there are frequent occurances of many Herons and above bunched up together, Compressed Blast is very efficient in taking out the whole crowd of invaders quickly.

The Fusion Core for Compressed Blast is purplish in color compared to blue in color for normal MBc. The picture on the left below shows the normal MBc, while the picture on the right below shows the MBc for Compressed Blast (which still does 70 damage like the rest of the blast):