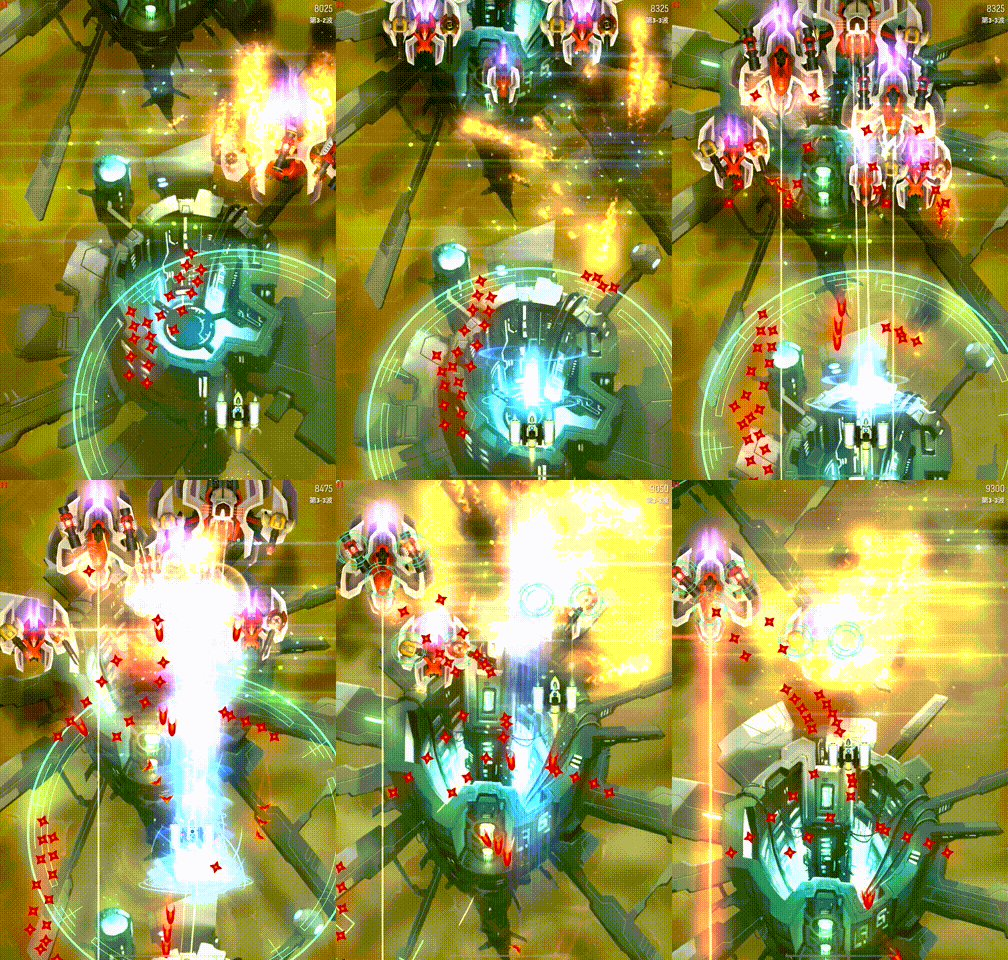
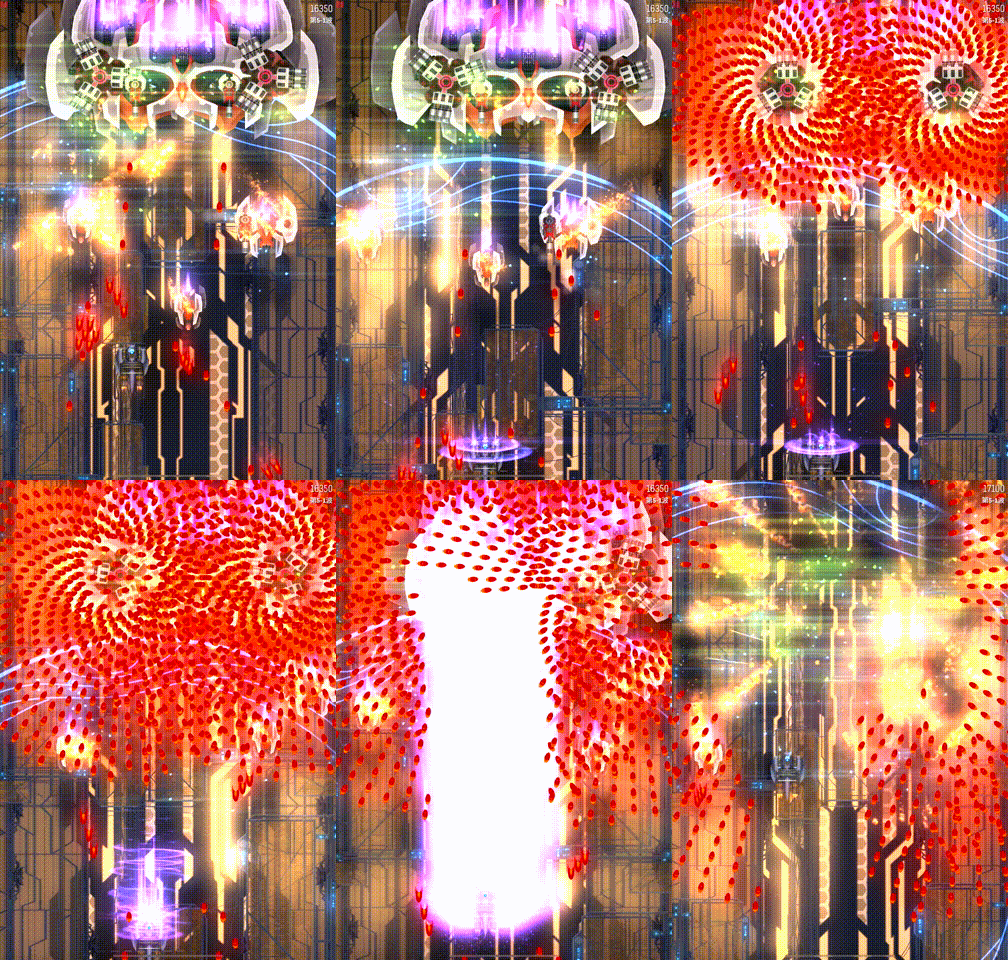
Mega Laser

Deals huge damage to invaders in a straight line as well as the bullets.

Quite a straightforward offensive Zen. Positioning is key. Recommended for intermediate players and upwards. Most effective against thick columns of small invaders or big invaders.

The details of this skill are listed as follows:

Level12345Ultimate
Damage150155160165170170
Charging Duration (s)2.32.22.12.01.91.9
Charge Time Increase (s)0.5~~~~~
Charge Time Recovery (s)Average (4.5)~~~~~
  • Ultimate: Increases the width of ML to 150% of its original width.
  • Score: 7.55 / 10
  • Useful Levels: 1, Approximately 4-Ult
  • Priority Level: 3 / 8
  • Illustration:

Comments

  • Editor: A good choice to break through the barrier.
  • ☀🐕: There are 3 major problems with ML. (1) Excessive damage is wasted on early acts, resulting in inefficiency in damage outputting. So buffing ML damage is actually pointless. (2) ML has poor synergy with SB ships. For instance, sometimes ML strips away all shield on a larger invader, leaving no shield for an SB weapon to break. Exceptions are Exarch and Razor VI. Exarch has a cone triggered main meaning it can fire a round of its SB beams while charging ML. While Razor VI is able to charge ML right at the start of its main firing, stripping shield first, and then hitting hull with ML. (3) Enemies’ fast lasers limit ML usage to a great extent on some ships, so it’s better to reduce ML charge time to 1 second. Additionally, ML should be able to clear bullets from the core of the ship to prevent death after it firing.

Usage

Level 1 Mega Laser is the most sluggish thing in this game, and is only really usable either between Act transitions, or during wave transitions where the next wave has a frontline Vulture. Otherwise, it has no defensive aspect at all and only serves as an offensive tool that can make certain waves easier. However, as you upgrade ML, it becomes more and more responsive and it becomes possible to charge it between wave transitions with Level 3 or 4 and above.

ML is a great step to learning speedrunning and the basics of important positioning. The time taken to charge ML forces you to be careful where you station yourself at, as wrong positioning can lead to your death. However, there is some leniency in ML in the fact that it clears bullets ahead of you once fired. With the ult, it has a little bit more leniency. Also, it does not matter, vertically, where you start charging ML. Only your horizontal position matters. This means ML is almost always charged at the bottom of the screen. The rule of thumb with ML is, just charge it whenever you can between wave or Act transitions. There are rare cases where ML can also be charged mid-wave. It is likely because there are no dart tracking turrets or boomerangs around. Thus, it is usually possible to abuse ML in MIRV/Shuriken missions, more than once per wave. Some waves in MIRV/Shuriken missions may even see a usage of up to 3 or 4 MLs depending on the overall health of the wave. Charging ML between pellet lanes is a very useful skill, but when dealing with pellet lanes of a T4 pellet spinner, it may be dangerous, but highly rewarding if estimated correctly.

Many ships rely on ML's bullet clearing capabilities a fair bit. Particularly, it is helpful since you can ride up the ML, meaning you move forward and upfield together with the ML. This move allows you to quickly collect particles from the invaders that were killed, as well as particles that may be left behind in the previous wave (since you didn't collect them when charging at the bottom). It benefits both offensive and defensive Auras equally. It may also be a useful move when bullets are approaching from the sides where you charged ML since you can quickly escape them. Take note that there is usually a tiny gap between the start of the ML itself and your core. This means that there is a small chance that a bullet in front of you will not be eliminated even after you fire off ML. If you see a bullet too close for comfort after firing ML, you should instead pull yourself back to the bottom of the screen quickly to avoid a high chance of death.

The problem with ML is the very fact that the horizontal position matters, and with such a long charge time, many small invaders may potentially escape the ML when it finally fires. It is thus important to understand the layout of the wave where you charge ML, and charge based on the initial formation. For example, if the right column is long, you should align yourself with the right column. However, it is usually better to offset closer to center. Conversely, if you are aiming at the middle column of invaders, it is better to slightly offset to the left or right, usually somewhere close to the 1/4 or 3/4 margin. This allows you to have a higher chance to catch invaders from 2 columns instead of one. This offset is unnecessary if you have a Vulture behind everything since it will definitely soak up the spilled damage. With 2 Eagles at the back, the offset is still helpful, especially if they choose to split apart. With large invaders on field, ML is bound to deal devastating damage since they soak up everything and there is no damage spill.

When speedrunning, in Acts 1-3 (Acts 1-2 if daily missions), it is almost always beneficial to release ML a bit earlier than the moment the invaders fully arrive on field, so that you can quickly position yourself the opposite side where you charged ML to take out the remaining invaders. Even for an Eagle, you can slightly pre-fire ML to completely obliterate it, unless there are Ravens behind it. The less health the invaders of the first wave of the next Act have, the earlier you can simply Fire and Forget.

However, there are times where it is absolutely necessary to charge as corner as possible, in order to quickly reach the larger invaders behind so as to stop them from wrecking havoc. ML can thus be a tool to punch a hole in invader fronts such that you can directly deal with threats behind. With a Vulture or 4 Eagles in front blocking the way however, ML is not enough to plow your way through to reach the potentially troublesome invaders at the back. In such cases, it may sometimes be beneficial to charge above the rest of the invaders to reach the Vulture behind to kill it quickly, especially if it has very dangerous turrets.

In very dense or heavy waves, it generally no longer matters where you charge ML. If it's an armor mission however, it will serve you better to try your best to aim straight on to one column of invaders so that there is a better chance to hit the cockpit of invaders. In light waves, there is no point to charge an ML unless it's the start of a new Act. Be careful not to launch an ML if you expect a very heavy wave after the starting wave of the incoming Act. If you possess an Aura that does not deal AoE damage, it is better to use the offensive Aura to clear out the light waves.

Because ML takes so long to charge, it is a very useful burst reset tool, for ships with main weapons of the Burst class. You can fake charge an ML between waves, and if you know that your ML is unable to finish completion, cancel the ML and the main weapon straight away fires. It may also be useful for ships with main weapons of the Hybrid class. In Hybrid class weapons, it is usually more beneficial to allow the weapon cycle to complete (the weapon enters the cooldown state) before doing a fake charge.

APEX 1: Twin Laser

  • Game Description: Heavily modified Meson Projectors can shoot two Mega Laser beams side by side.
  • Numeric Interpretation: Two 100-damage lasers will be fired at the same time with a gap in between.
  • Score: 3.55 / 5
  • Ships with the APEX: EX04239 (Phi)

Editor: Imagine stubbing your toe against a wall or experiencing a leg cramp while stretching.

Unlike the Double Shot, it can simultaneously fire two laser beams, covering a wider area and dealing higher damage. At first glance, this skill seems perfect, as it retains all the characteristics of the original laser and even enhances them. However, it encounters a problem in one aspect. There is a small gap between the two laser beams, and the bullets in this gap are not eliminated by the lasers. In other words, you cannot directly rush upwards following the lasers, or else you will collide with the bullets that slipped through. Of course, the solution is relatively simple; when you need to break through the bullets and move forward, slightly offset to the left or right, then follow the path cleared by the lasers and charge forward.

APEX 2: Double Shot

  • Game Description: Two separate energy releases create two beams in quick succession.
  • Numeric Interpretation: Two 100-damage lasers will be fired one by one, with a one-second interval.
  • Score: 3.00 / 5
  • Ships with the APEX: Fujin (Epsilon), Hime (Epsilon), Monsoon (Epsilon), Photurius (Lambda)

Editor: Not all weapons can come abundantly twice.

This apex fires one ML with half the damage (100 damage) that lasts the same amount of time as a normal ML after you engage touch (after ML has finished charging, of course), then, after a 1s delay, fires a second identical ML with also half the damage (100 damage). The firing location of the second ML is dependent on where your ship is after the 1s delay. However, the width of the ML is back to its pre-ult status (100% width instead of 150%).

This apex is useful against crowds of invaders in front as you can split the damage between 2 columns of invaders, clearing out more smaller invaders. It is also useful for turret sniping as you can split the 2 MLs for 2 different turrets. There is even enough delay time to hope over from the leftmost turret to the rightmost turret (or vice versa) in a Vulture. However, this apex is actually difficult to use as you need to look ahead to figure out a decent spot to go to, otherwise the second ML will miss completely, which no longer complies with the Fire and Forget nature of ML. In speedrunning, the DPS is cut due to the delay time between MLs, and your main weapon does not fire at all during the 1s delay. The delay time is sometimes a factor because in armor invaders, the second ML may not hit the cockpit. Also, a large invader may potentially die slower if it's already sufficiently damaged to the point a normal ML would actually kill it. The gameplay of such ships with this apex can be quite revolutionary due to the elimination of the Fire and Forget nature of ML and instead, having the need to actually aim a second time (after the positioning yourself for the initial charge).

Because most waves in daily missions are so dense or heavy, not even a normal ML can eliminate one column. In light waves, there is just no point to even charge an ML, rendering this apex absolutely worthless in daily missions. The only time it will help is when you have a clear shot on a Vulture where you can pop off its turrets, but because Vultures are quite rare in daily missions and they are often guarded by gazillion invaders in front, there is simply no point in this apex.

APEX 3: Armor Piercing

  • Game Description: A specialized laser that pierces armor.
  • Numeric Interpretation: The laser ignore 30% damage reduction of armors.
  • Score: 3.18 / 5
  • Ships with the APEX: Cinnri (Lambda), Hime (Lambda), Neni (Delta)

Editor: No matter how hard the armor is, there are gaps.

This apex makes ML deal its full 170 damage to armor invaders, no matter if it hits the cockpit of the invaders or not, increasing the offensive power of ML significantly (in fact 43%, since it is increased from 70% damage to 100% damage). You no longer have to aim at the cockpit of armor invaders just to deal the full ML damage. If you are faced with multiple small to medium size invaders that are all lined up, this apex will still prove very useful since ML will definitely not be able to hit all their cockpits. Normal ML will thus be unable to wipe the entire column out, where else, AP ML can likely do so. If the column of small invaders is not very long (not many invaders), then a normal ML will pretty still wipe them all out and AP ML is not useful. In a frontline Vulture wave, a normal ML will likely be able to do the same damage as AP ML since you can position yourself in front of the Vulture's cockpit before it arrives, but AP ML helps you to save yourself the trouble of doing that.

AP ML can be massive help, allowing you to jump a couple of leaderboard spots up.

APEX 4: Focused Beam

  • Game Description: Mega Laser power is concentrated in a smaller beam and deals more damage.
  • Numeric Interpretation: The width decreased from 150% to 50%, the damage increased from 170 to 200.
  • Score: 2.55 / 5
  • Ships with the APEX: Arietis (Epsilon), Lorilou (Epsilon), Razor VI (Sigma), Tempest (Delta)

Editor: No size, but still depth, right?

Value (Daily Missions): A Value (Community/Specialist): B

This apex reduces the width of ML back by approximately half (75% width of original non-ult ML), but increases the damage of ML to 200.

This apex helps ships that rely a lot on ML to deal damage, particularly those ships of the Lightfury class. Not every ship benefits however, since some ships use ML less, and actually rely on ML as a tool of bullet clearing. One very niche usage of this apex is that the new reduced width of ML is enough to fit in between 2 front Roc turrets to pop off 1 of its back turrets.

However, despite the increase in damage, this apex makes these ships very prone to RNG, since the significantly thinner laser means that smaller invaders such as Herons or below can dodge your focused ML much more easily. This makes crowds very frustrating to deal with where a normal ML can still have a reasonably high chance of hitting them. This RNG factor is much less of an issue in daily missions since invaders are pretty much everywhere with such dense and/or heavy waves, making the increase in damage very powerful.

Nightfury

The bigger brother of ML. Packs a serious punch, decimating frontline Vultures or 2 Eagles of pretty much any affinity. Unfortunately, it is difficult to abuse due to its Super Slow recovery rate.

Level12345Ultimate
Damage200225250275300300
Charging Duration (s)2.3~~~~~
Charge Time Increase (s)0.8~~~~~
Charge Time Recovery (s)Super Slow (11.5)~~~~~
  • Ultimate: Enables Bullet Destruction, which finally allows Nightfury to clear bullets in the 3 beams fired. A non-ult Nightfury does not clear any bullets
  • Score: 6.45 / 10
  • Useful Levels: 1, Ult
  • Priority Level: 3 / 8
  • Illustration:

Comments

  • Editor: If you get it, spend 100 credits to watch a firework show.
  • ☀🐕: The most unreasonable thing about Mirage is the 50k Apex Form. Couldn’t we just remake it so that it improves NF’s charge and recovery time?

Usage

The Recovery Rate is roughly a reduction of 0.74s for every 10s not used. Please note that it is unlikely to be accurate since recovery rates are generally not linear. This means it takes around 10.78s for Nightfury to fully cooldown. Since each cycle of the Plasma Rays takes 3s, the general rule of thumb is to wait for 3-4 cycles before using Nightfury if you need it to go off quickly (which doesn't apply to MIRV/Shuriken missions).