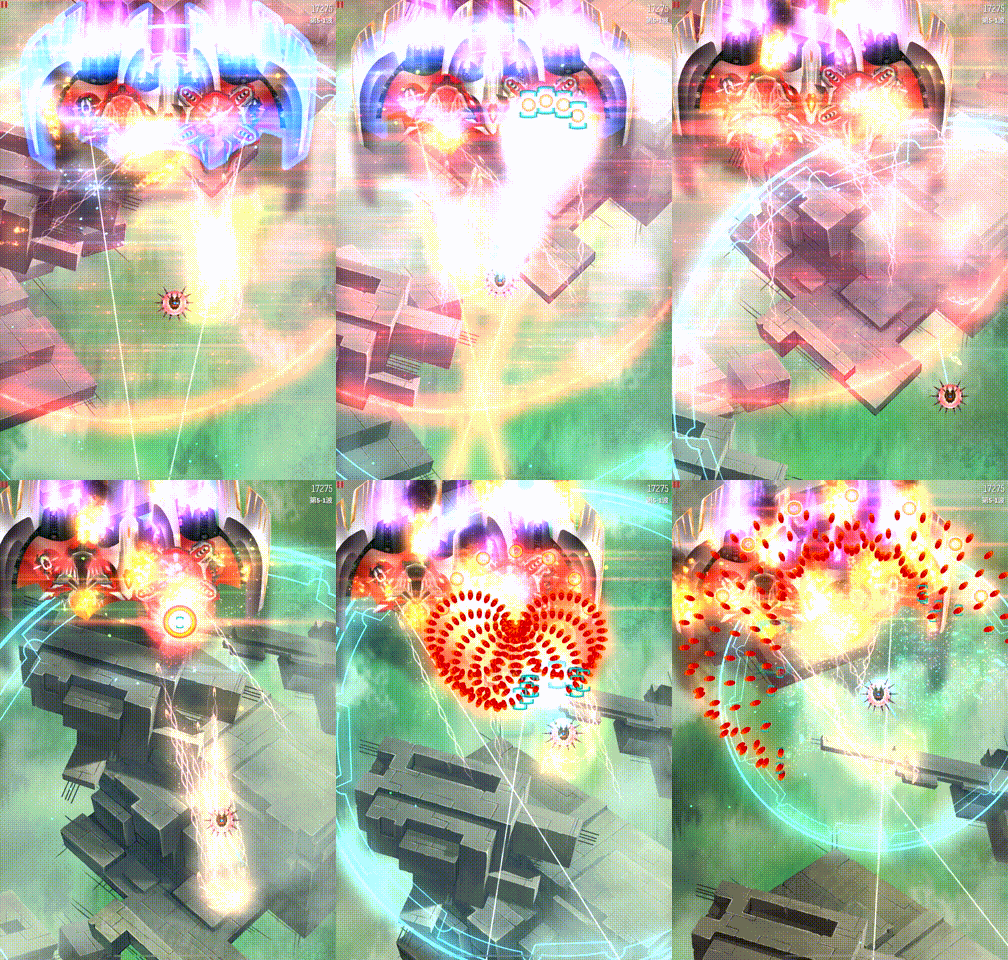
Point Defense

Releasing several laser beams to clear the bullets

A scalpel/precision strike BEMP. Recommended for intermediate level players who can dodge reasonably well.

The details of this skill are listed as follows:

Level12345Ultimate
Number of Beams24681010
Efficiency (%)100120150200300300
Max Radius250290330370410410
  • Ultimate: Allows you to eliminate MIRVs with only one laser beam instead of 5.
  • Score: 4.91 / 10
  • Useful Levels: Approximately 4-Ult
  • Priority Level: 4 / 8
  • Illustration:

Comments

  • Editor: You cannot count on it to clear all the bullets.
  • ☀🐕: As a defensive only Aura PD sucks. A nice change would be to implement Bullet Detonator into the ult-upgrade. Bullet Detonator Apexes should therefore be made to deal higher damage. And the efficient MIRV clearing capability from the original ult-upgrade should be granted at level 1.

Usage

Level 1 PD is one of the worst defensive Auras in the game as it does nearly nothing. It is, however, useful in breaking holes in pellet walls in order to escape the pellet lanes to make last minute defensive measures to possibly avoid being trapped. However, this has to be done pre-emptively before other faster bullets such as darts and boomerangs come for you It is however, completely useless against darts and boomerangs, and the extreme inefficiency of PD with only 2 laser beams mean that it is ineffective against shurikens which come in messes. To deal with shurikens, you have to spread them out by making rapid strafes to thin out the shuriken walls so that you can break through them. Your hope in using a low level PD is to spam tap.

As you upgrade PD, it becomes a lot more responsive and a lot more effective, being better able to deal with more and more types of bullets. Eventually, it becomes a semi effective tool against MIRVs when it reaches the ult level. However, it is no means that most effective against MIRVs due to them being the slowest bullets in the game, which means that it is very difficult to get PD to actually target them. In fact, it is more often than not, more efficient to simply explode them and eliminate some of their released pellets rather than using PD to plow through the other bullets around it. This should be done when you are faced with a wall of shurikens around it, or when there are too many pellet lanes around it. If there are only around less than 4 dart lanes around it, you may actually consider draining PD a bit to eliminate a cluster of perhaps at least 3 MIRVs around it. This is particularly useful against laser MIRVs, since bullets around it travel very fast and you may opt to simply eliminate all the darts and boomerangs around it to eliminate the laser MIRVs which can prove to be deadly in large numbers (when released by MIRV Spreads or Bloomers).

Think of PD more like a last minute BEMP at times. It is able to save you from certain death, but it is only useful when used in small amounts. Holding on to PD and therefore using it in large amounts, PD drains extremely fast which is no longer effective. PD should only be used in the most dire situations, or when you wish to reposition yourself to jump across lanes of pellets or darts. Never hold on to PD when faced with a crowd of bullets as that will backfire later. You should only do very brief taps in very desperate situations, or if you need to reposition yourself at the other side of the field, used in very short holds. This is because PD should be only used to eliminate the most dangerous bullets which are in closest proximity to you. When making the jump to reposition, holding it down means eliminating you unnecessary bullets that are further away from you as well, which serves no purpose. Instead, using it in bursts allows PD to constantly re-evaluate the most dangerous bullets nearest to you more effectively, thus reducing wastage. When faced with boomerangs however, unfortunately, you will need to do start using PD a little earlier (approximately 0.5s earlier or something) to clear off a bit of bullets around you as even though a max level PD is quite efficient, it may be difficult to target the boomerangs at the very brief moment it enters critical range, leaving insufficient time for PD to target the boomerangs.

PD should be used to move in the appropriate direction according to the wave formation. For dense waves with small invaders in front, you should push yourself forward slowly while moving sideways very slightly to avoid head-on bullets. This allows you to collect the particles from these invaders to sustain PD. For heavy waves, PD should generally be used to move sideways, not against the direction bullets are coming from. This is because going head-on, and directly against the flow will face more resistance, draining PD faster. (The same anology is that going against the flow of the river is harder than attempting to cross one.)

For some ships, PD is used as an aggressive positioning tool to get up close to invaders. In such cases, PD should be spam tapped, and still not held on to. However, bear in mind that when the field becomes slightly more dense in bullets, it is no longer possible to use PD for such aggressive close encounters with invaders and PD reverts back to normal usage. This is especially so for speedrunning with such ships, where you must be very careful of your PD usage and always leave at least a small usable radius to defend yourself.

The good thing about PD is it refills quite fast and the smallest PD from natural Aura regeneration can still fire off one burst of PD, which can eliminate as many bullets as it can lock onto (usually it's up to about a maximum of 6 bullets when you desparately tapping it). This means that with a bit of grazing, you can gain enough Aura to eliminate the most immediate threatening bullets around you and continue staying alive. This however, still require you to dodge anything faster than a pellet as the grazing and regeneration are not fast enough to deal against darts. Such a last minute desperate PD works like level 1 PD or a very tiny BEMP. This actually allows you to survive infinitely so long you are careful to keep as still as possible, only moving just enough to avoid any darts. This won't usually work against boomerangs since boomerangs have a larger hit circle which requires more movement.

APEX 1: Bullet Detonator

  • Game Description: Enemy bullets are detonated dealing Blast damage.
  • Numeric Interpretation: Each detonated bullet deals 2 AOE damage.
  • Score: 4.18 / 5
  • Ships with the APEX: Arietis (Lambda), Luna (Tau), Tar'cah (Lambda), Widget (Tau), Wrackr (Epsilon), Zephyr (Epsilon)

Editor: Don't move! I'm helping you pop those pimples!

This Apex makes every bullet cleared by PD release a small blast explosion that deals 2 damage each, with a tiny radius, dealing damage to any invaders that are caught in the blast explosion.

This apex completely changes the way you use PD since you are now using it for offence. However, this apex is only for very pro players since this eliminates one source of your defence, and for some of these ships with this apex, this means no other defensive options remaining. If you are not using PD offensively enough, you would have wasted your money buying such an apex.

Bullet Detonator is effective in 2 cases: against large crowds of small invaders in front of other invaders with higher tier turrets, or against large invaders in front with many backline smaller invaders behind. In the former case, there is a lot of RNG involved. Sometimes invaders line up properly and they all vaporize, at other times they dodge the bullet explosions and you are still left with quite a number of invaders to deal with. In the latter case, it is consistent, and can even be used against that large invader's own bullets fired. Timing of when to fire PD is very important for this apex since the wrong timing means the apex becomes useless and you waste your PD for no reason.

There are also some extremely crazy things you can try with PD, such as turret riding. This not only means riding spinners and MIRV Bloomers, but you can also ride pellet spreads, dart tracking turrets and more! You want to be somewhere on top of the turret itself, but towards the edge of the turret, visually, such that the turret hitbox will not kill you, but at the same time, you want to be JUST behind the spawn point of the pellets, darts or MIRVs. Spamming PD when this happens results in not only you grazing off these bullets, but also have the capability to deal damage due to how quickly the bullets are eliminated while they are just emitted and still on top of the invaders, resulting in pretty insanely fast kills.

Be sure, however, to keep a very small bit of PD left just for defence. This usually naturally happens since below a certain radius, PD will sort of cease to work properly to eliminate bullets.

APEX 2: EMP Laser

  • Game Description: Destroyed bullets trigger a small Bullet EMP.
  • Numeric Interpretation: Laser Beams decreased from 10 to 1, but a Bullet EMP of range 50 will be activated each time.
  • Score: 3.45 / 5
  • Ships with the APEX: AB8/Klyn (Delta), Orion (Delta), Pandora (Tau), Tar'cah (Delta)

Editor: Not everyone has the leisure to lie in the bullet sea and bask in the laser bath.

This apex completely changes the way PD works. It fires only one PD laser (at 0.1s intervals, just like regular PD, except regular PD fires 10 lasers at 0.1s intervals), but the bullet targeted by the PD laser releases a small BEMP that clears out other bullets around it in a small radius, approximately 50 radius. Each PD laser also takes up twice the Aura energy compared to normal PD, although depletion is generally much slower due to the less lasers being fired at once.

This apex is the biggest game changer for MIRV/Shuriken missions. PD used to be rather lackluster in eliminating bullets due to the number of bullets which are able to be cleared, since PD depletes purely based on the number of bullets on screen. But now, with this apex, the number of bullets which are able to be cleared is unlimited! This brings it on par with BEMP since it has also unlimited bullet clearing capability. But because PD is not a one-time use, but depletes slowly, this BEMP PD apex just way supercedes BEMP since you often do not need the full BEMP radius to continue navigating around the field or surviving.

The technique to use the BEMP PD apex is to rhythmically tap to use it, and not hold it down or spam tap it. This is because you need to allow a small time frame for the previous PD laser to fully exert its impact as the BEMP takes a very short while to fully take effect. With a bit of experience in timing the intervals between taps, this apex is so useful, you can practically clear ANY MIRV/Shuriken mission in your FIRST ATTEMPT, no matter the difficulty, even with the hardest Rocs. You didn't read that wrongly - I kid you not.

Outside of MIRV/Shuriken mission usage, this apex is only useful based on situation. This apex suffers from waves that feature different types of turrets that fire bullets of different speeds since the small BEMP released is unable to catch the faster darts coming at you on time which may result in your death. You will need to spam or hold down when faced with such circumstances, and do not rely on this apex to save you from darts in a mess of other slower moving bullets such as pellets or shurikens. In particular, this apex severely suffers with the presence of boomerangs, since the BEMP is usually unable to clear out boomerangs due to their extreme speed. Be prepared to dodge boomerangs. With the increased energy usage from spamming it, this BEMP PD will not last you long in such waves. The efficiency of bullet clearing in such waves is usually lower than normal PD. The reduced efficiency of this apex, which sometimes feel like you are back to using a level 1 PD (which really sucks), is what might make this apex difficult to recommend outside of MIRV/Shuriken missions.

The reason why it works so well in MIRV/Shuriken missions is because all the bullets are slow, and roughly the same speed, which stacks so many bullets together in a very tight space, making bullet clearing with this apex so efficient.

APEX 3: Sentinel

  • Game Description: Point Defense has a passive laser that is always active and does not use energy.
  • Numeric Interpretation: The nearest bullet within range will be cleared every 0.5s.
  • Score: 1.00 / 5
  • Ships with the APEX: Proteus (Beta), Vuxine (Gamma), Yoth-Hola (Epsilon)

Editor: If you hadn't been making noise all along, I wouldn't have noticed you at all.

This apex continually fires one PD laser roughly once every 0.5s that consumes no Aura energy. This PD laser works like regular PD and eliminates only one bullet (or MIRV). However, this Sentinel PD laser only activates when bullets are within the current radius of the PD Aura. It will not target bullets further than that.

This apex is unfortunately not very useful due to the pure density of bullets in this game (well, you are playing a bullet hell game, what do you expect?), and bullets are often extremely bunched up together, and at times other bullets overtake bullets that were originally closer to you. The effect of this apex is unfortunately very minimal in later waves such as Act 4 and above. It helps when you are trying to charge ML or MB, but only against a bullet sparse field with only either pellets or shurikens, and definitely not darts. But such a situation only occurs if you allow cooldown time at the end of a wave. Overall, this apex does not really help in survivability, but does help in setting up ML or MB, although in only very specific circumstances. In earlier Acts, it helps more, but the bullet density is small enough in that it's not difficult to simply position yourself correctly. Anyway, you are better off learning positioning yourself properly.