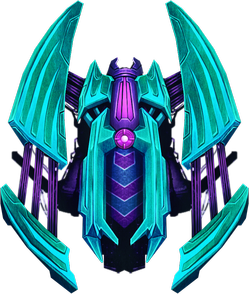
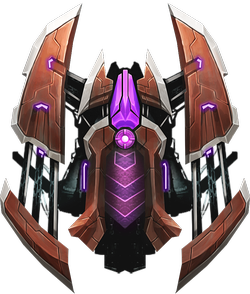
Aurora

Every explosion is a beautiful firework.
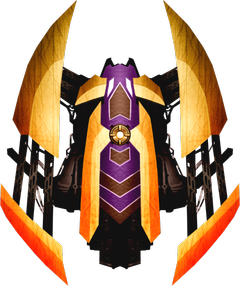
Basic Info

  • No: 35
  • Ship: Aurora
  • Affinity: High Impact
  • Type: Double Defense
  • Main Weapon: Quantum Nuke
  • Aura: Bullet EMP
  • Zen: Teleport
  • Rarity: Super Rare
  • Price: 3000
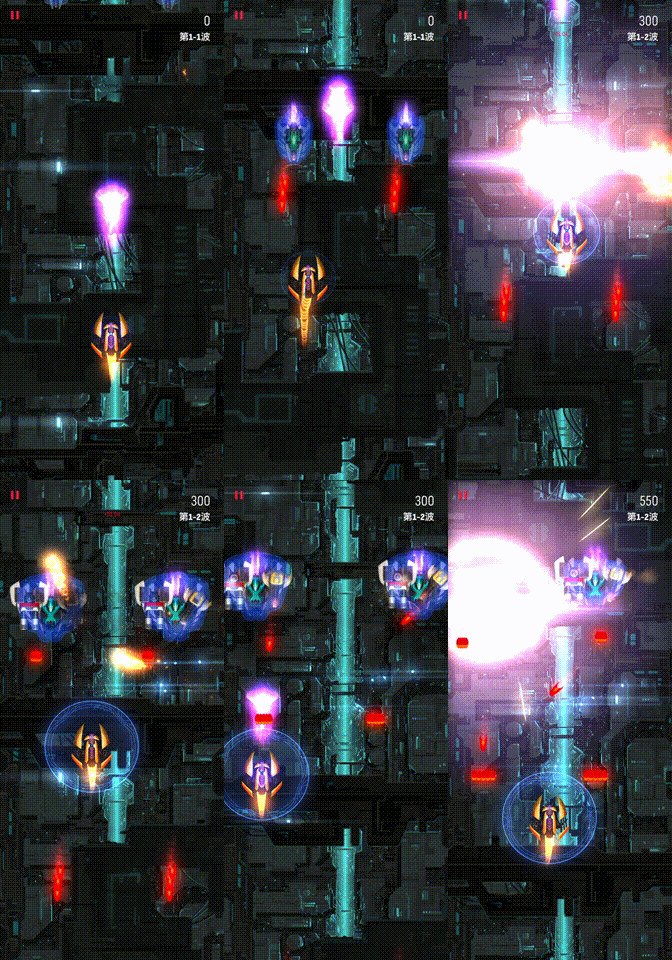
  • Main Description: Very slow moving forward travelling projectile fired once every 2s that explodes with a large blast radius.
  • Upgrade Info:
Level12345Ult
DPS29.2030.6632.1233.5835.0436.50
  • Test Results:
MainAuraZenSurvivalSurvival TierSpeedrunSpeedrun TierFunFun Tier
88.64100.3698.1850.18A+13.64C-37.09B+
APEX1APEX2Base ScoreBase RankLow ScoreHi ScoreApex RankFinal ScoreFinalRank
24.7313.09287.1826300.27311.9153412.8253
  • Main Weapon Illustration:

Comments

  • 圆锥曲线: It's magical that you will learn all the other ship's gameplay just by playing Aurora for several times.

Survival

  • The actual impact damage of a single Quantum Nuke is ≈45. As Aurora's DPS is an average of its impact and blast damage, the actual DPS of the Quantum Nuke alone is ≈22, or sometimes even ≈18 in the case of Rocs.
  • Probably the best BEMP ship. You can call Aurora as having a super charged TP Arrival EMP. The best usage for Aurora is to TP in the middle of the action, and then fire the BEMP just a millisecond later after arriving (since the TP EMP does give a small grace time).
  • In light waves, TP in front of the Ravens (or Heron) so that your nuke will hit them, since continually missing the nuke will soon make you run out of Aura as you have to keep clearing the field of MIRVs, their pellets and perhaps even the shurikens emitted by Sparrows.
  • In other waves, medium ones and above, there's little reason to care about aiming because invaders are almost everywhere. Just don't be at the side of the field as that is just jeopardizing your chances for your nukes to miss for no reason. You'll just need to care when it comes to the end of the wave where you need to chase down the last few invaders like those in a light wave.
  • Aurora's huge blast radius quickly does massive AoE damage to many invaders on field at once, and this is pretty automatic since there's so many invaders running about. It's really hard to miss every one of them. The best result is in dense waves where the amount of damage dealt is insane. It even deals well against front heavy waves since the blast radius is enough to damage invaders hiding behind the larger invaders in front.
  • You don't always need a full size BEMP to jump right into a mass of MIRVs, as MIRVs only explode when you are a within a certain threshold distance, so as long as your BEMP covers that threshold distance with a bit of allowance, it's totally fine to jump right in. Just bear in mind that a smaller sized BEMP is unlikely to reset MIRV Bloomers and Spreads alike so that might be of concern. But as a rather last minute measure, it is a great move.
  • NEVER go behind a Vulture to take Ravens behind as that is very likely to backfire instead. You need to eliminate the Vulture in front asap instead because it has more dangerous turrets. The blast damage from Aurora is more than enough to wipe out Ravens hiding behind Vultures.
  • A very good technique if you are low on Aura is to pre-charge TP. While the time slowdown is active from a ready-to-use TP, you can carefully graze off the many bullets to charge your Aura. Each graze is quite significant as BEMP is a huge aura. Just be very careful not to exceed the time slowdown period. Just as time starts to speed up, TP to your new location. You should be using the time slowdown to also decide your new arrival spot. Don't try this unless you are relatively close to some bullets otherwise you are just wasting your time.
  • Unfortunately Aurora is bad against Condors and Rocs in community and specialist missions. You are going to have a long fight and you'll need to probably use the graze then TP technique mentioned above quite a lot during these fights. That's not to say that Aurora can't deal against them, but it may take quite a lot of skill. Aurora may not be the best on such days with such bosses.
  • Thankfully, in daily missions, Condors usually come with an entire party of so many other invaders, it is still viable to use Aurora against Condors since these other invaders will drop out of the sky one by one as they get killed by blast damage (or even direct nuke damage). Condors that are alone or with very few other invaders aren't generally difficult and should be easy to deal with.
  • Rocs, however, may still pose a problem in daily missions. Stand back as far as you can when you see the welcoming party of the Roc and you don't want to eat all their particles so quickly and have none left as the Roc battle progresses.
  • Shielded missions are its downfall as one missed shot means invaders have a chance to regenerate their shields.
  • As the laser density in Unprotected General/Boomerang missions is low, Aurora's TP will not run into long cooldowns due to laser strafing. When dealing with boomerangs, you have 2 means of dealing with them. First, teleport in front as the boomerangs start curving from the sides towards the bottom of the field, which is a much better option. Second, just use a BEMP to clear them. This is not recommended unless the size of the BEMP is at the right size where it can clear all the incoming boomerangs, but not big enough to reset the boomerang turrets. Another situation it might help is when you are trapped between dart lanes and are faced with blockade from other bullets as well, which necessitates the use of BEMP.
  • However, when using Aurora for Unprotected General/Boomerang missions, bear in mind it will play very differently from MIRV/Shuriken missions, as you will need to be quick in reactions to avoid darts quickly, while weaving through some other bullets.
  • BEMP should help you get rid of these other bullets, but beware of boomerang turrets.

Speedrun

  • In between waves or Acts, try your best to push to the bottom as far as you can as the slow travelling nuke can spill over to the next wave or Act. This can be done in later Acts.
  • Try to aim your quantum nukes at the biggest invader on screen by TP-ing right in front of them so that the smaller invaders don't get in the way to maximize damage. The nuke itself is estimated to deal 45 damage. If there are no big invaders, a good idea to deal with the smaller ones is to TP right in front of it just as the nuke is about to fire. This takes practice to know the timing and there is no visual indicator as to when the nuke is going to fire.
  • Because of random invader movements and random crit chances, speedrunning with Aurora can vary a lot, with time gaps of approximately at least 10s apart even with a very similar run, hitting the same invaders in both runs.

Fun

  • Aurora's nuke is definitely the most fun thing going for it. The satisfaction of watching so many Ravens being blown to smithereens just makes your day. It is sort of random sometimes as to whether the blast damage will kill on the first impact for other Ravens (this depends on whether the damage dealt by the blast damage is critical. YES, Aurora's blast damage can deal crits.). Also watching Ravens blow up just by hitting that Vulture in front is just like saying "You can run but you can't hide".
  • The feeling of diving right into the action and then releasing a huge BEMP to clear so many bullets is incredibly satisfying.
  • A missed nuke can be quite disappointing sometimes, which does happen sometimes in early waves.

Trivia

  • Aurora is the only HI ship with blast damage.
  • Aurora is the only ship with a max DPS of 36.5. In fact, it is the only ship with an inaccurate DPS, as the nuke itself does not deal 36.5 DPS, rather, the DPS is an average of the nuke impact and the blast damage dealt. No one really knows the exact blast damage.
  • Aurora was one of the "horsemen" early game, as its nuke traveled much faster and thus was a lot easier to hit.
  • Aurora is the only ship that suffered an extremely targeted nerf.
  • In v3.5, the limit of blast damage to 8 targets was removed. This in particular, means Aurora now got a buff after suffering from a nerf from its main. This removal of the restriction appears to only significantly affect Aurora, while other ships with blast damage weapons don't quite benefit.

APEX 1

  • Name: Extended Clearance
  • Type: Zen
  • Description: Energy from the Teleport is released on arrival to extended the range of the Arrival EMP.
  • Interpretation: The clearing space increases from 50 to 80.
  • Form: Lambda
  • Price: 30000
  • Score: 1.55 / 5

With the abundance of so many particles in daily missions, it is so easy to pull off an “extended Arrival EMP” by just TP-ing upfield a little more, making this apex pretty useless. However, it will help a lot during Roc battles that can get very lengthy without a constant supply of particles.

APEX 2

  • Name: Homing Module
  • Type: Main Weapon
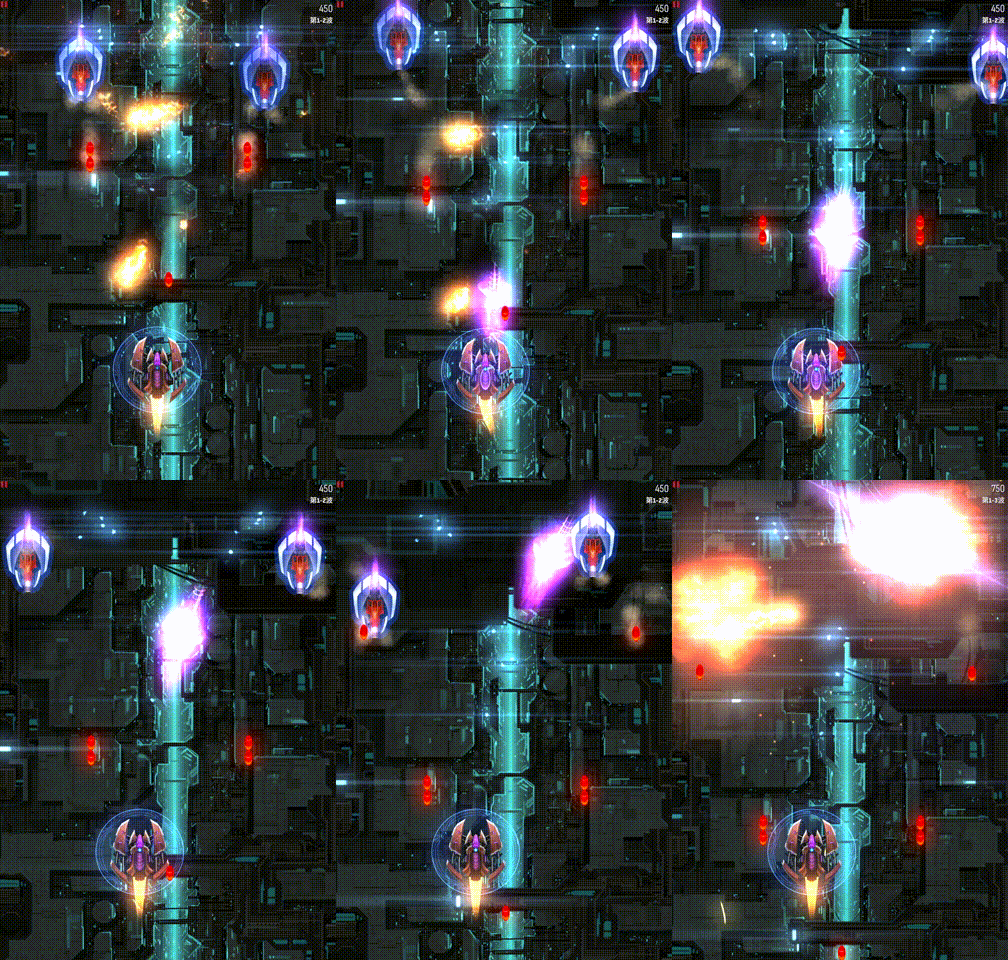
  • Description: Quantum Nukes now have slight homing capabilities.
  • Interpretation: nan
  • Form: Tau
  • Price: 40000
  • Score: 0.82 / 5
  • Main Weapon Illustration:

This apex makes playing Aurora safer in the bullet hells of MIRV/Shuriken missions. You can simply sit back and let the nuke home onto its targets by itself. However, the homing nuke can be counterintuitive as attempts made to control where which invader it hits may end up making the nuke miss instead. The unpredictability of which invader the nuke is actually targeting makes it very difficult to make decisions to get up close to invaders. Because of this, this apex can make Aurora sometimes slower because it targets the wrong invaders, which can be bad at times because you need to slightly regulate your Aura usage, especially in heavy waves.

Video Illustration