The thick pounding from a heavy truck.
Basic Info
- No: 24
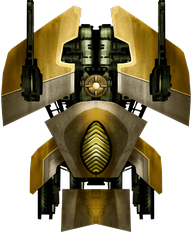
- Ship: Juggernaut
- Affinity: Armor Piercing
- Type: Offensive
- Main Weapon: Devastator Cannon
- Aura: Bullet EMP
- Zen: Mega Bomb
- Rarity: Rare
- Price: 1500
- Main Description: Uninterruptible Burst, 2 closely side-by-side forward firing projectiles that deal blast damage.
- Upgrade Info:
| Level | 1 | 2 | 3 | 4 | 5 | Ult |
|---|
| DPS | 25.00 | 26.25 | 27.50 | 28.75 | 30.00 | 31.25 |
| Main | Aura | Zen | Survival | Survival Tier | Speedrun | Speedrun Tier | Fun | Fun Tier |
|---|
| 117.27 | 100.36 | 110.18 | 44.73 | A+ | 45.82 | A+ | 44.73 | A+ |
| APEX1 | APEX2 | Base Score | Base Rank | Low Score | Hi Score | Apex Rank | Final Score | FinalRank |
|---|
| 74.18 | 60.80 | 327.82 | 6 | 388.62 | 402.00 | 4 | 537.27 | 5 |
- Main Weapon Illustration:
Click Here
Trivia
- This is EL's favorite ship.
APEX 1
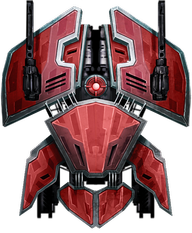
- Name: Destructive Wave
- Type: Aura
- Description: An Enhanced Bullet EMP that also deals damage to Invaders.
- Interpretation: Bullet EMP deals at most 10 damage to invaders within range.
- Form: Lambda
- Price: 30000
- Score: 4.64 / 5
Click Here
APEX 2
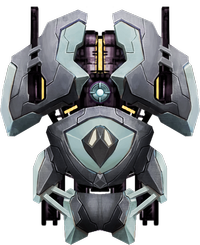
- Name: Fast Charge
- Type: Zen
- Description: High efficiency charge algorithms charge Mega Bomb more quickly.
- Interpretation: The charging time decreases from 2s to 1.75s, the charging time recovery decreases from 4.5s to 3.5s.
- Form: Delta
- Price: 20000
- Score: 3.80 / 5
Click Here
Video Illustration