Mirage
You just want his thick and big thing, right?
Now this...this is something else. - Instructor Crubbs
Basic Info
- No: 75
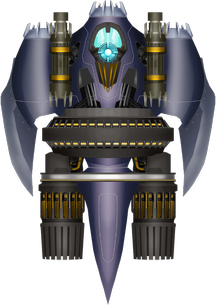
- Ship: Mirage
- Affinity: Shield Breaking
- Type: Offensive
- Main Weapon: Plasma Rays
- Aura: Bullet EMP
- Zen: Nightfury
- Rarity: Super Rare
- Price: 3000
- Main Description: A pair of instant tracking lasers that fire 7 successive short bursts on the nearest target and can only track targets within an approximate 140° forward arc in front of the ship (if tracking is not achieved, it will not fire), before the pair of lasers fire a final sustained forward firing burst (which does not require tracking).
- Upgrade Info:
| Level | 1 | 2 | 3 | 4 | 5 | Ult |
|---|---|---|---|---|---|---|
| DPS | 20.00 | 21.00 | 22.00 | 23.00 | 24.00 | 25.00 |
- Test Results:
| Main | Aura | Zen | Survival | Survival Tier | Speedrun | Speedrun Tier | Fun | Fun Tier |
|---|---|---|---|---|---|---|---|---|
| 83.18 | 100.36 | 77.45 | 44.18 | A | 18.00 | C+ | 40.91 | A |
| APEX1 | APEX2 | Base Score | Base Rank | Low Score | Hi Score | Apex Rank | Final Score | FinalRank |
|---|---|---|---|---|---|---|---|---|
| 27.20 | 34.91 | 261.00 | 48 | 288.20 | 295.91 | 68 | 399.00 | 57 |
- Main Weapon Illustration:
Comments
- S.K: Haven’t seen Mirage in years—why does it look way chunkier than the HD version?
- No2oMe: Gotta admit, Night Fury one-shotting Vultures is ridiculously satisfying.
APEX 1

- Name: Increased Stun
- Type: Aura
- Description: Expert tunning slightly increases the stun duration.
- Interpretation: The max stun time increases from 0.6s to 1.2s.
- Form: Omega
- Price: 50000
- Score: 1.70 / 5
APEX 2

- Name: Extended Range
- Type: Aura
- Description: Amplifiers give Bullet EMP more range.
- Interpretation: The max radius increases from 450 to 500.
- Form: Delta
- Price: 20000
- Score: 2.18 / 5
The effect of this APEX is not particularly obvious. The only difference is that you can get a larger range of aura with the same energy. Most of the time, this bonus is redundant. Instead of worrying about this little range increase, it is better to try to use Bullet EMP among the invaders to expand its effective range.