A yellow-green bullet-clearing fairy.
A target for the GUYSGUYSGUYS ship. Hmmmm...looks very...penetratable
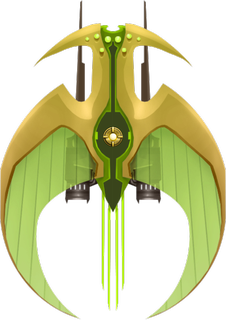
Basic Info
- No: 77
- Ship: Lyova
- Affinity: High Impact
- Type: Double Defense
- Main Weapon: Photon Shredder
- Aura: Bullet EMP
- Zen: Reflex EMP
- Rarity: Super Rare
- Price: 3000
- Main Description: 2 sets of 5 tightly packed forward firing side-by-side lasers, with each set on each side, and the outer lasers firing first.
- Upgrade Info:
| Level | 1 | 2 | 3 | 4 | 5 | Ult |
|---|
| DPS | 25.00 | 26.25 | 27.50 | 28.75 | 30.00 | 31.25 |
| Main | Aura | Zen | Survival | Survival Tier | Speedrun | Speedrun Tier | Fun | Fun Tier |
|---|
| 106.36 | 100.36 | 109.09 | 48.00 | A+ | 34.36 | A- | 44.73 | A+ |
| APEX1 | APEX2 | Base Score | Base Rank | Low Score | Hi Score | Apex Rank | Final Score | FinalRank |
|---|
| 78.55 | 74.18 | 315.82 | 9 | 390.00 | 394.36 | 8 | 521.45 | 7 |
- Main Weapon Illustration:

Click Here
APEX 1
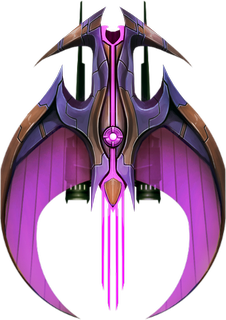
- Name: High Damage
- Type: Zen
- Description: Energy actuators increase the damage of the EMP.
- Interpretation: The damage increases from 20 to 30.
- Form: Lambda
- Price: 30000
- Score: 4.91 / 5
Click Here
APEX 2
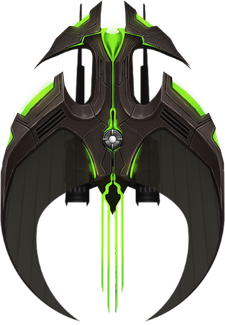
- Name: Destructive Wave
- Type: Aura
- Description: An Enhanced Bullet EMP that also deals damage to Invaders.
- Interpretation: Bullet EMP deals at most 10 damage to invaders within range.
- Form: Tau
- Price: 40000
- Score: 4.64 / 5
Click Here
Video Illustration