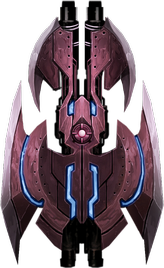
Havoc
In a sense, the various dazzling projectiles really look like the coming of havoc.
Basic Info
- No: 22
- Ship: Havoc
- Affinity: Armor Piercing
- Type: Full Offense (FO)
- Main Weapon: Mass Driver
- Aura: Laser Storm
- Zen: Mega Laser
- Rarity: Rare
- Price: 1500
- Main Description: Weapon Details: 31.25 DPS, Interruptible Burst, 4 successive forward firing projectiles in a slight alternating left-right.
- Upgrade Info:
| Level | 1 | 2 | 3 | 4 | 5 | Ult |
|---|---|---|---|---|---|---|
| DPS | 25.00 | 26.25 | 27.50 | 28.75 | 30.00 | 31.25 |
- Test Results:
| Main | Aura | Zen | Survival | Survival Tier | Speedrun | Speedrun Tier | Fun | Fun Tier |
|---|---|---|---|---|---|---|---|---|
| 94.09 | 65.45 | 90.55 | 18.55 | D | 36.55 | A- | 29.45 | B- |
| APEX1 | APEX2 | Base Score | Base Rank | Low Score | Hi Score | Apex Rank | Final Score | FinalRank |
|---|---|---|---|---|---|---|---|---|
| 52.36 | 30.55 | 250.09 | 58 | 280.64 | 302.45 | 60 | 387.00 | 66 |
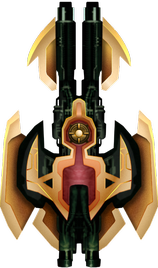
- Main Weapon Illustration:
Comments
- 五香fish: An offensive ship, it's better to maximize the main's AOE damage when playing. Alpha APEX highly recommended.
- S.K: You look like an armored sparrow.
Trivia
- The cooldown time for the Mega Laser is exactly 4 rounds of main weapons.
APEX 1
- Name: Volatile Mass
- Type: Main Weapon
- Description: Mass Driver shots have a larger explosion.
- Interpretation: Increases the blast radius of its Mass Driver projectiles.
- Form: Alpha
- Price: 5000
- Score: 3.27 / 5
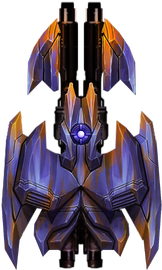
- Main Weapon Illustration:
APEX 2
- Name: Tac Moons
- Type: Aura
- Description: Two Tactical Super Moons concentrate their firepower to dispose individual targets more quickly.
- Interpretation: 2 Laser Moons with stronger power will focus on invaders concentrately.
- Form: Gamma
- Price: 15000
- Score: 1.91 / 5