Dragonfly
It doesn't look like a dragonfly, but it's Dragonfly.
Basic Info
- No: 45
- Ship: Dragonfly
- Affinity: High Impact
- Type: Offensive
- Main Weapon: Twin Miniguns
- Aura: Ion Cannon
- Zen: Mega Bomb
- Rarity: Common
- Price: 500
- Main Description: Spray of bullets in a general forward direction with some randomness in spread.
- Upgrade Info:
| Level | 1 | 2 | 3 | 4 | 5 | Ult |
|---|---|---|---|---|---|---|
| DPS | 25.00 | 26.25 | 27.50 | 28.75 | 30.00 | 31.25 |
- Test Results:
| Main | Aura | Zen | Survival | Survival Tier | Speedrun | Speedrun Tier | Fun | Fun Tier |
|---|---|---|---|---|---|---|---|---|
| 99.55 | 56.73 | 110.18 | 28.91 | C | 33.82 | B+ | 38.18 | A- |
| APEX1 | APEX2 | Base Score | Base Rank | Low Score | Hi Score | Apex Rank | Final Score | FinalRank |
|---|---|---|---|---|---|---|---|---|
| 52.36 | 29.09 | 266.45 | 44 | 295.55 | 318.82 | 49 | 419.73 | 48 |
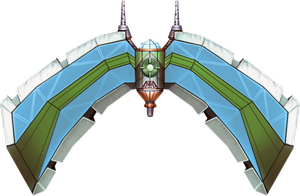
- Main Weapon Illustration:
Comments
- 小卡永远开心/KayYYKX:Style only! Rock-solid crit rate every time.
Trivia
- Dragonfly Epsilon is one of the 4 apexes with an additional hidden change as well, changing its main weapon into a sort of rainbow colored laser gun, tightening the spread of the main.
- Its main's DPS is lower than Corsair's Tracking Minigun.
APEX 1

- Name: Blast Amplifier
- Type: Aura
- Description: Blast radius and damage of the Ion Cannon projectiles are increased.
- Interpretation: The blast radius increases from 50 to 100, the damage increases from 10 to 13.
- Form: Epsilon
- Price: 25000
- Score: 3.27 / 5
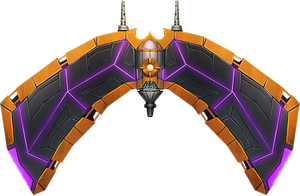
- Main Weapon Illustration:
This apex also changes its main weapon to a laser minigun of tighter spread which travels much faster.
APEX 2
- Name: Overcharge
- Type: Aura
- Description: Overcharged Ion Cannon stuns targets in a larger area.
- Interpretation: The stun radius increases from 90 to 100.
- Form: Gamma
- Price: 15000
- Score: 1.82 / 5
It's a pity that if you put the two APEXes of the Ion Cannon on the same ship, the Blast Amplifier will definitely be more powerful than the Overcharge. Not only because the Blast Amplifier can increase damage, but also because the stun radius of an Overcharged Ion Cannon is not much better than that of an Blast Amplifier.